Arnold Pumpkin
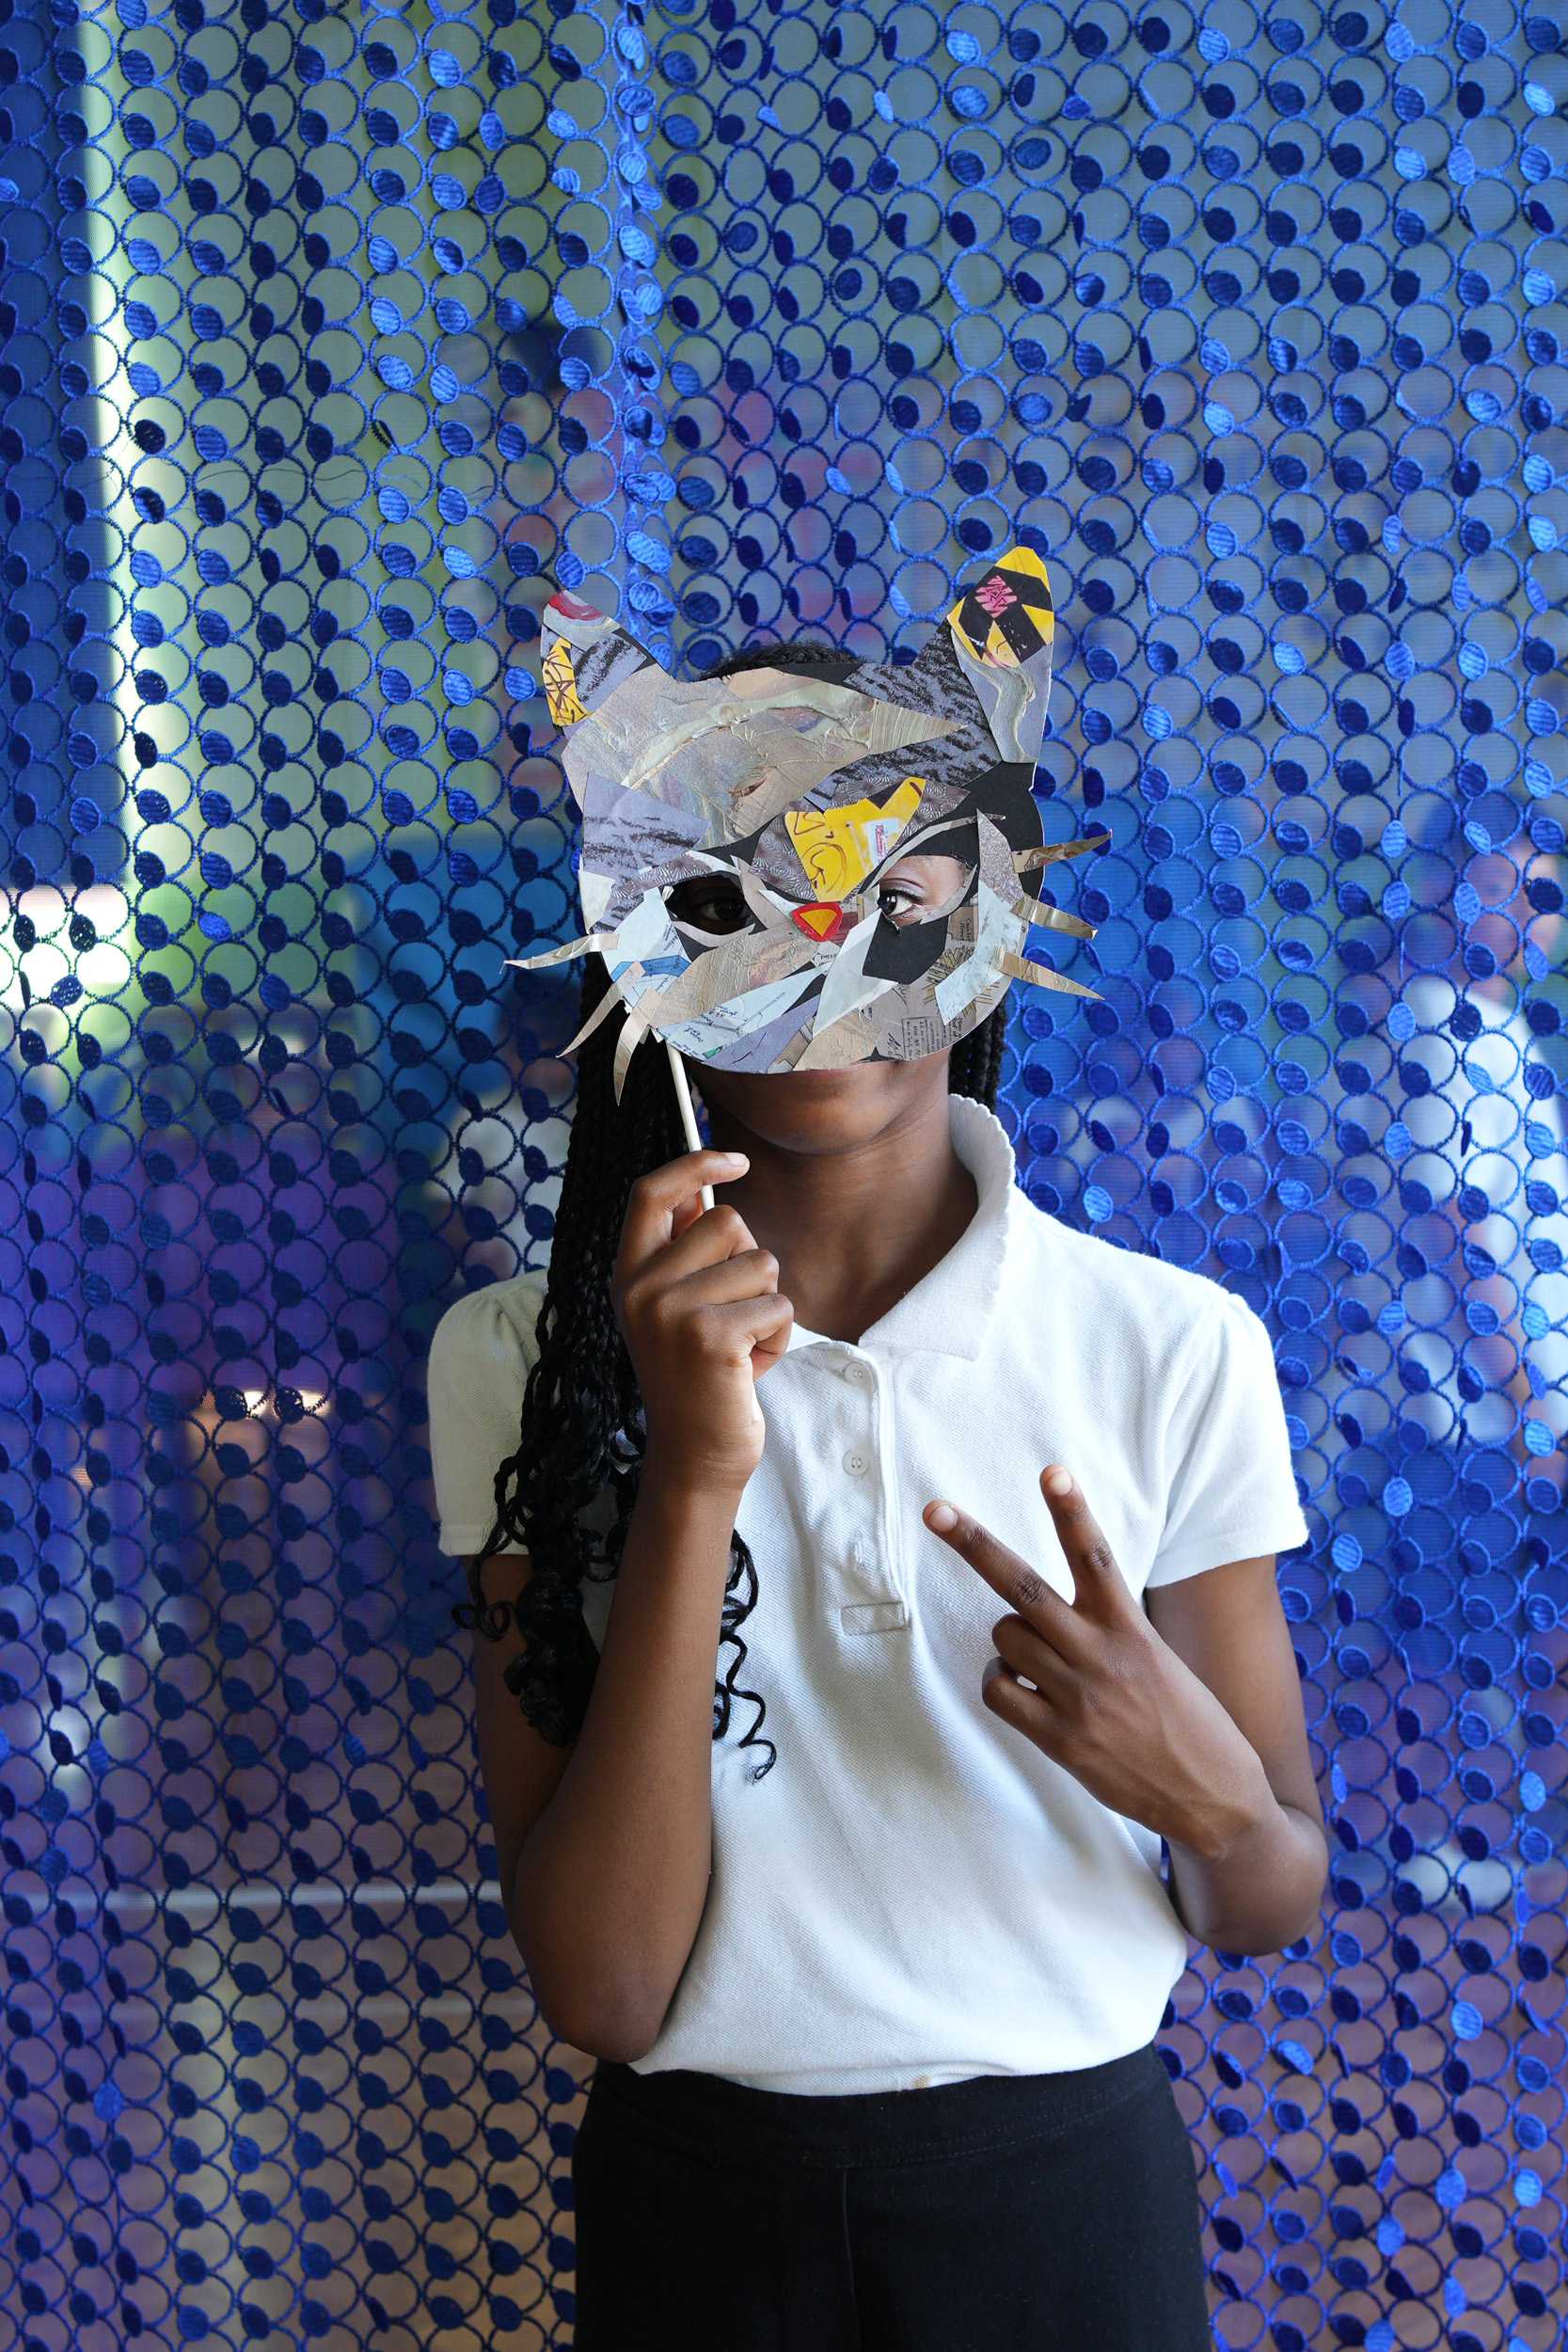
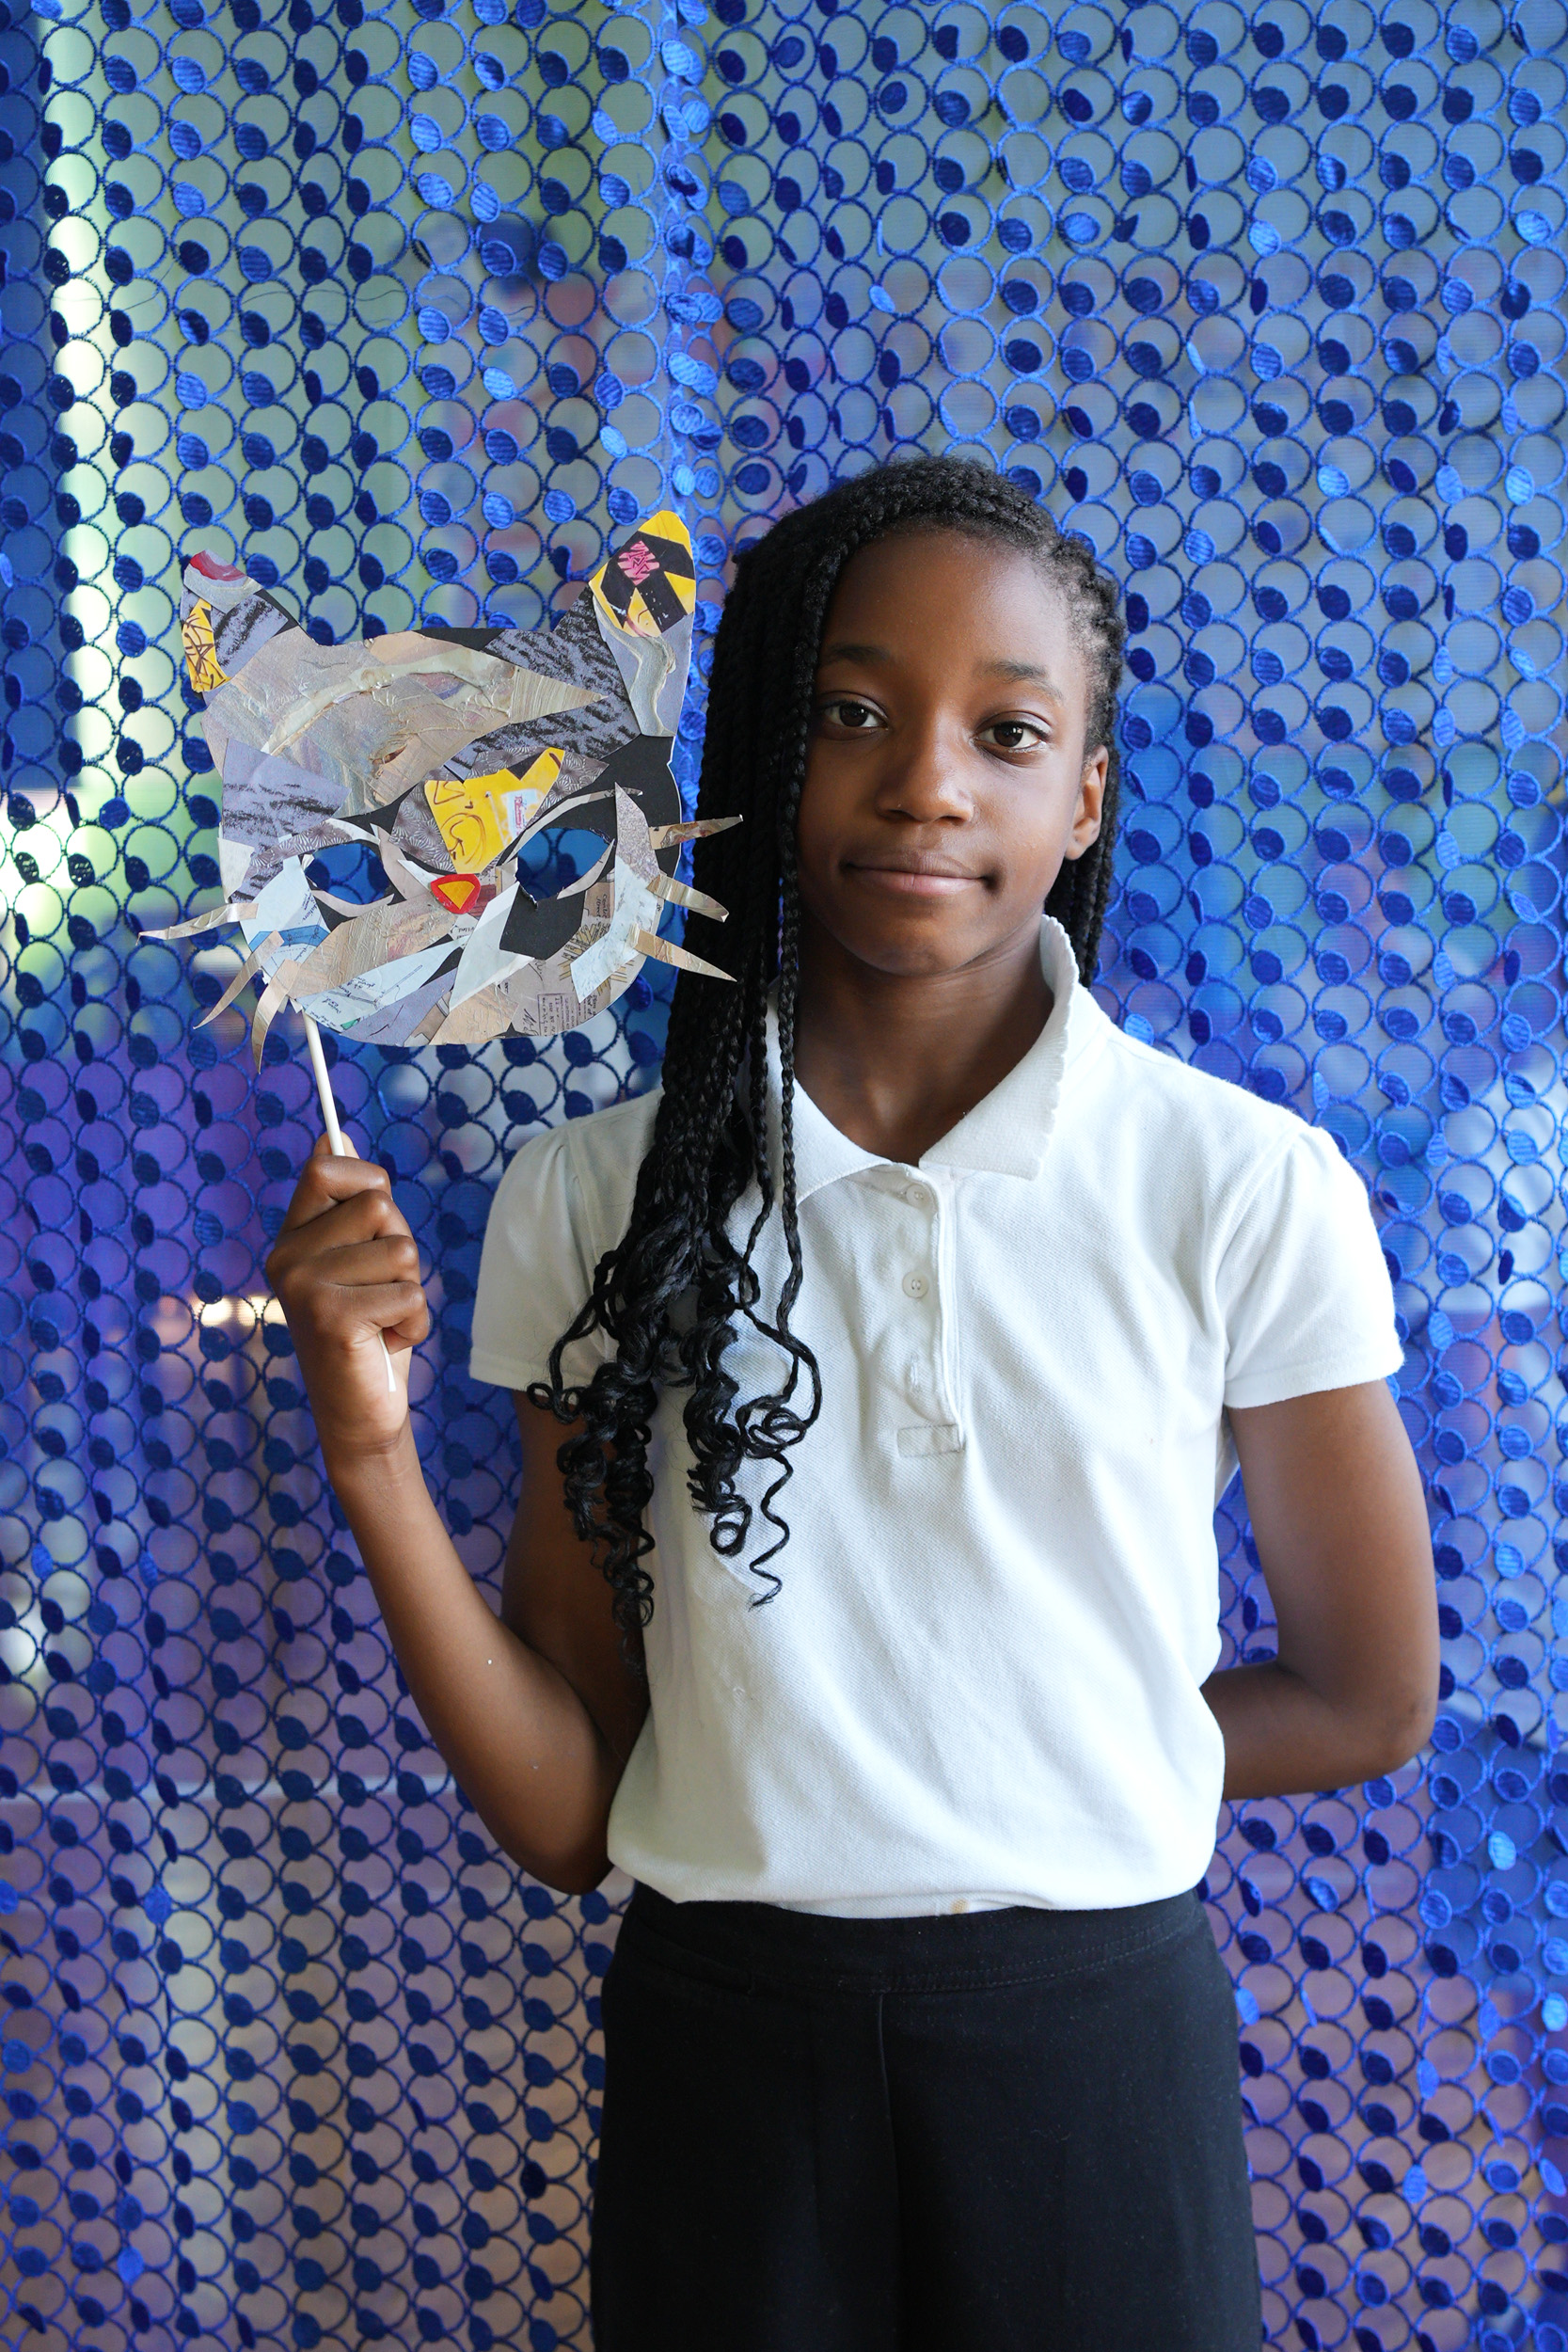
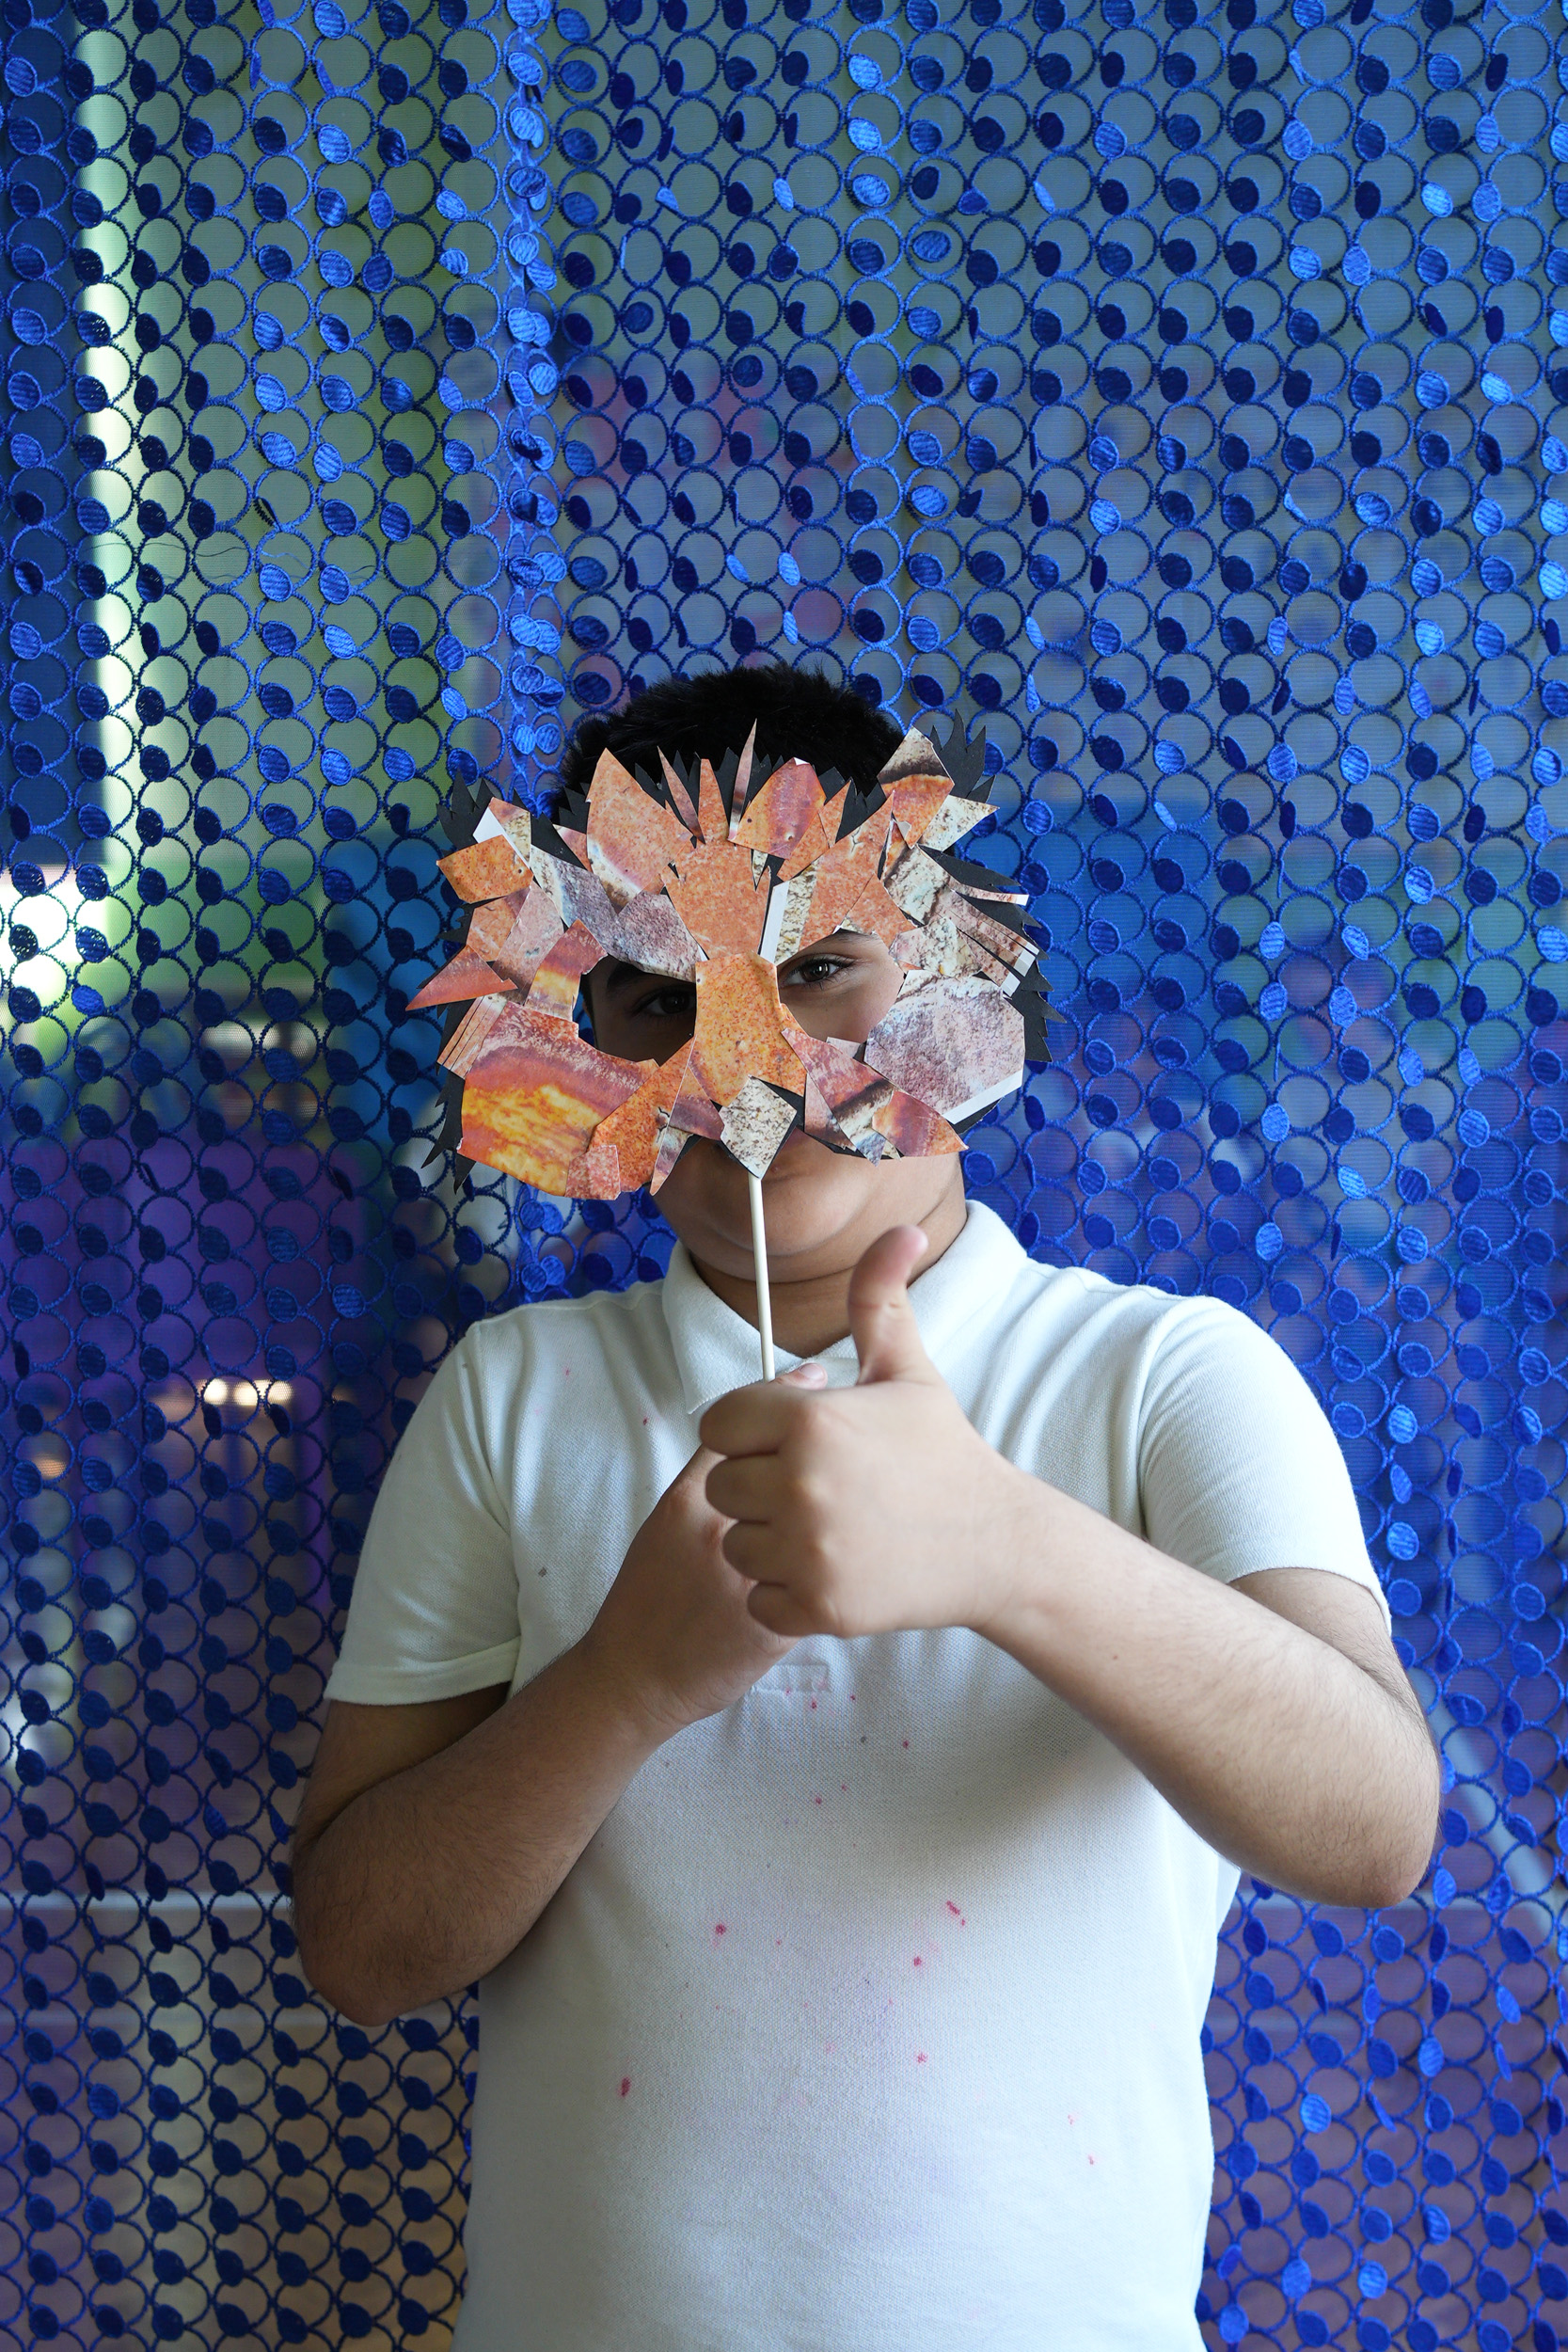
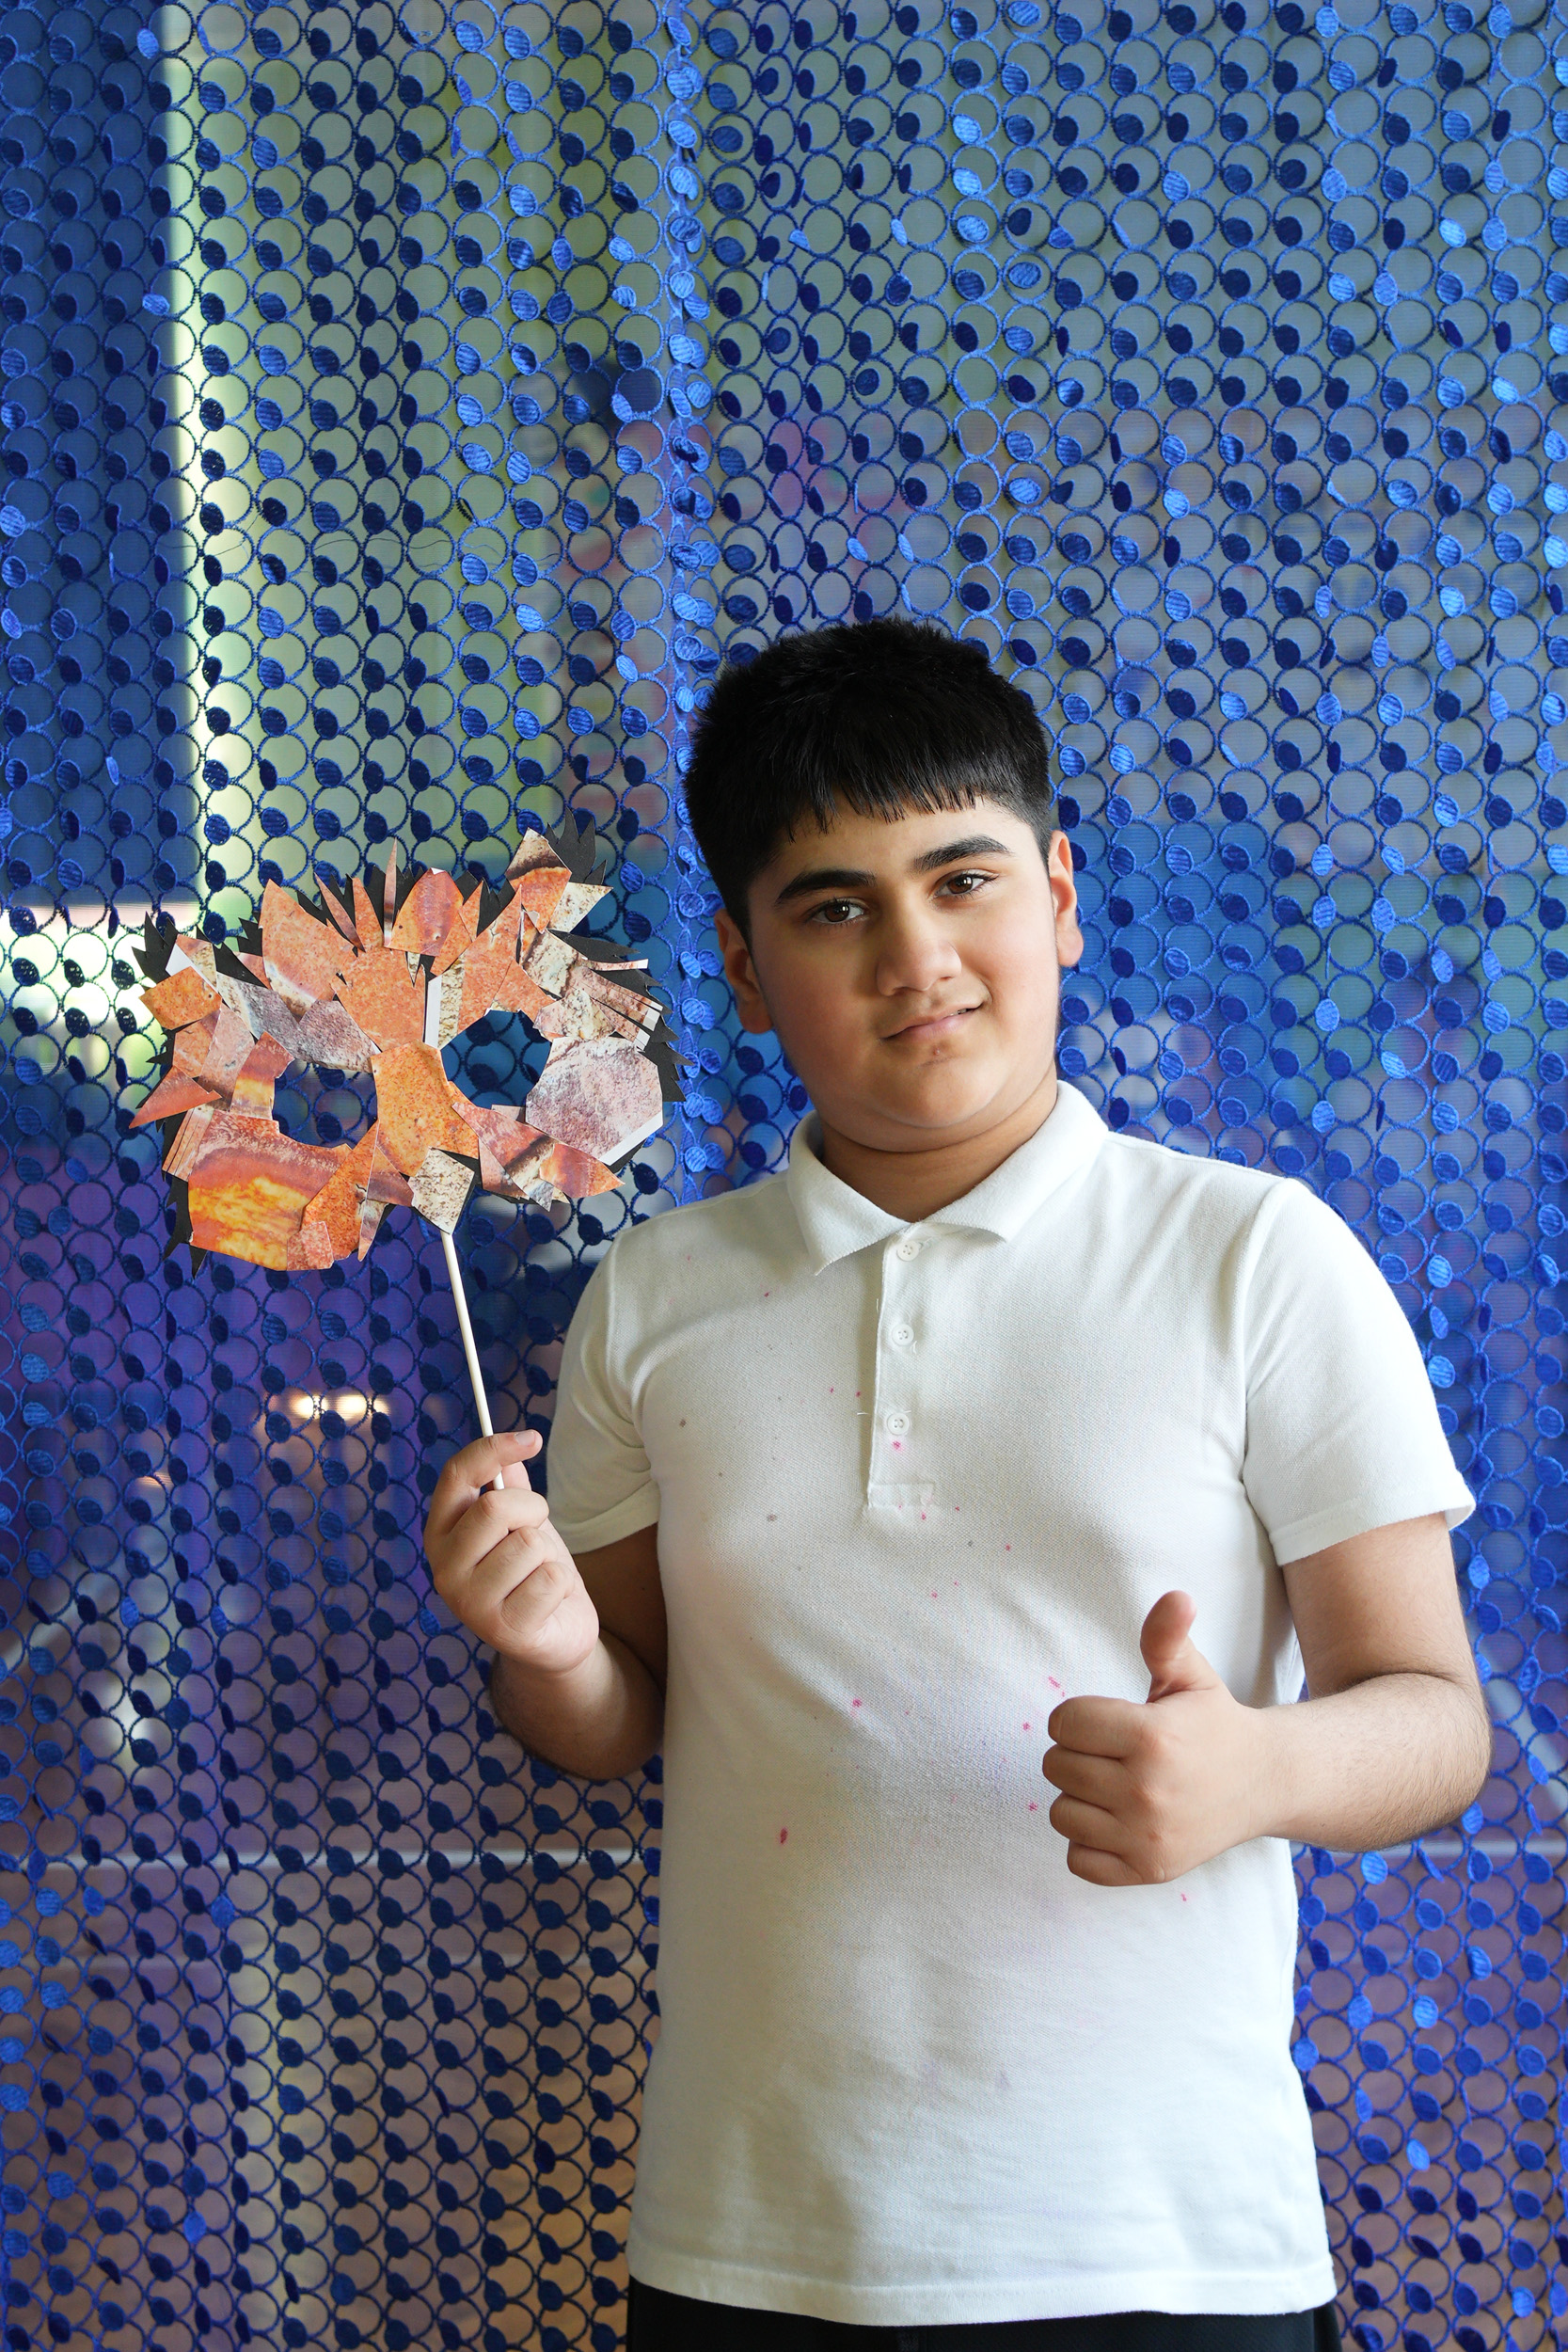
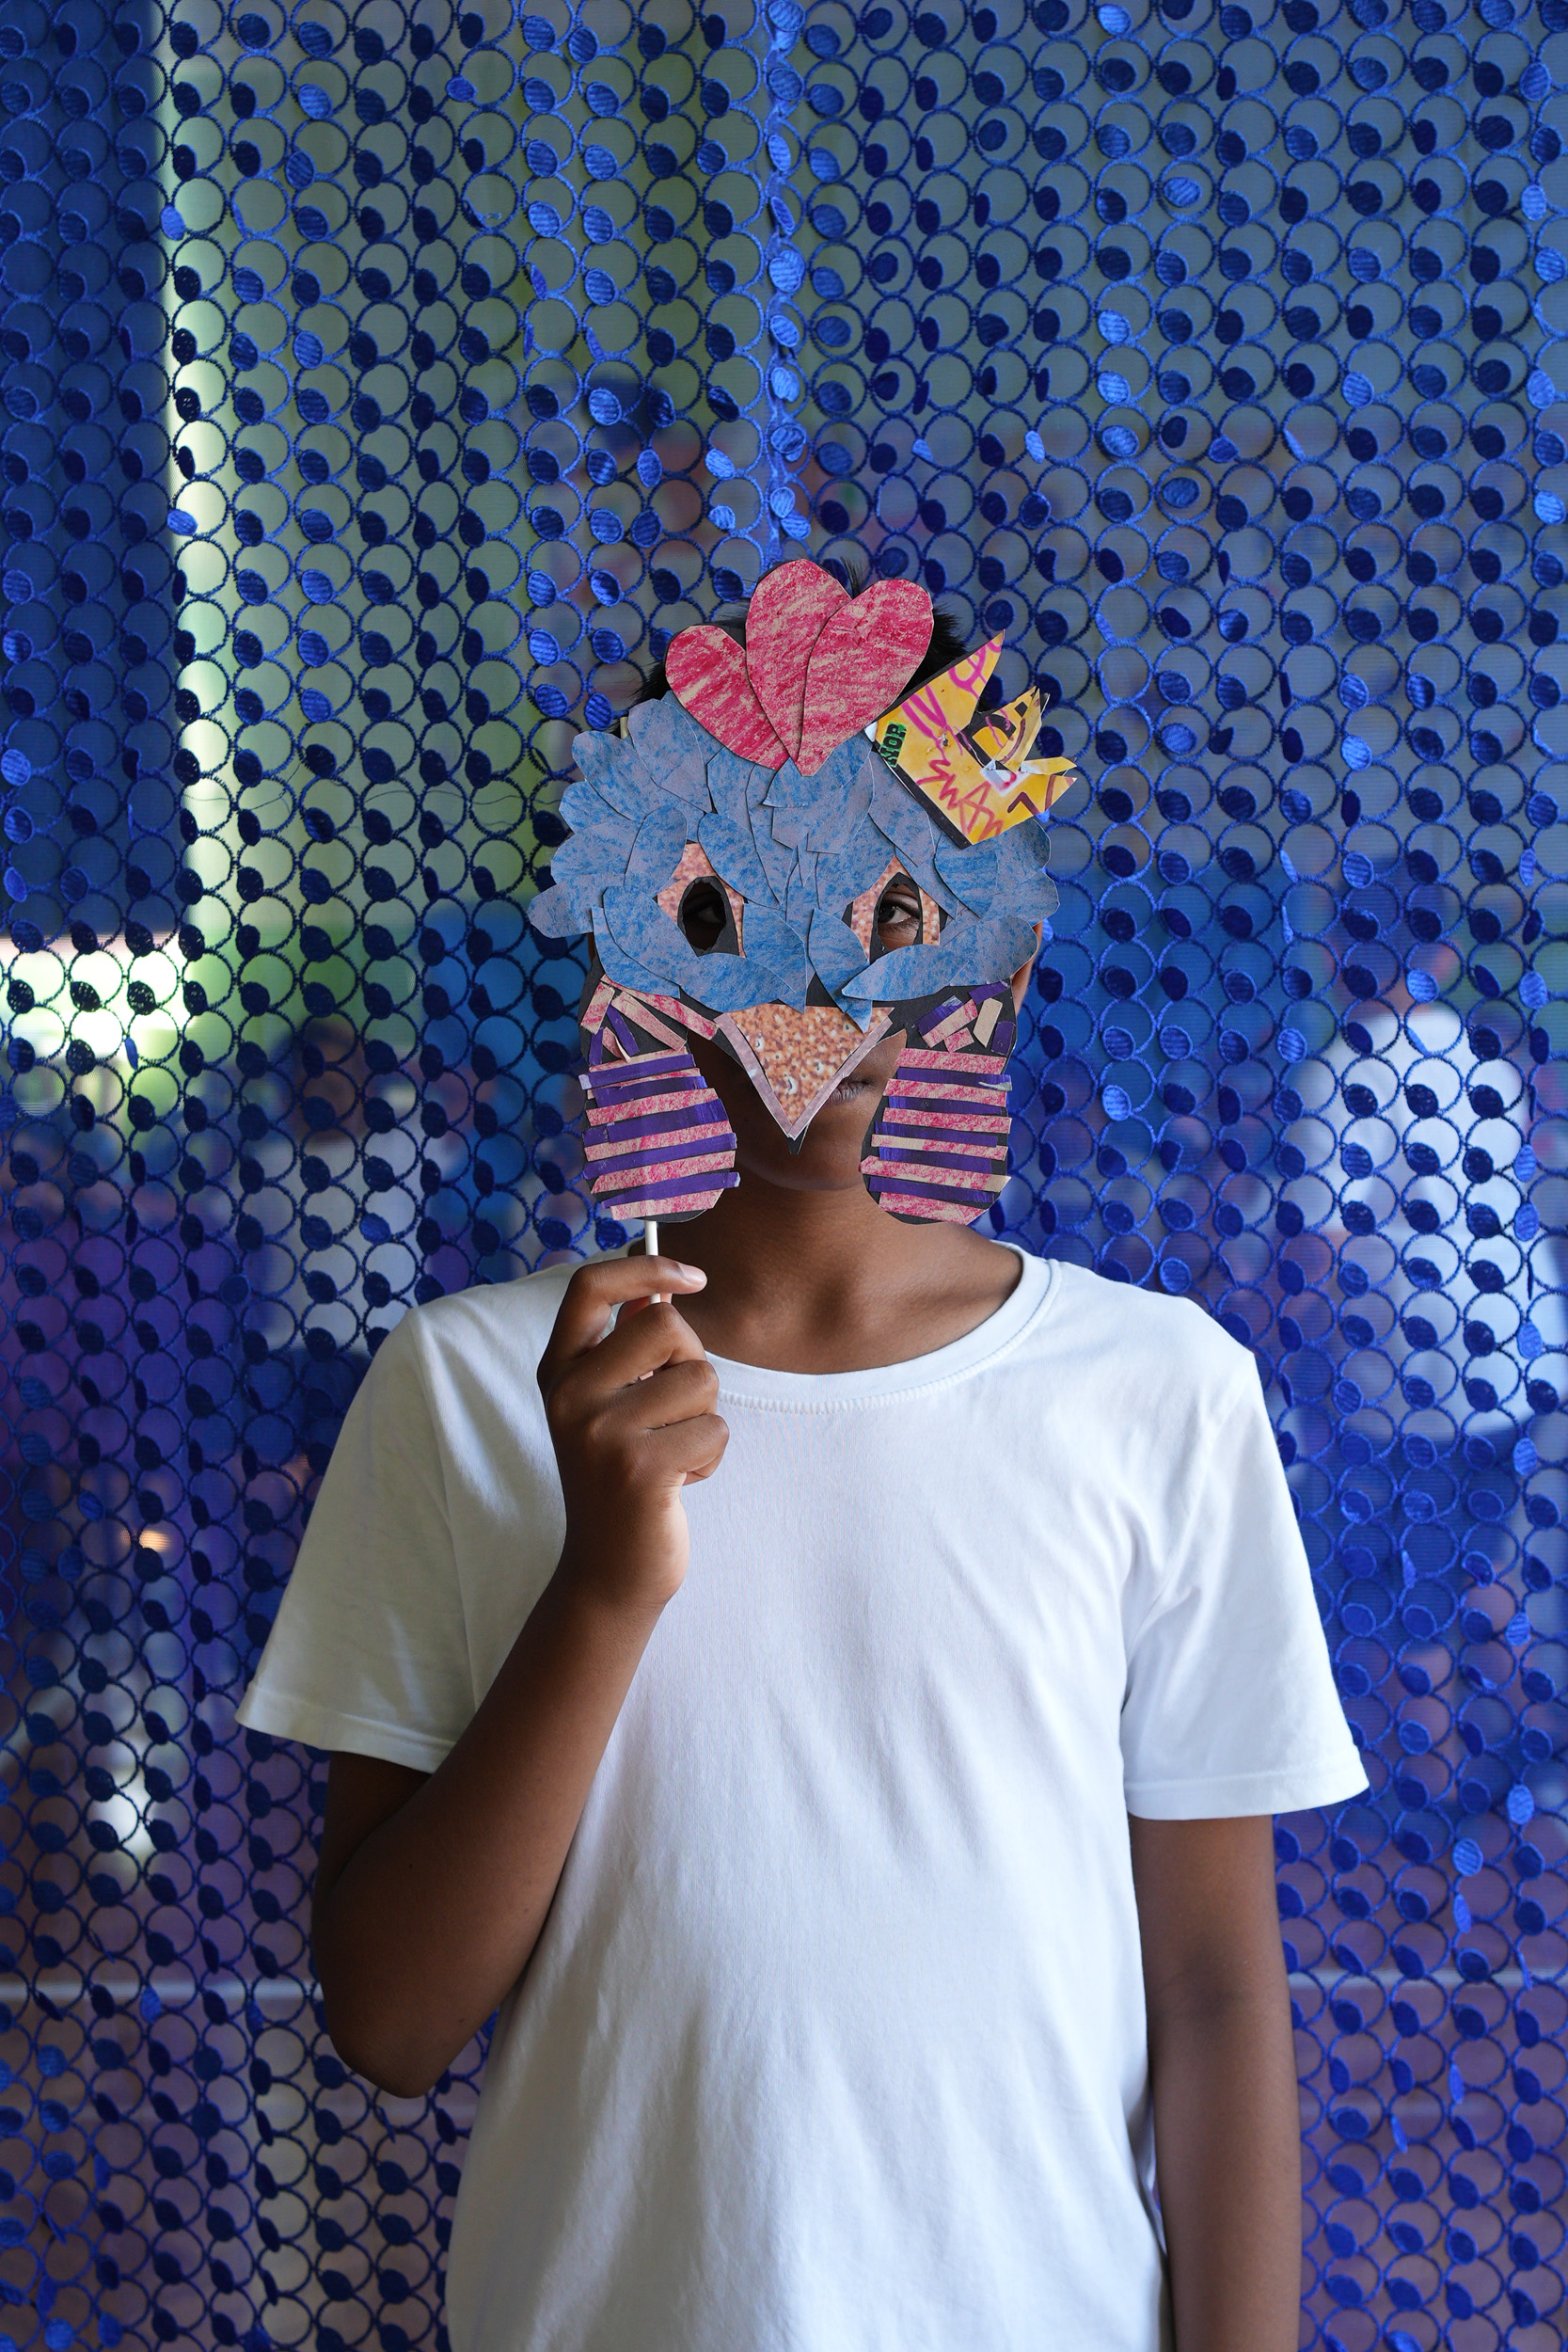
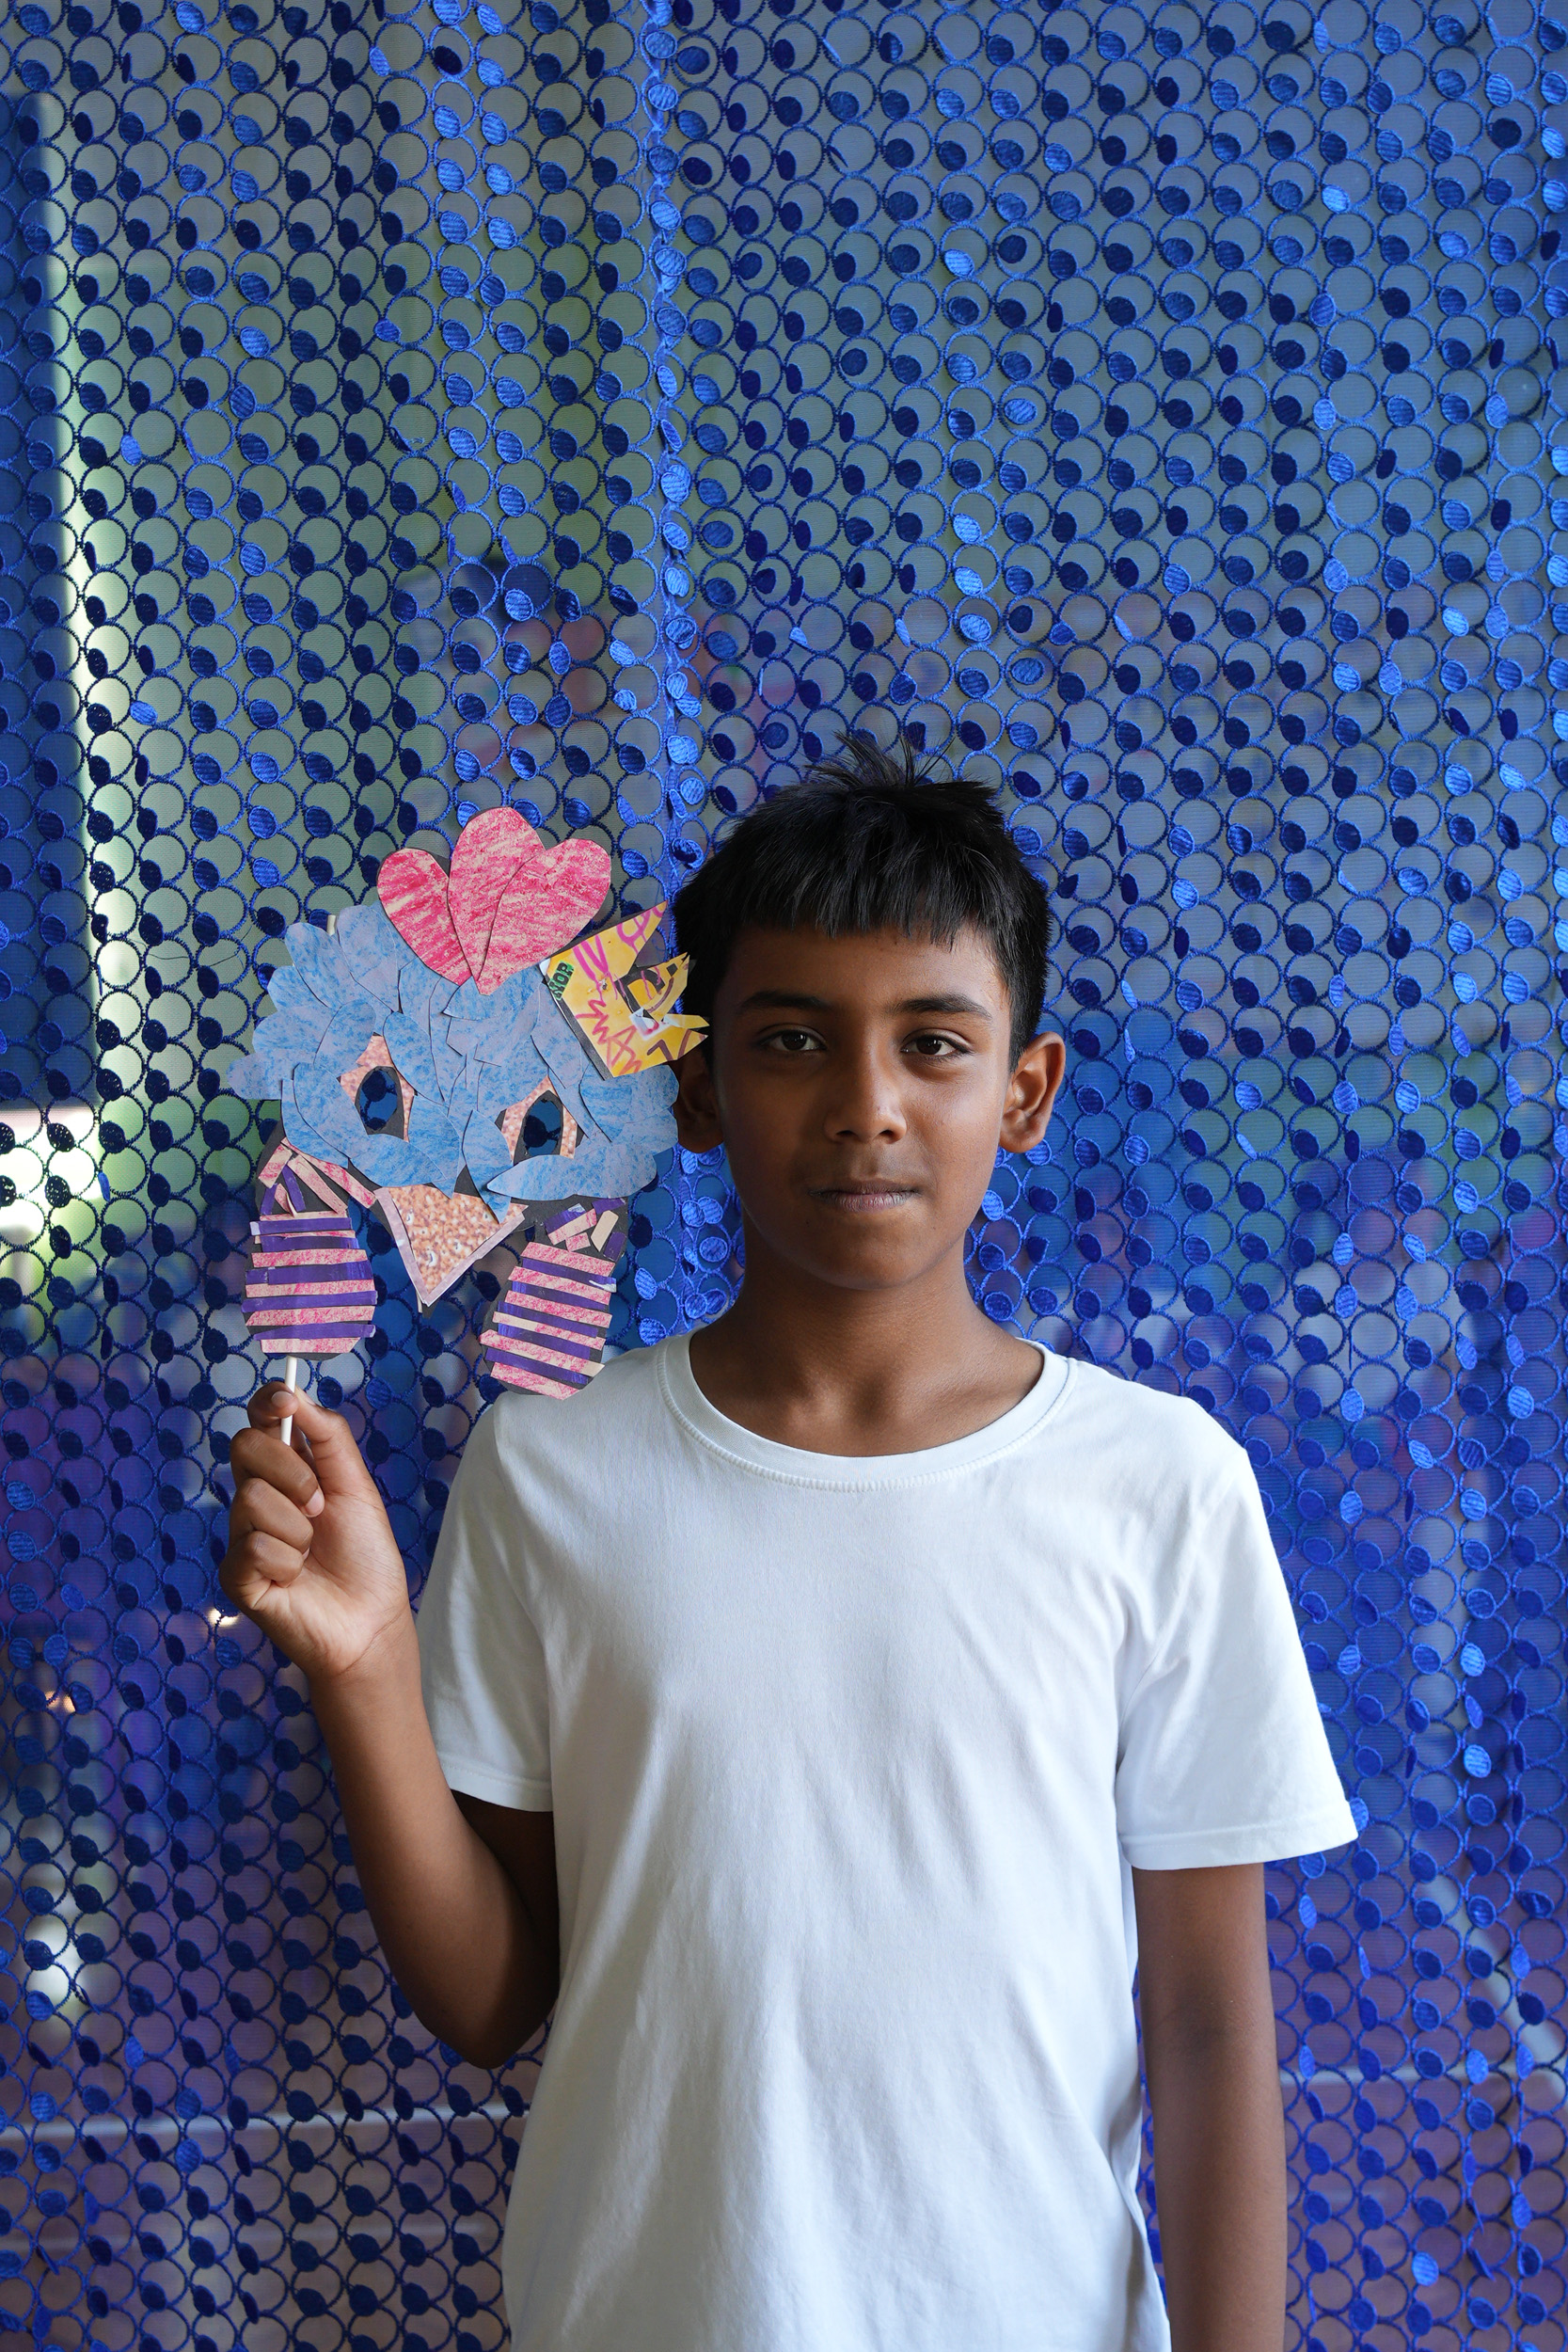
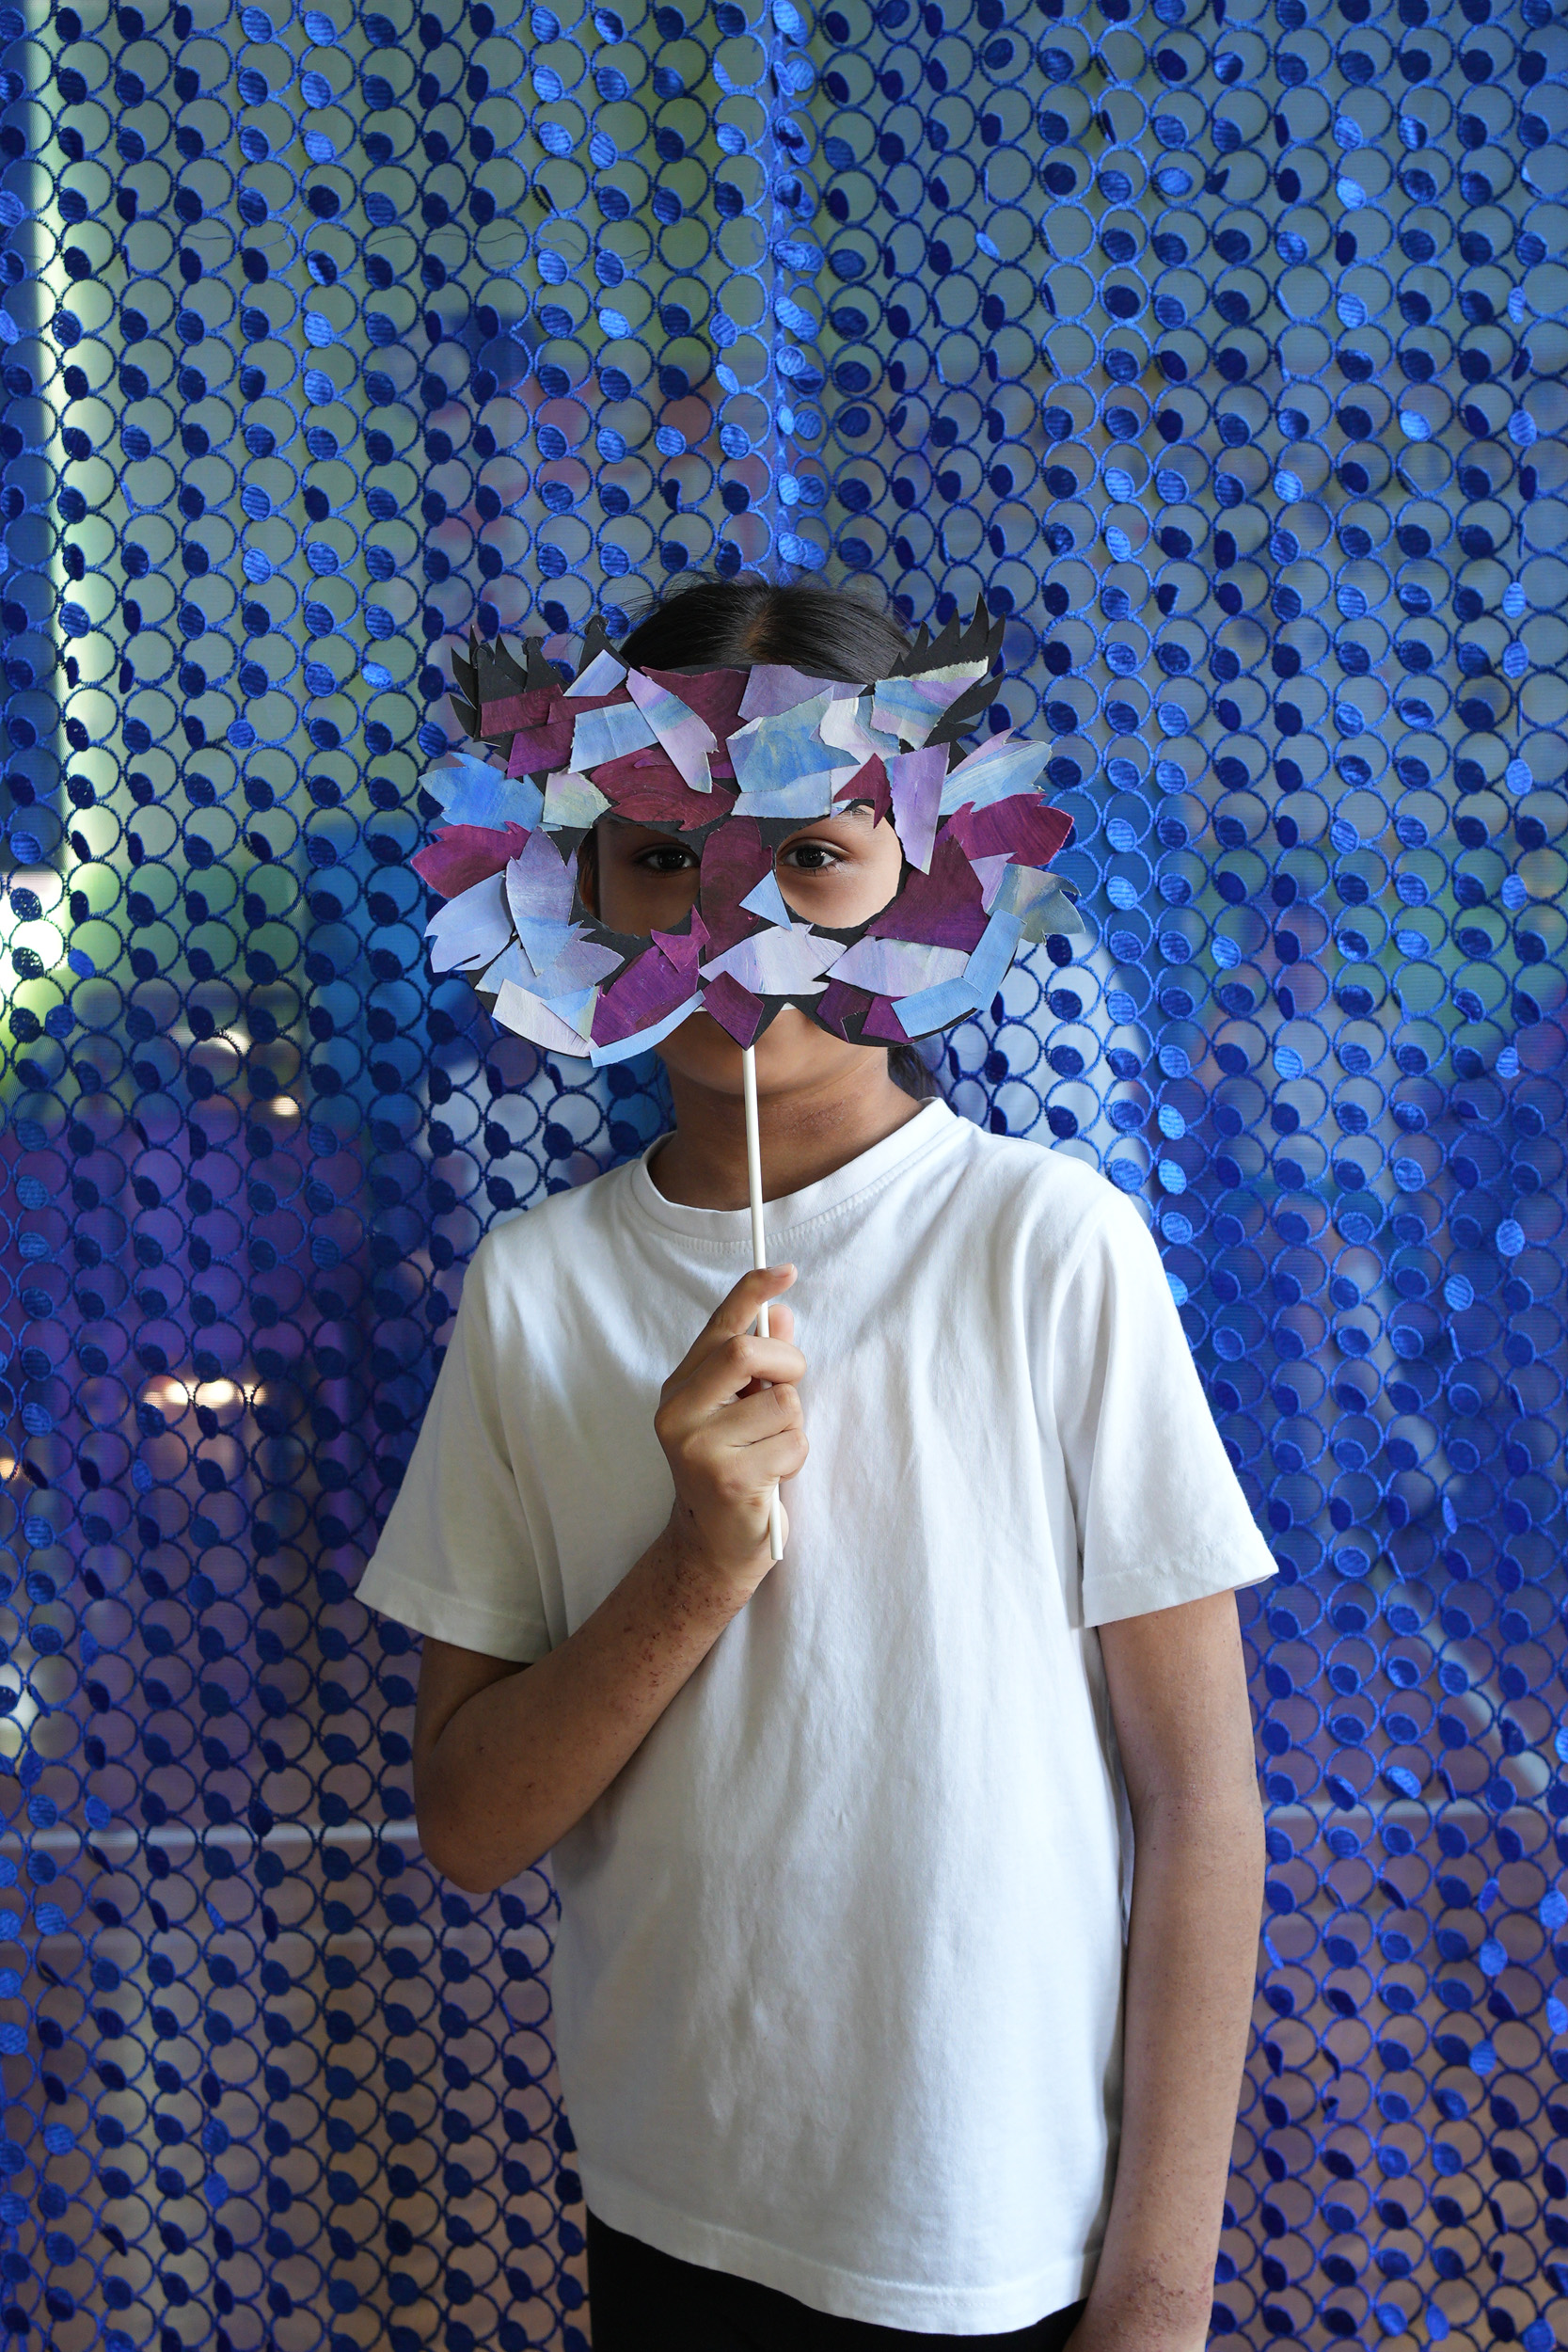
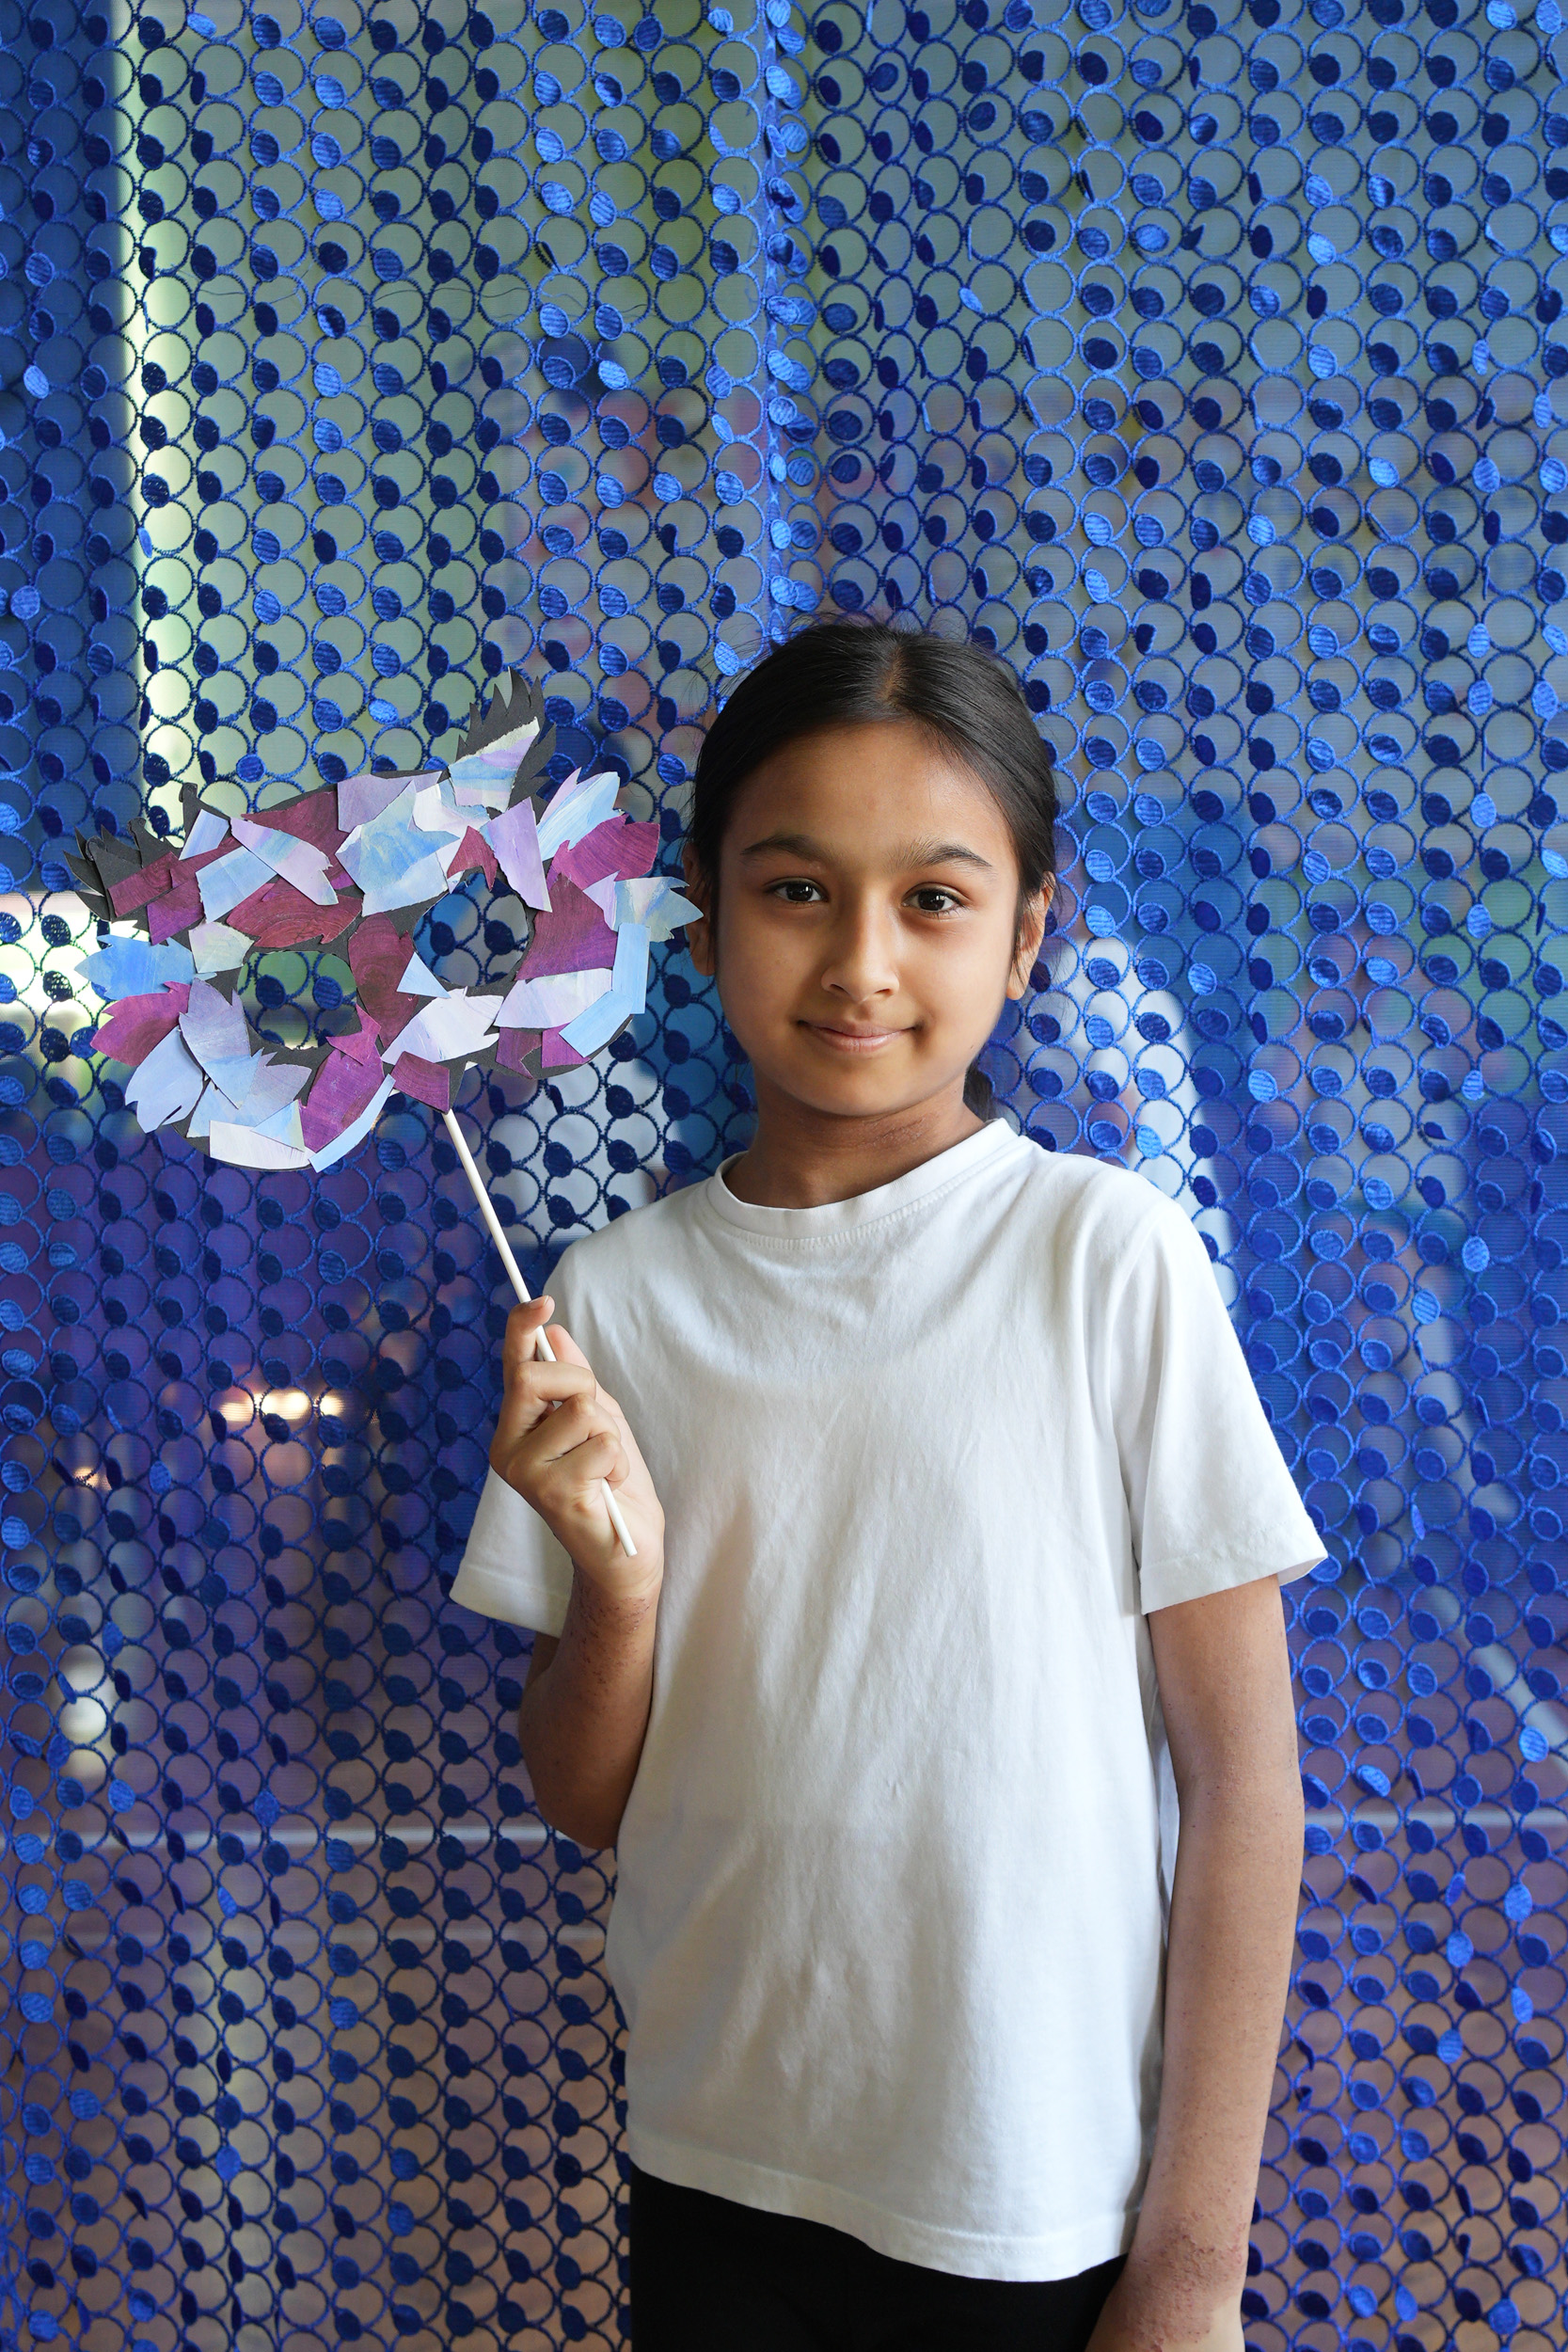
Arnold Pumpkin is a children's picturebook in verse telling a pumpkin’s eye perspective on a thousand-year social and architectural history of the same East London patch – Arnold Circus – site of the most notorious Victorian slum later demolished and rebuilt as the world’s first council housing.
In 1895 Father Osborne Jay, vicar of the Old Nichol in Bethnal Green convinced author Arthur Morrison to visit his parish and raise awareness of what he considered to be the irredeemable plight of the most notorious slum in East London. Morrison’s barely fictionalised Child of the Jago depicted the slum as “a howling sea of human wreckage”, a vision so compellingly wretched it was said to have brought down the entire Old Nichol, demolished and rebuilt as the world’s first council housing, though construction of the Boundary Estate had already started before the book’s publication.
If Child of the Jago was “a howling sea of human wreckage”, Arnold Pumpkin is a harmonious ark of more-than-human salvage. Developed with children who live on the Boundary Estate today and illustrated by Sing Yun Lee, the story is in equal parts rigorous and fantastical told exclusively through all the flora and fauna who have ever lived on site. A companion graphic novel, taking the form of an archival scrapbook for adults, reveals the historical references underpinning each double-page spread of the picturebook, challenging singular readings of history and fables. Arnold Pumpkin is a story about grasping landlords, ungracious paternalism and gutsy resistance told by a striped pumpkin who just wants to grow as his home (and his hat) are transformed by slum dragons, anarcho-communist terriers, proselytising canaries and squatting geese.
In 2026 we received funding to develop the project with architect Amy Brookes and performance maker Rhea Chandratreya by devising workshops with residents, students and teachers from Virginia Primary School who live and go to school on Arnold Circus. We sought to introduce residents and schoolchildren to their estate’s unique history and invite them to creatively interpret and perform their own versions of this history on site through a series of five workshops. The collages and stories created and enacted will be developed into the picturebook in which counterpointing visual and verbal narratives will celebrate their community’s resilience, and challenge singular readings of poverty and progress.
Introduction – David Roberts
Hello, thank you for welcoming us into your class! We are making a picturebook called Arnold Pumpkin telling the story of this area, Arnold Circus, through his eyes. We will be joining you because we would like you to help us make this book - by telling us your stories and by making some of the other characters which will feature in the book.
You may know some picturebooks already, like the Hungry Caterpillar, or the Gruffalo, or Elmer. The stories are sometimes serious, sometimes sad, sometimes scary and often silly. The stories might be about the real world or they might be about the world made fantastical or other worlds that are magical. There are some picturebooks about the places where we live, that tell us about tall blocks with lots of noisy neighbours, or housing estates where sunflowers grow through the walls and through the floors into every flat and up on to the roof.
We are making a book that is uniquely about this area, Arnold Circus. The book tells its real history but in a fantastical way. Like the hungry caterpillar, the Gruffalo, and Elmer, the book will not have people, it will have animals, buildings and vegetables, like Arnold.
Arnold is the main character in the book because of the stories some people who live here have already told us. They said, when they moved here from the places they were born, like Bangladesh, they wanted to grow vegetables like they did in their home countries. They were told not to by the people in charge, who sometimes dug up the plants that they had carefully grown, but that didn’t stop the gardeners! So they put seeds in the ground every year, around the bandstand, in pots, in planters. And those seeds grow into vegetables like pumpkins that would be made into curries and soups. So the pumpkin is more than just food, it is a reminder of their home and a symbol of their spirit.
We have invented some other characters based on stories we have read about in historical books and records. Some are good, and some are bad, and some might be both. We are here because we would like you to help us find new characters and tell other stories of this area. We will run some activities with you to help share these stories and to design, invent, and perform as these characters, which we will include in the book.
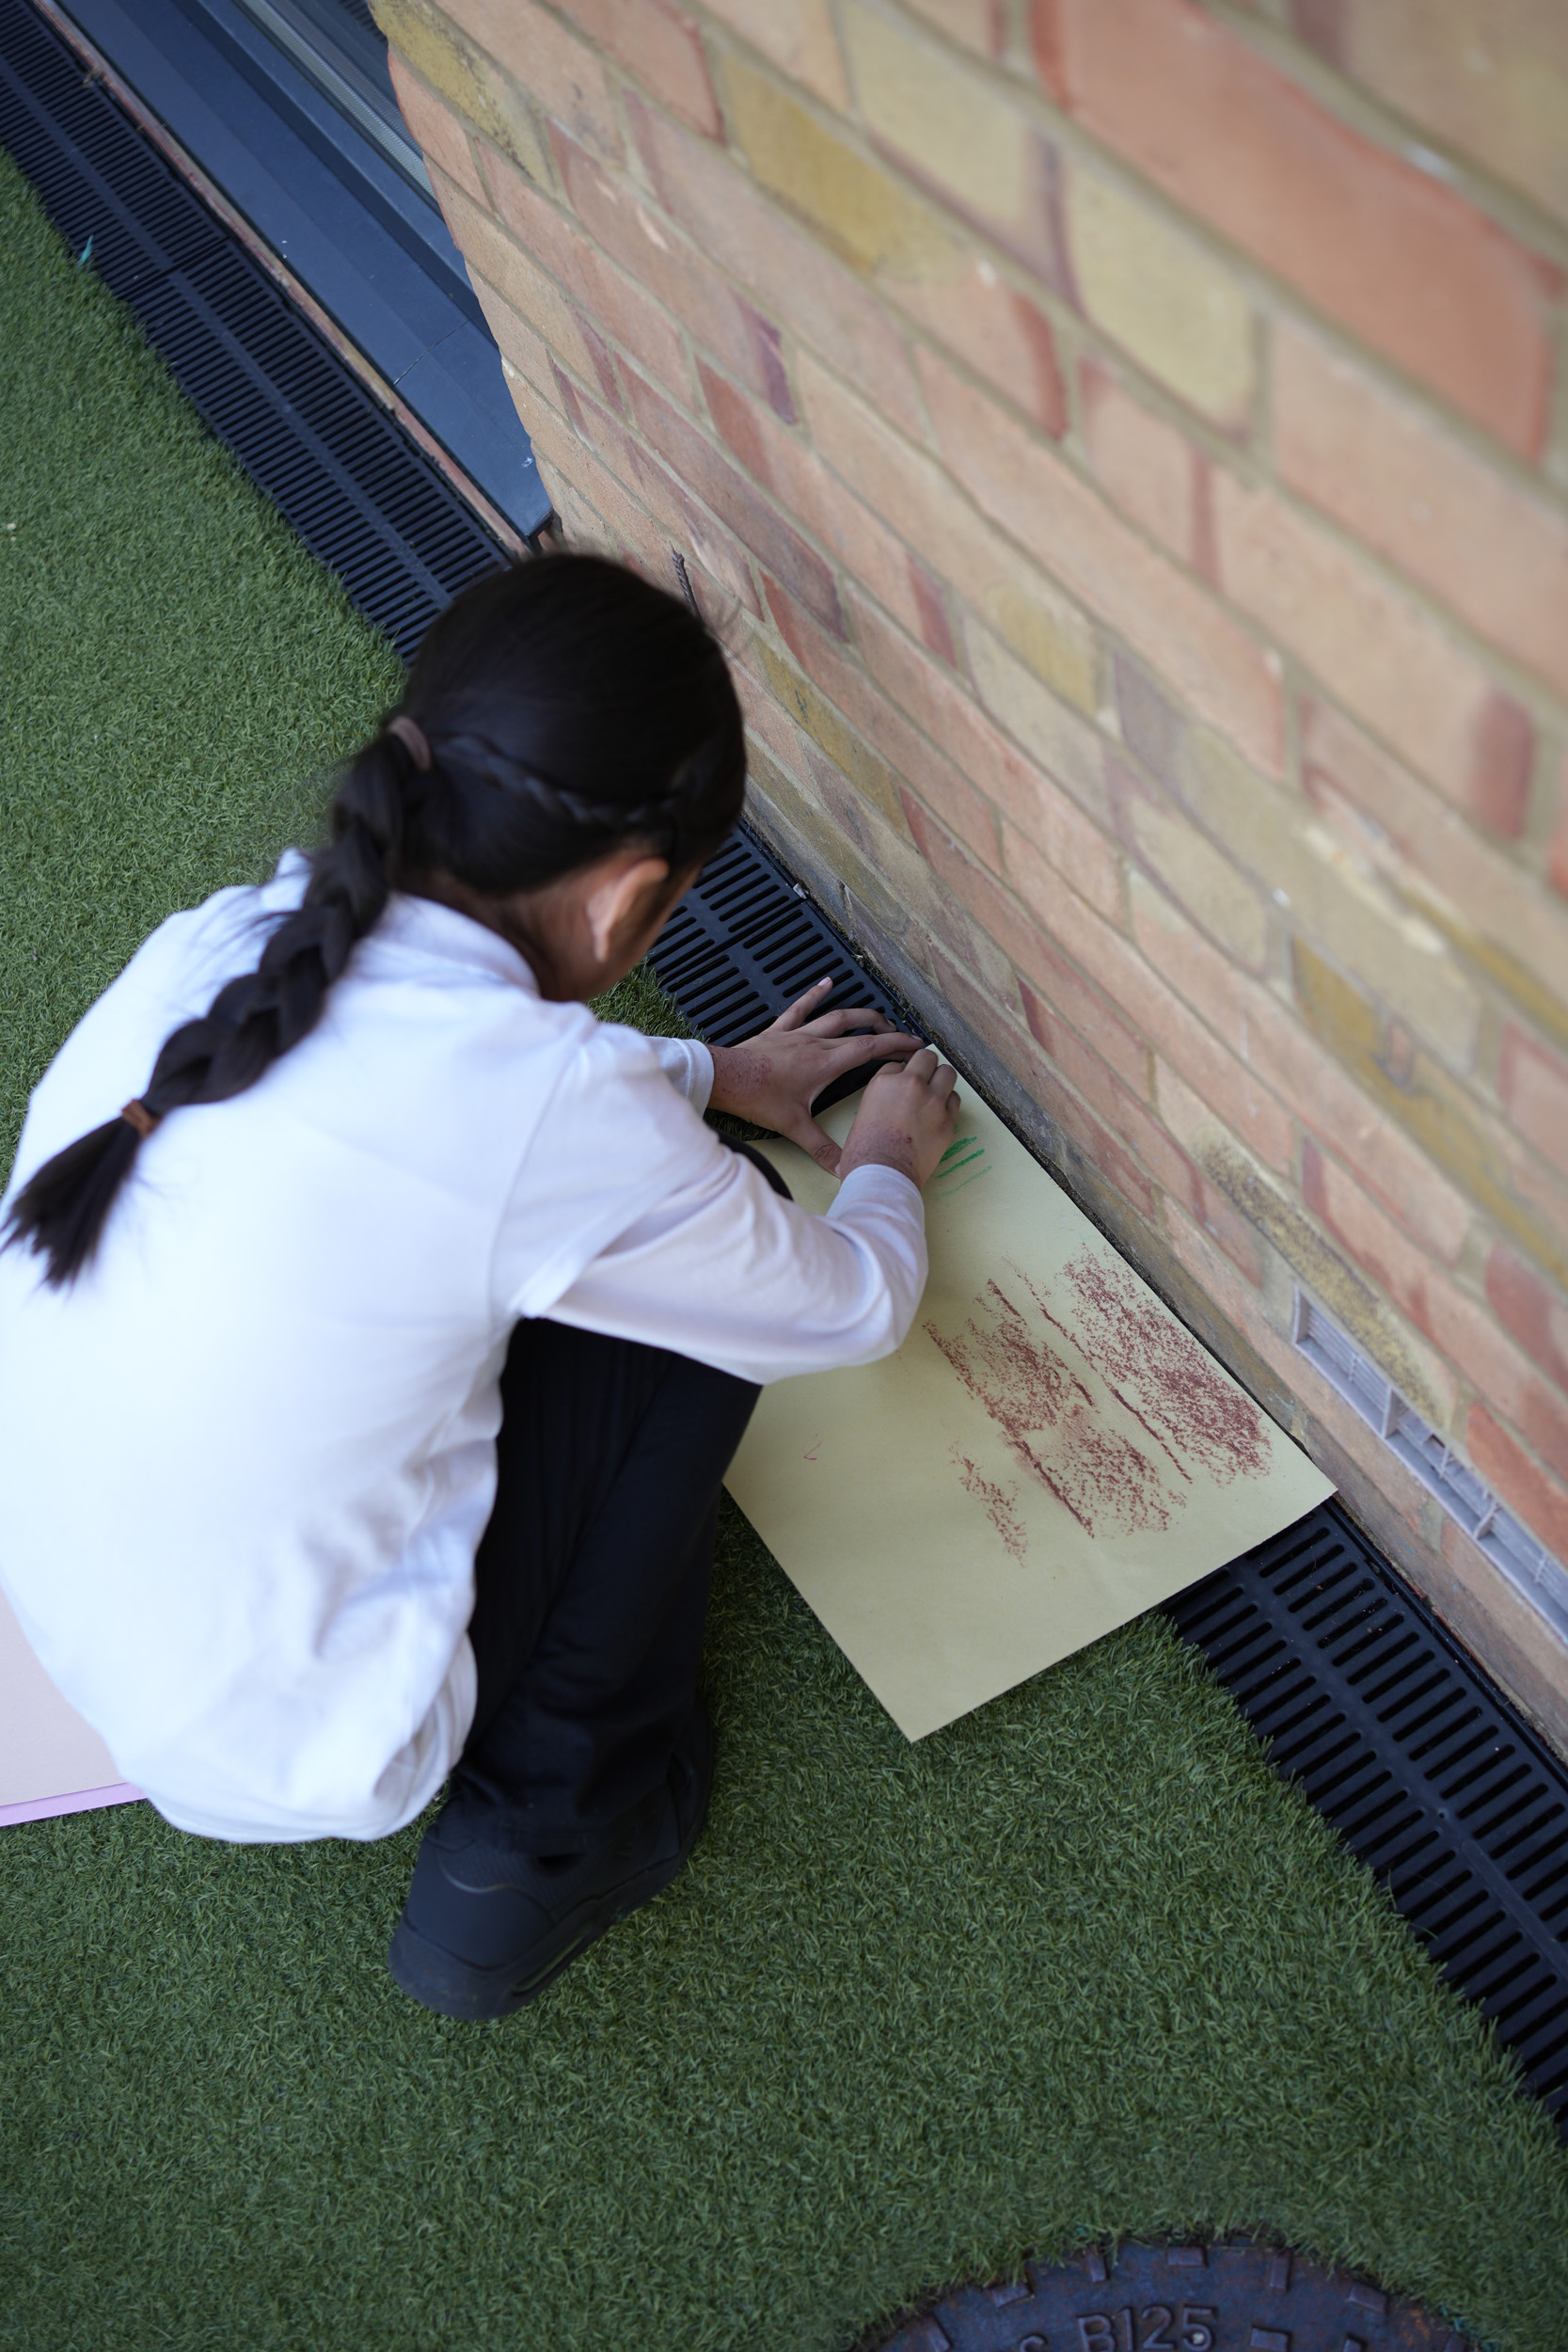
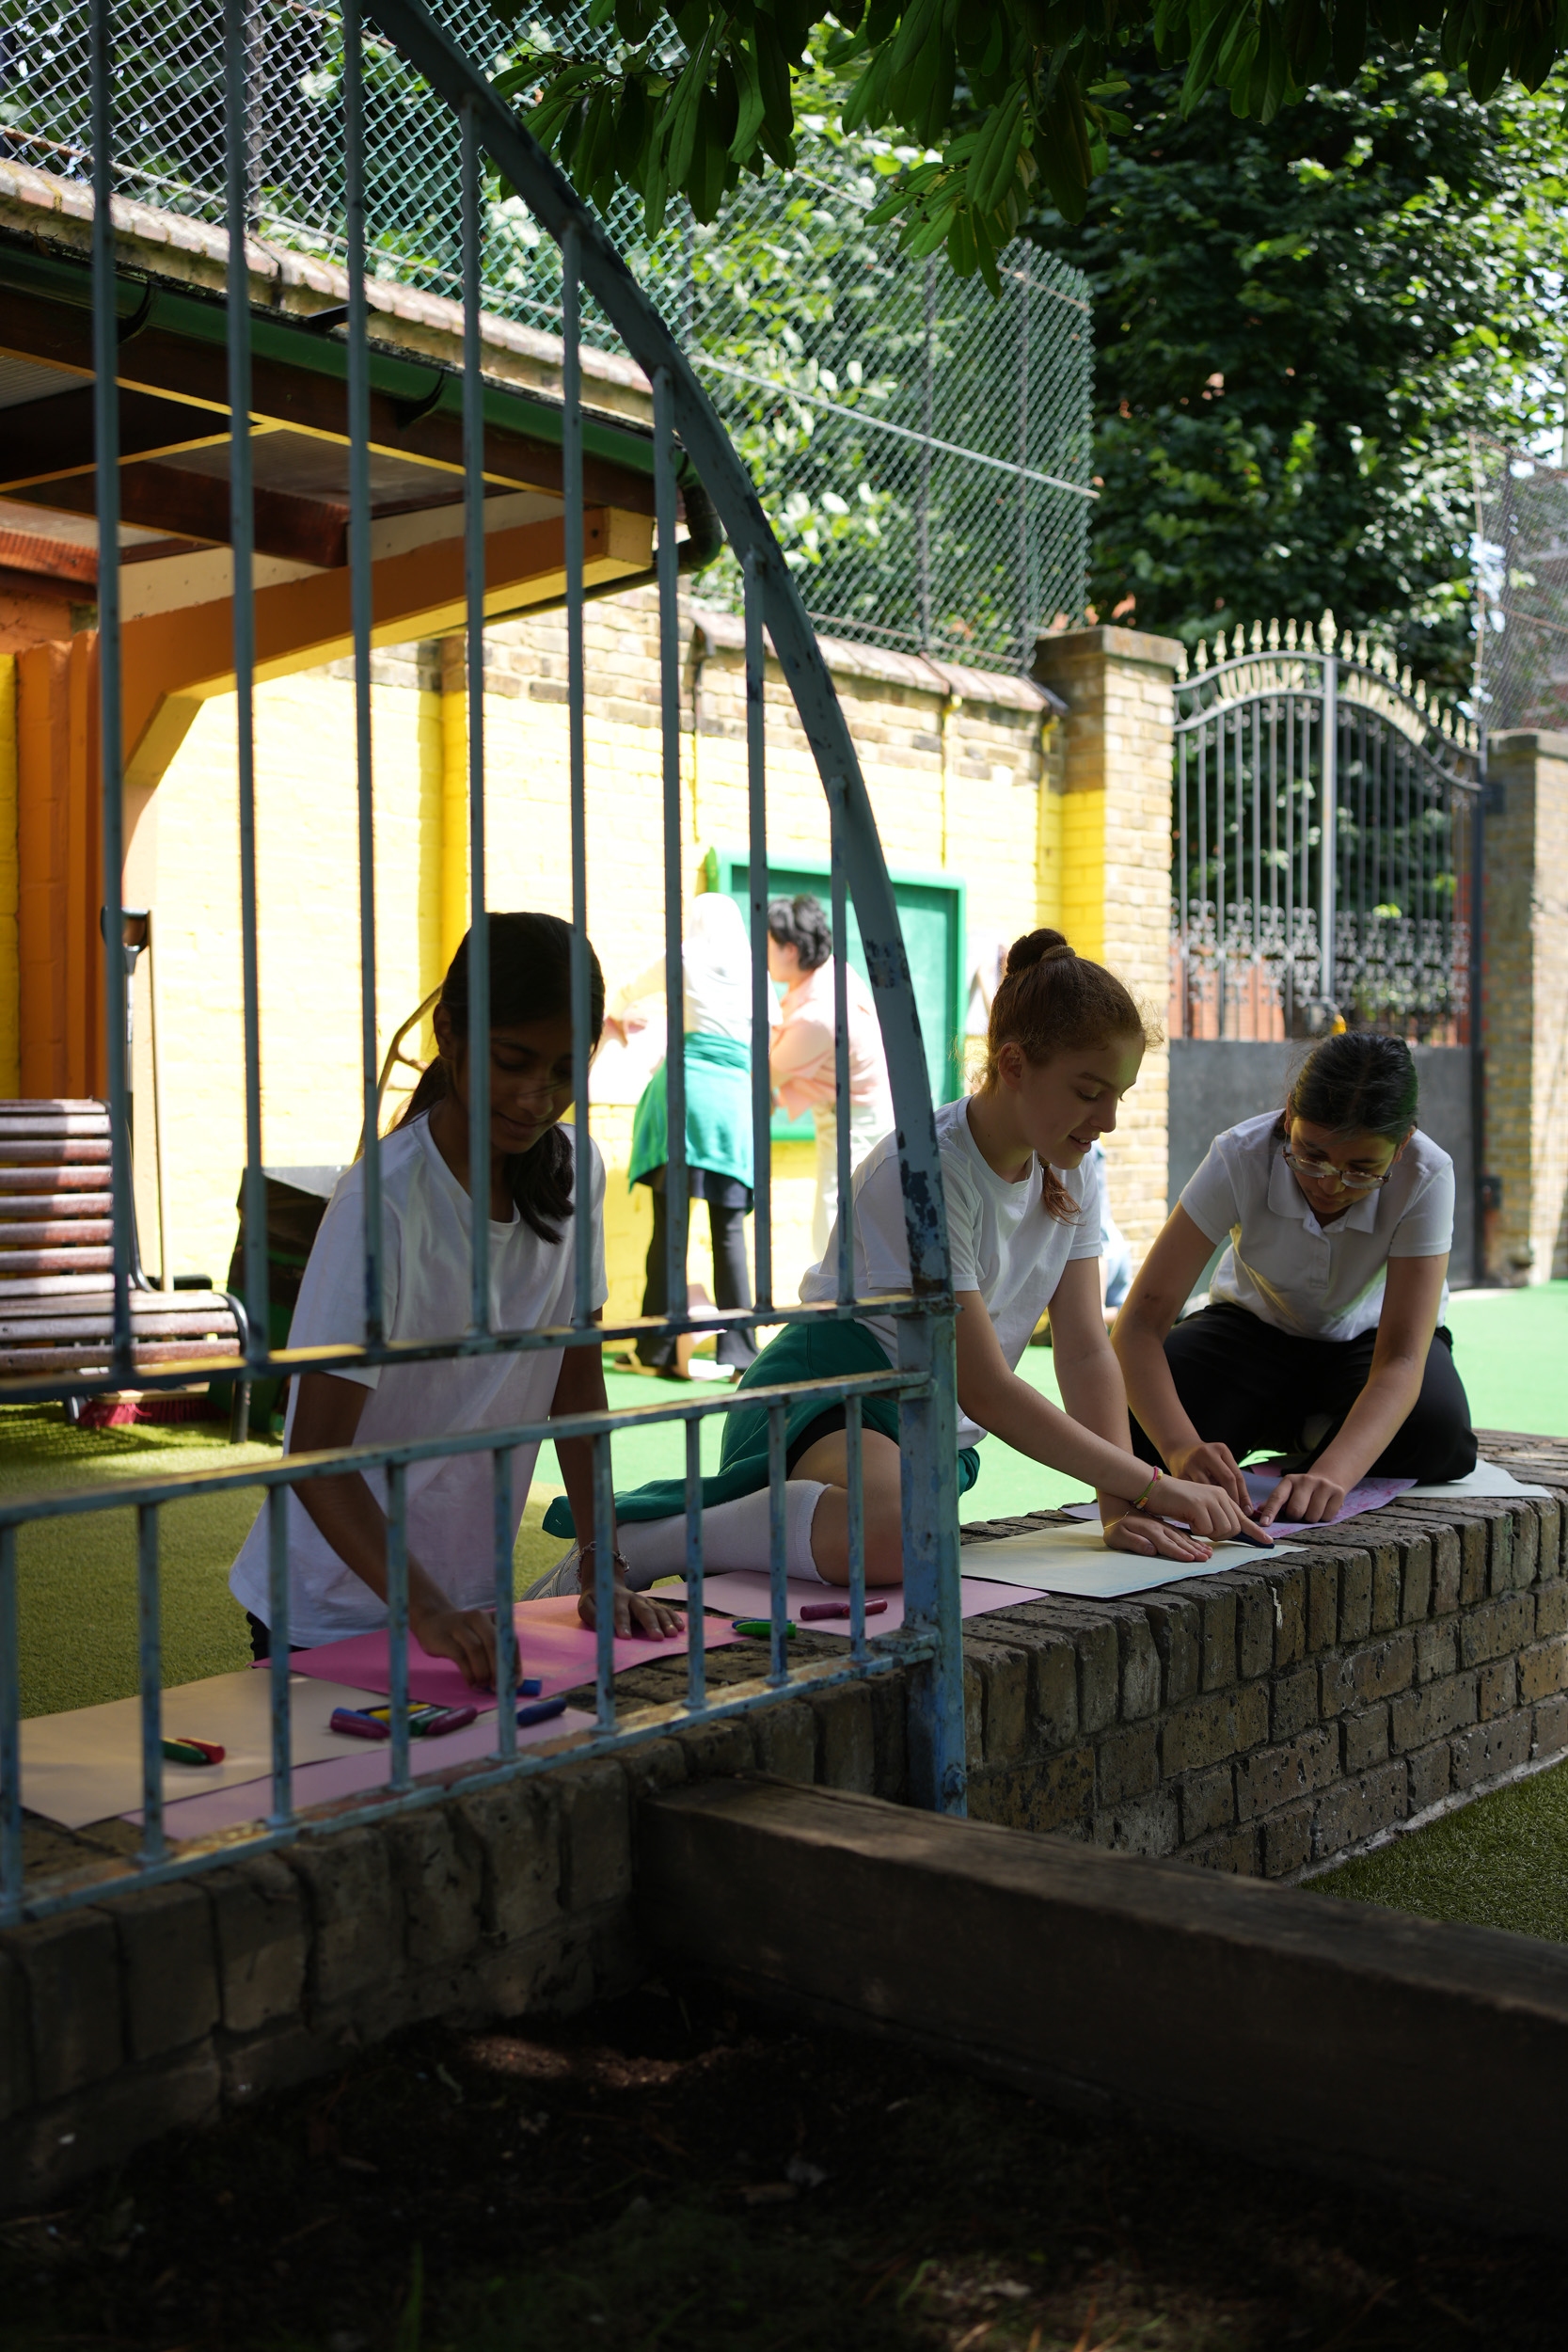
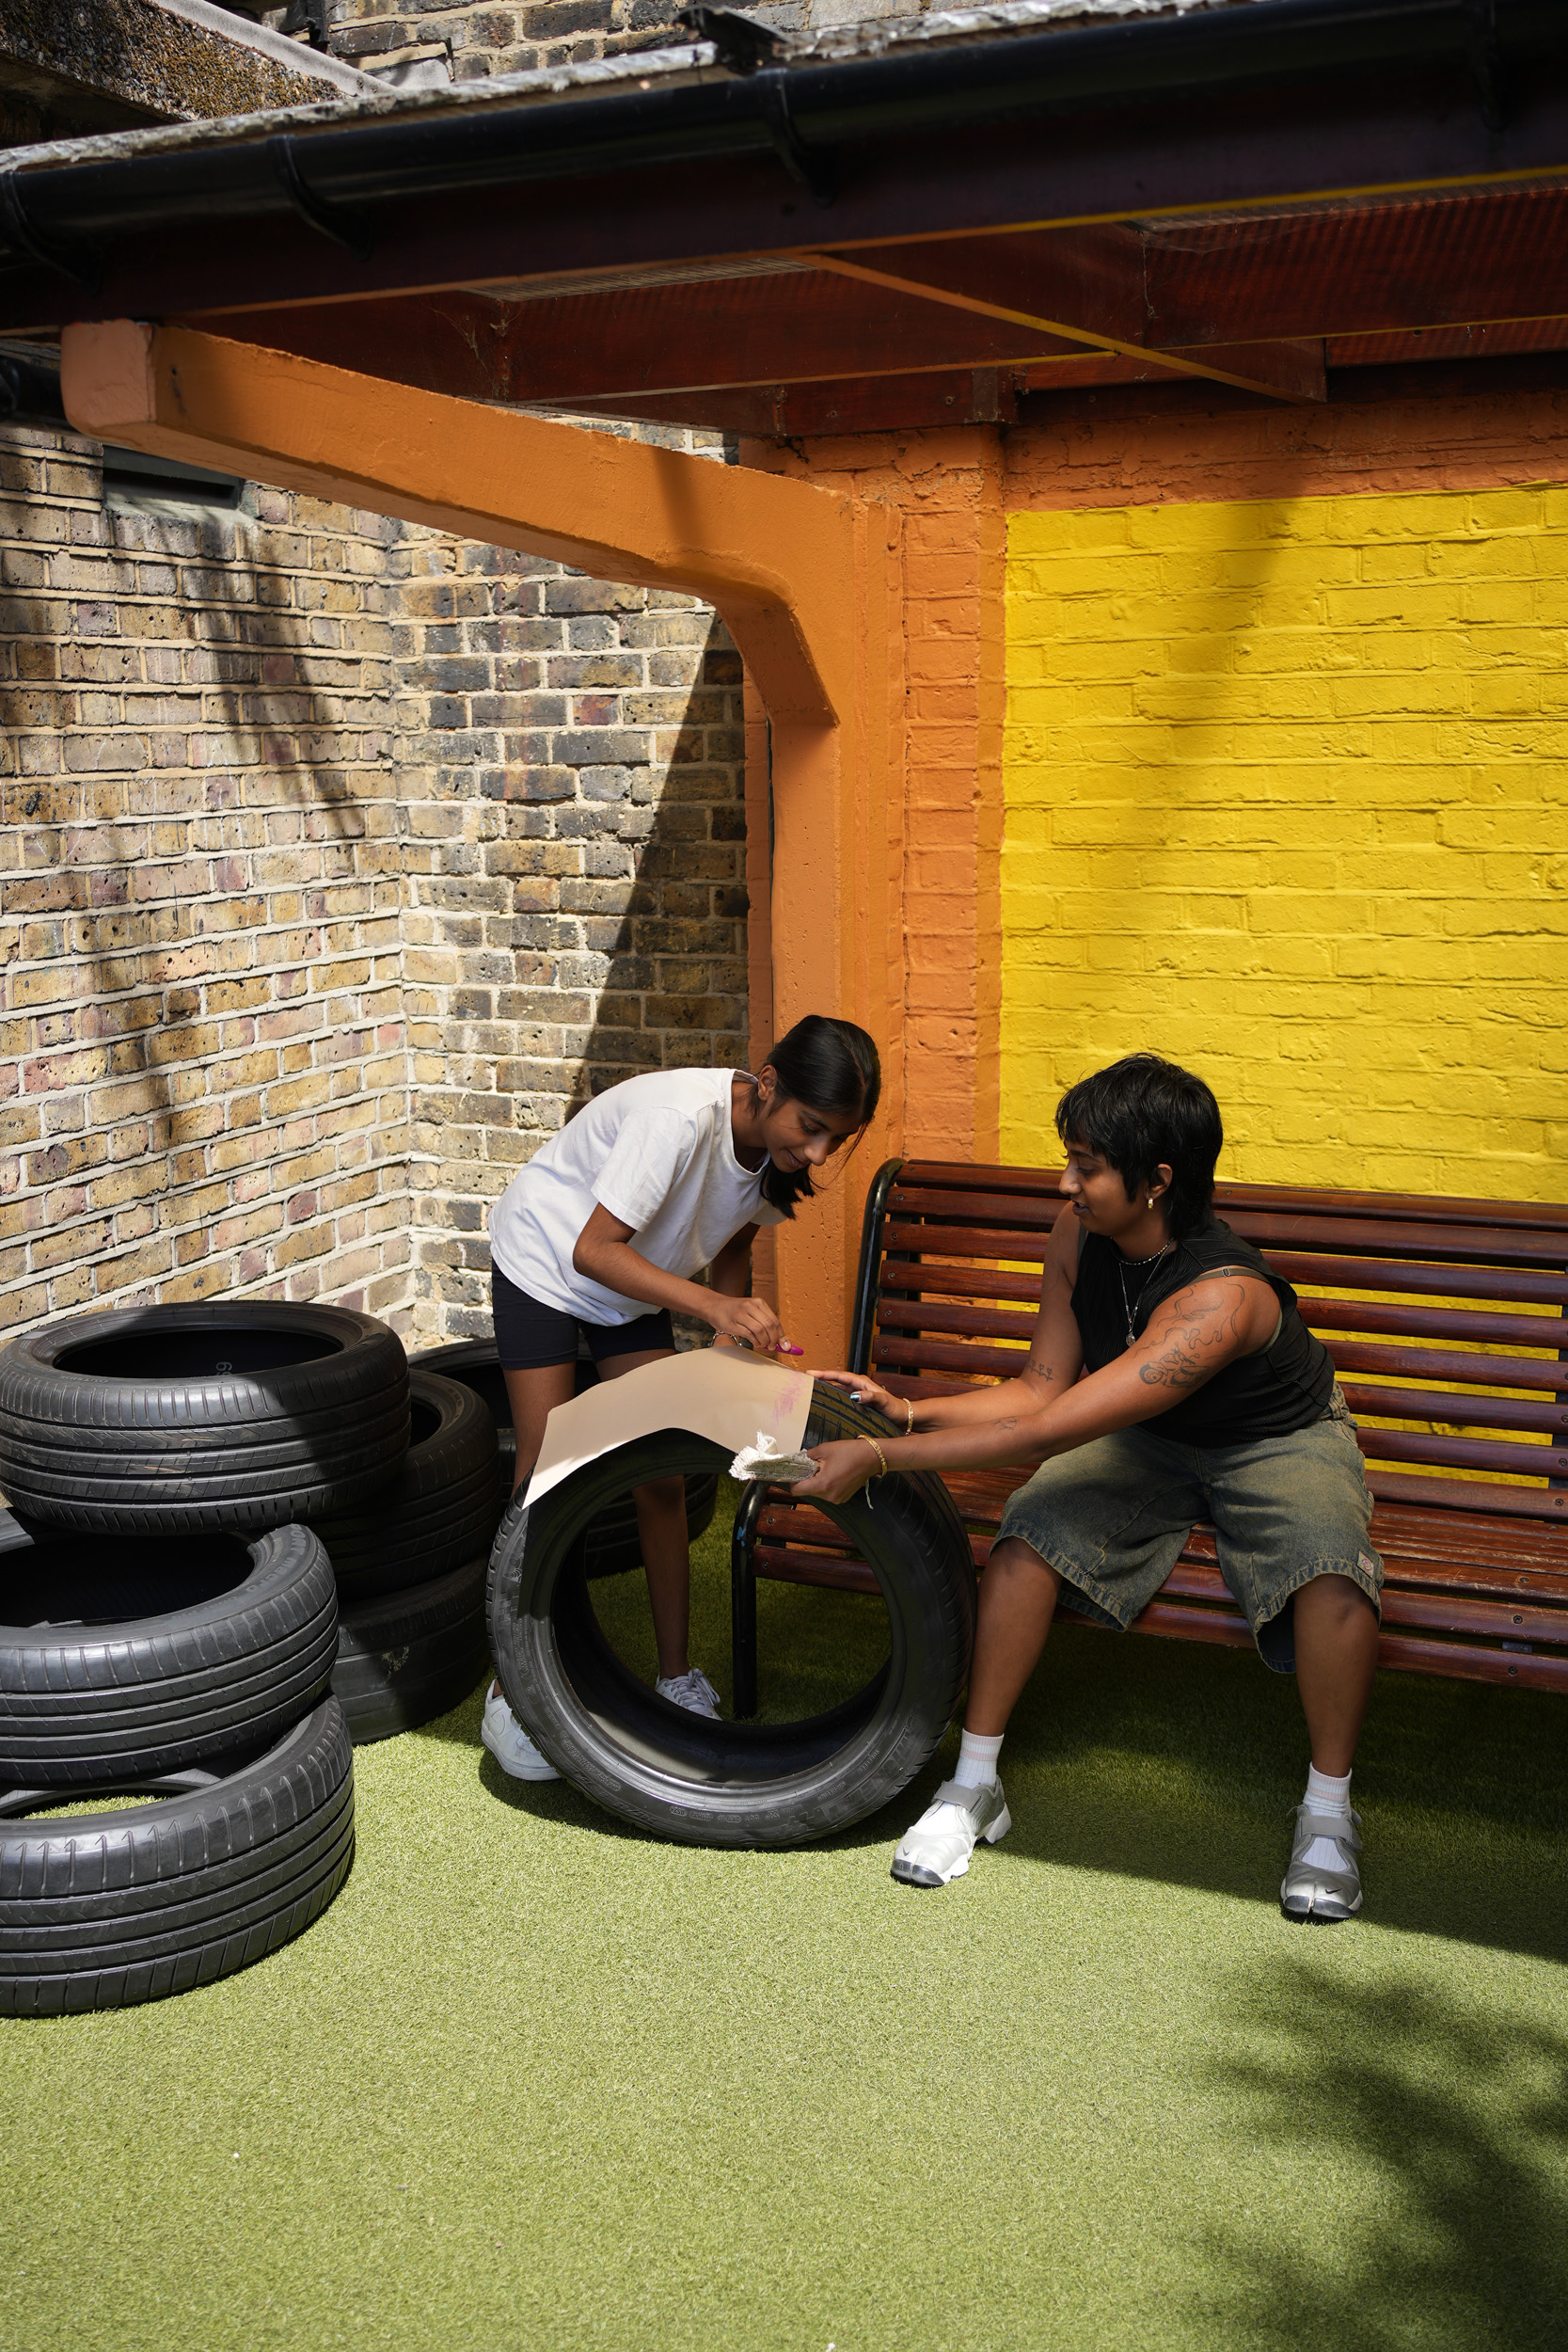
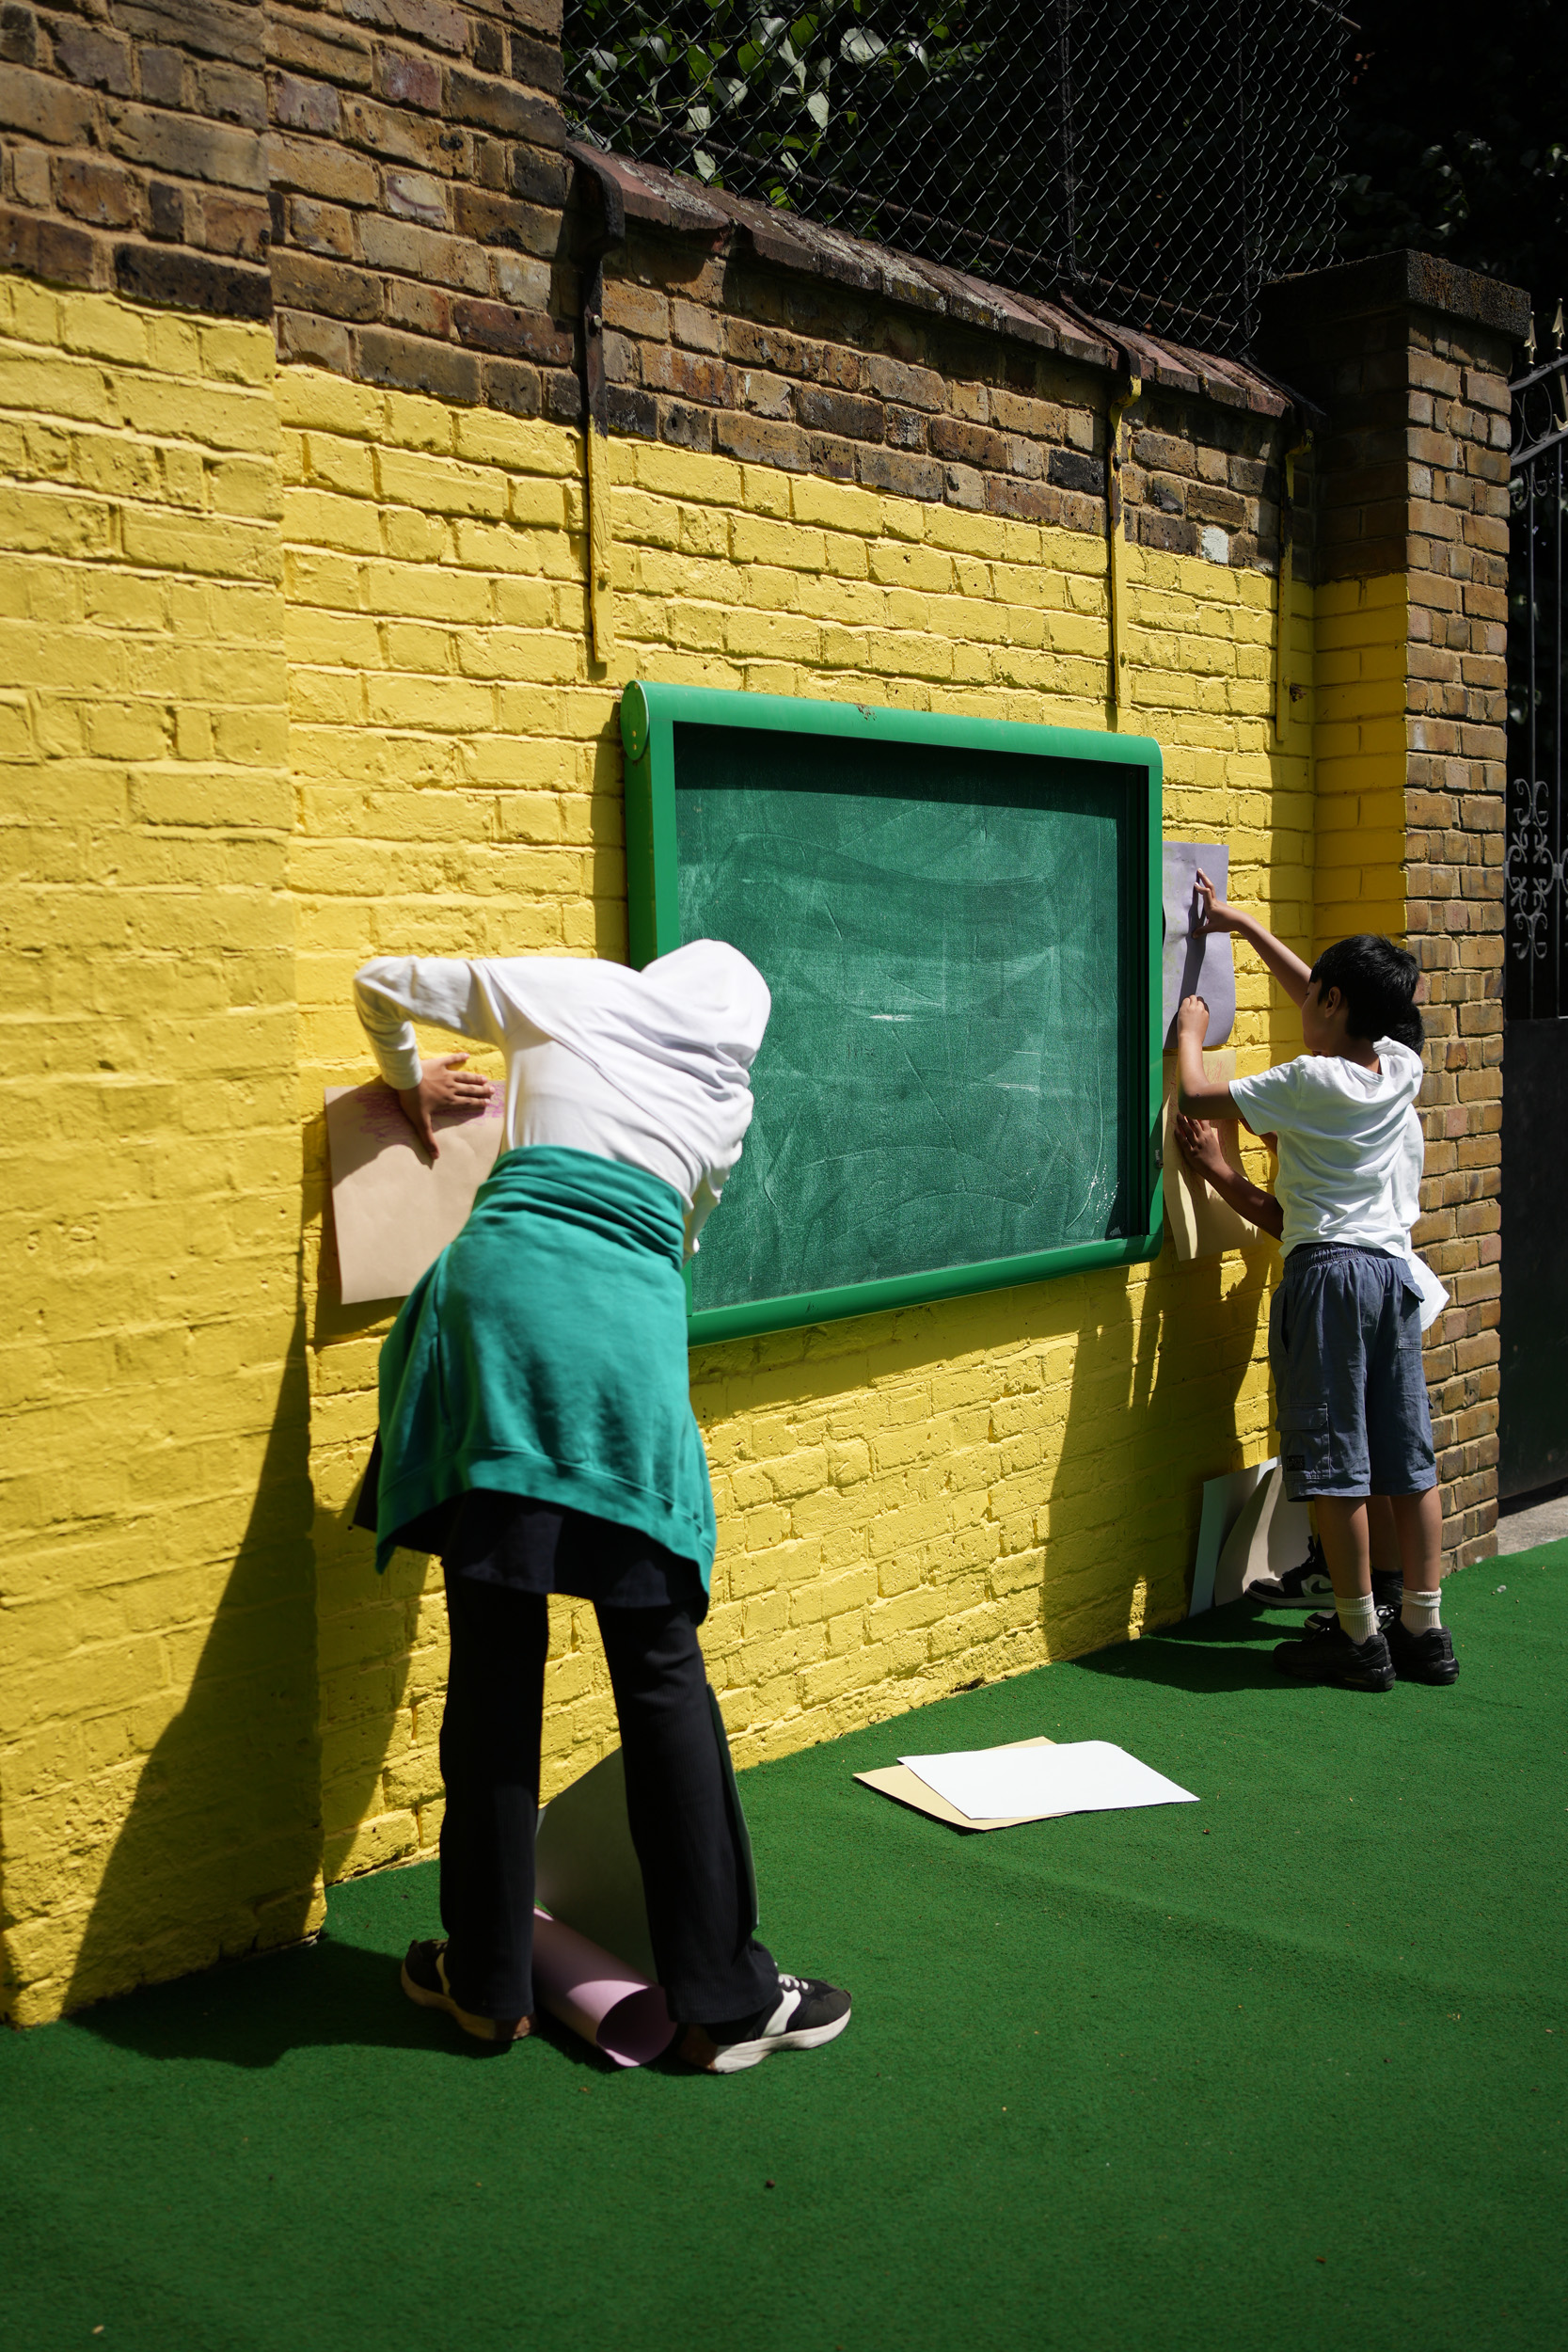
Rubbings workshop – Amy Brookes
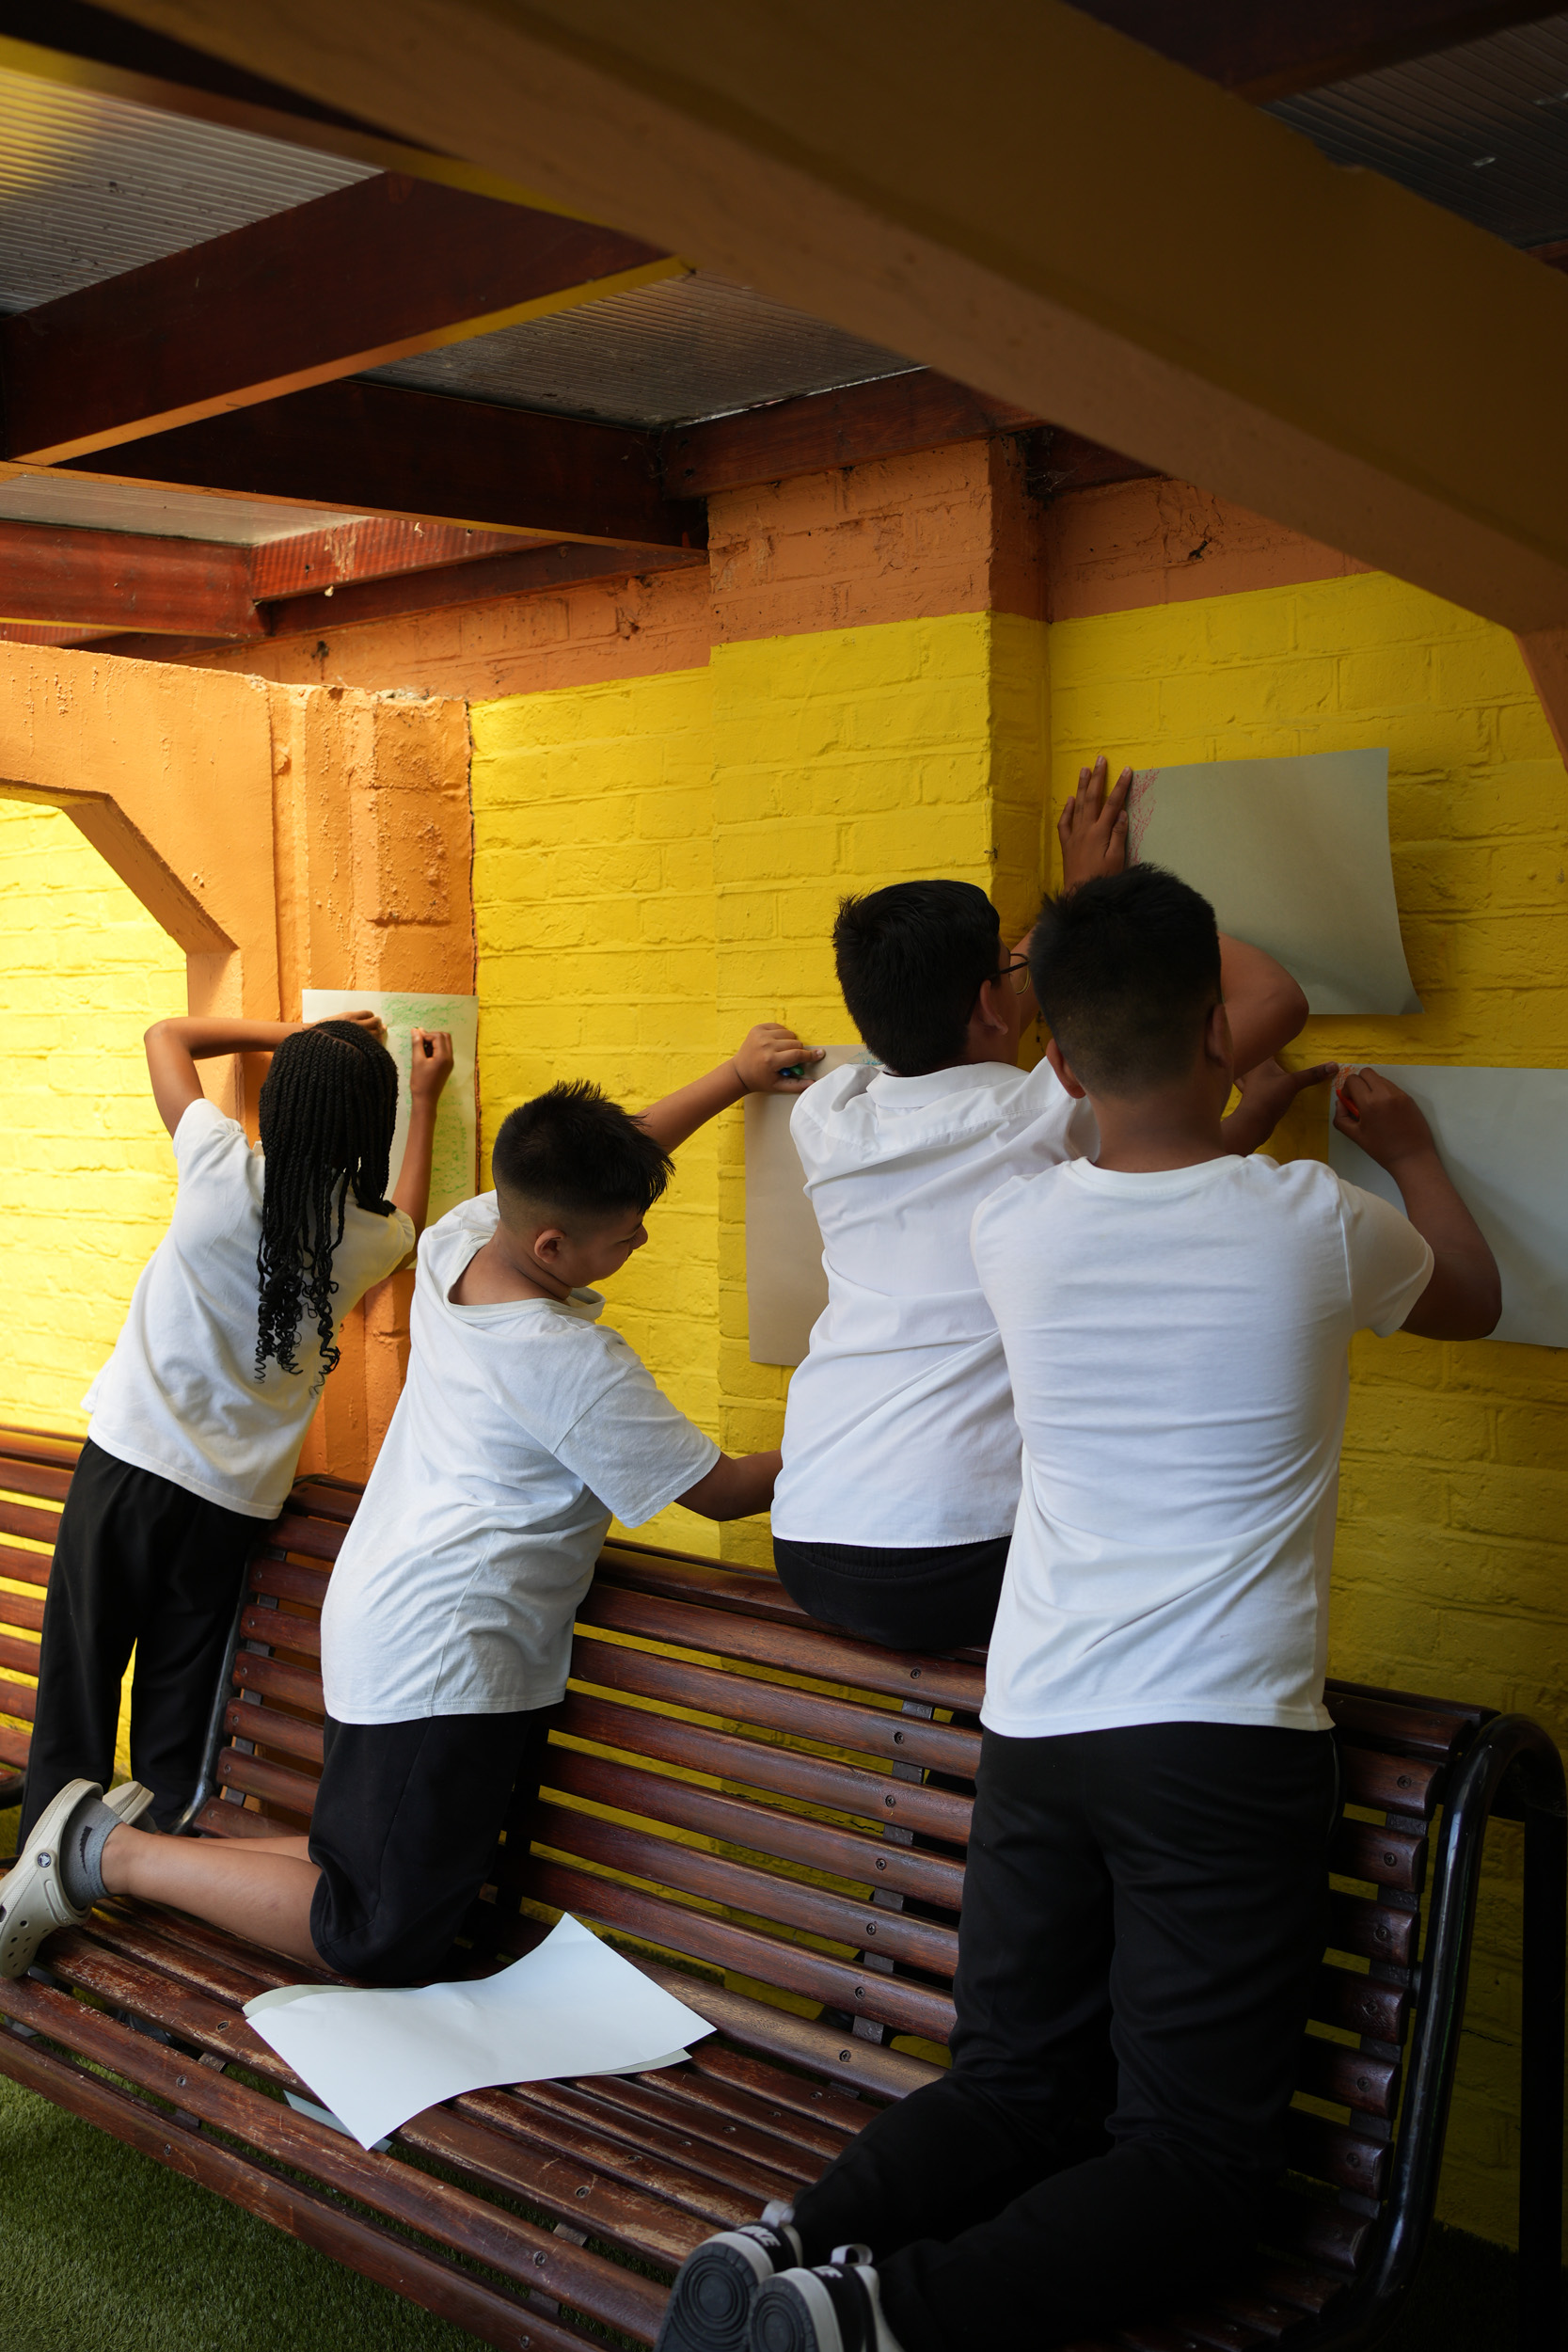
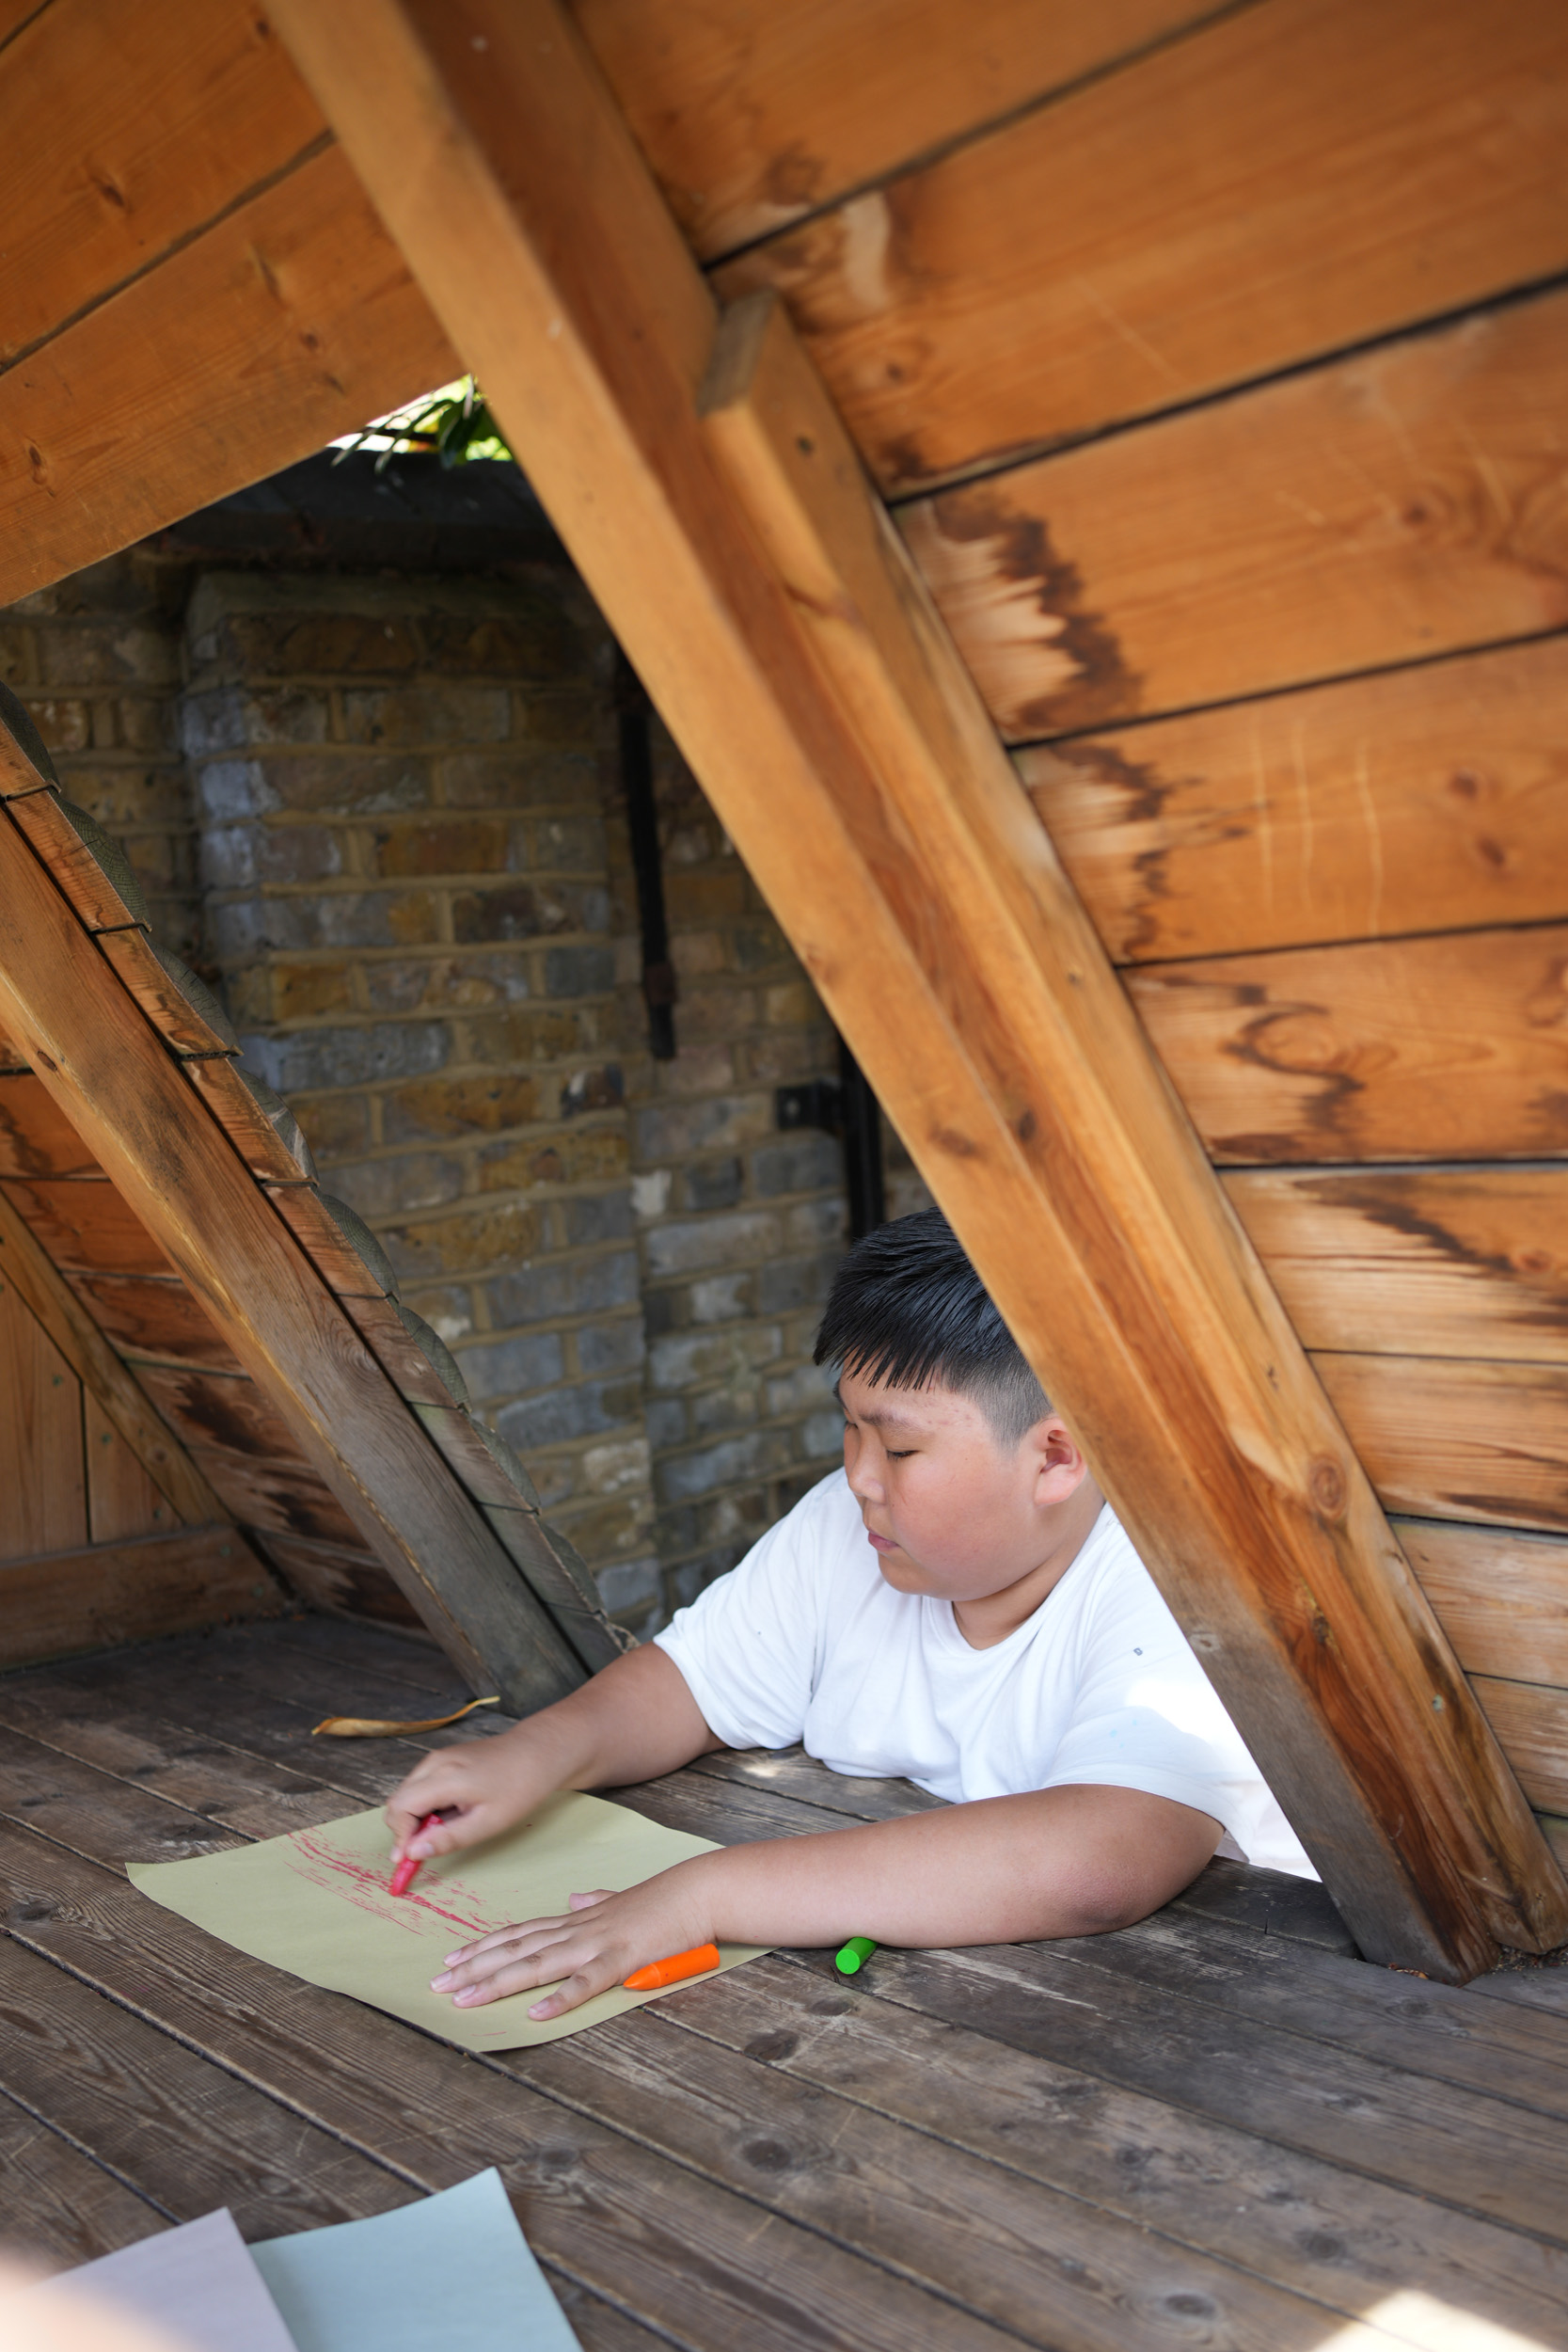
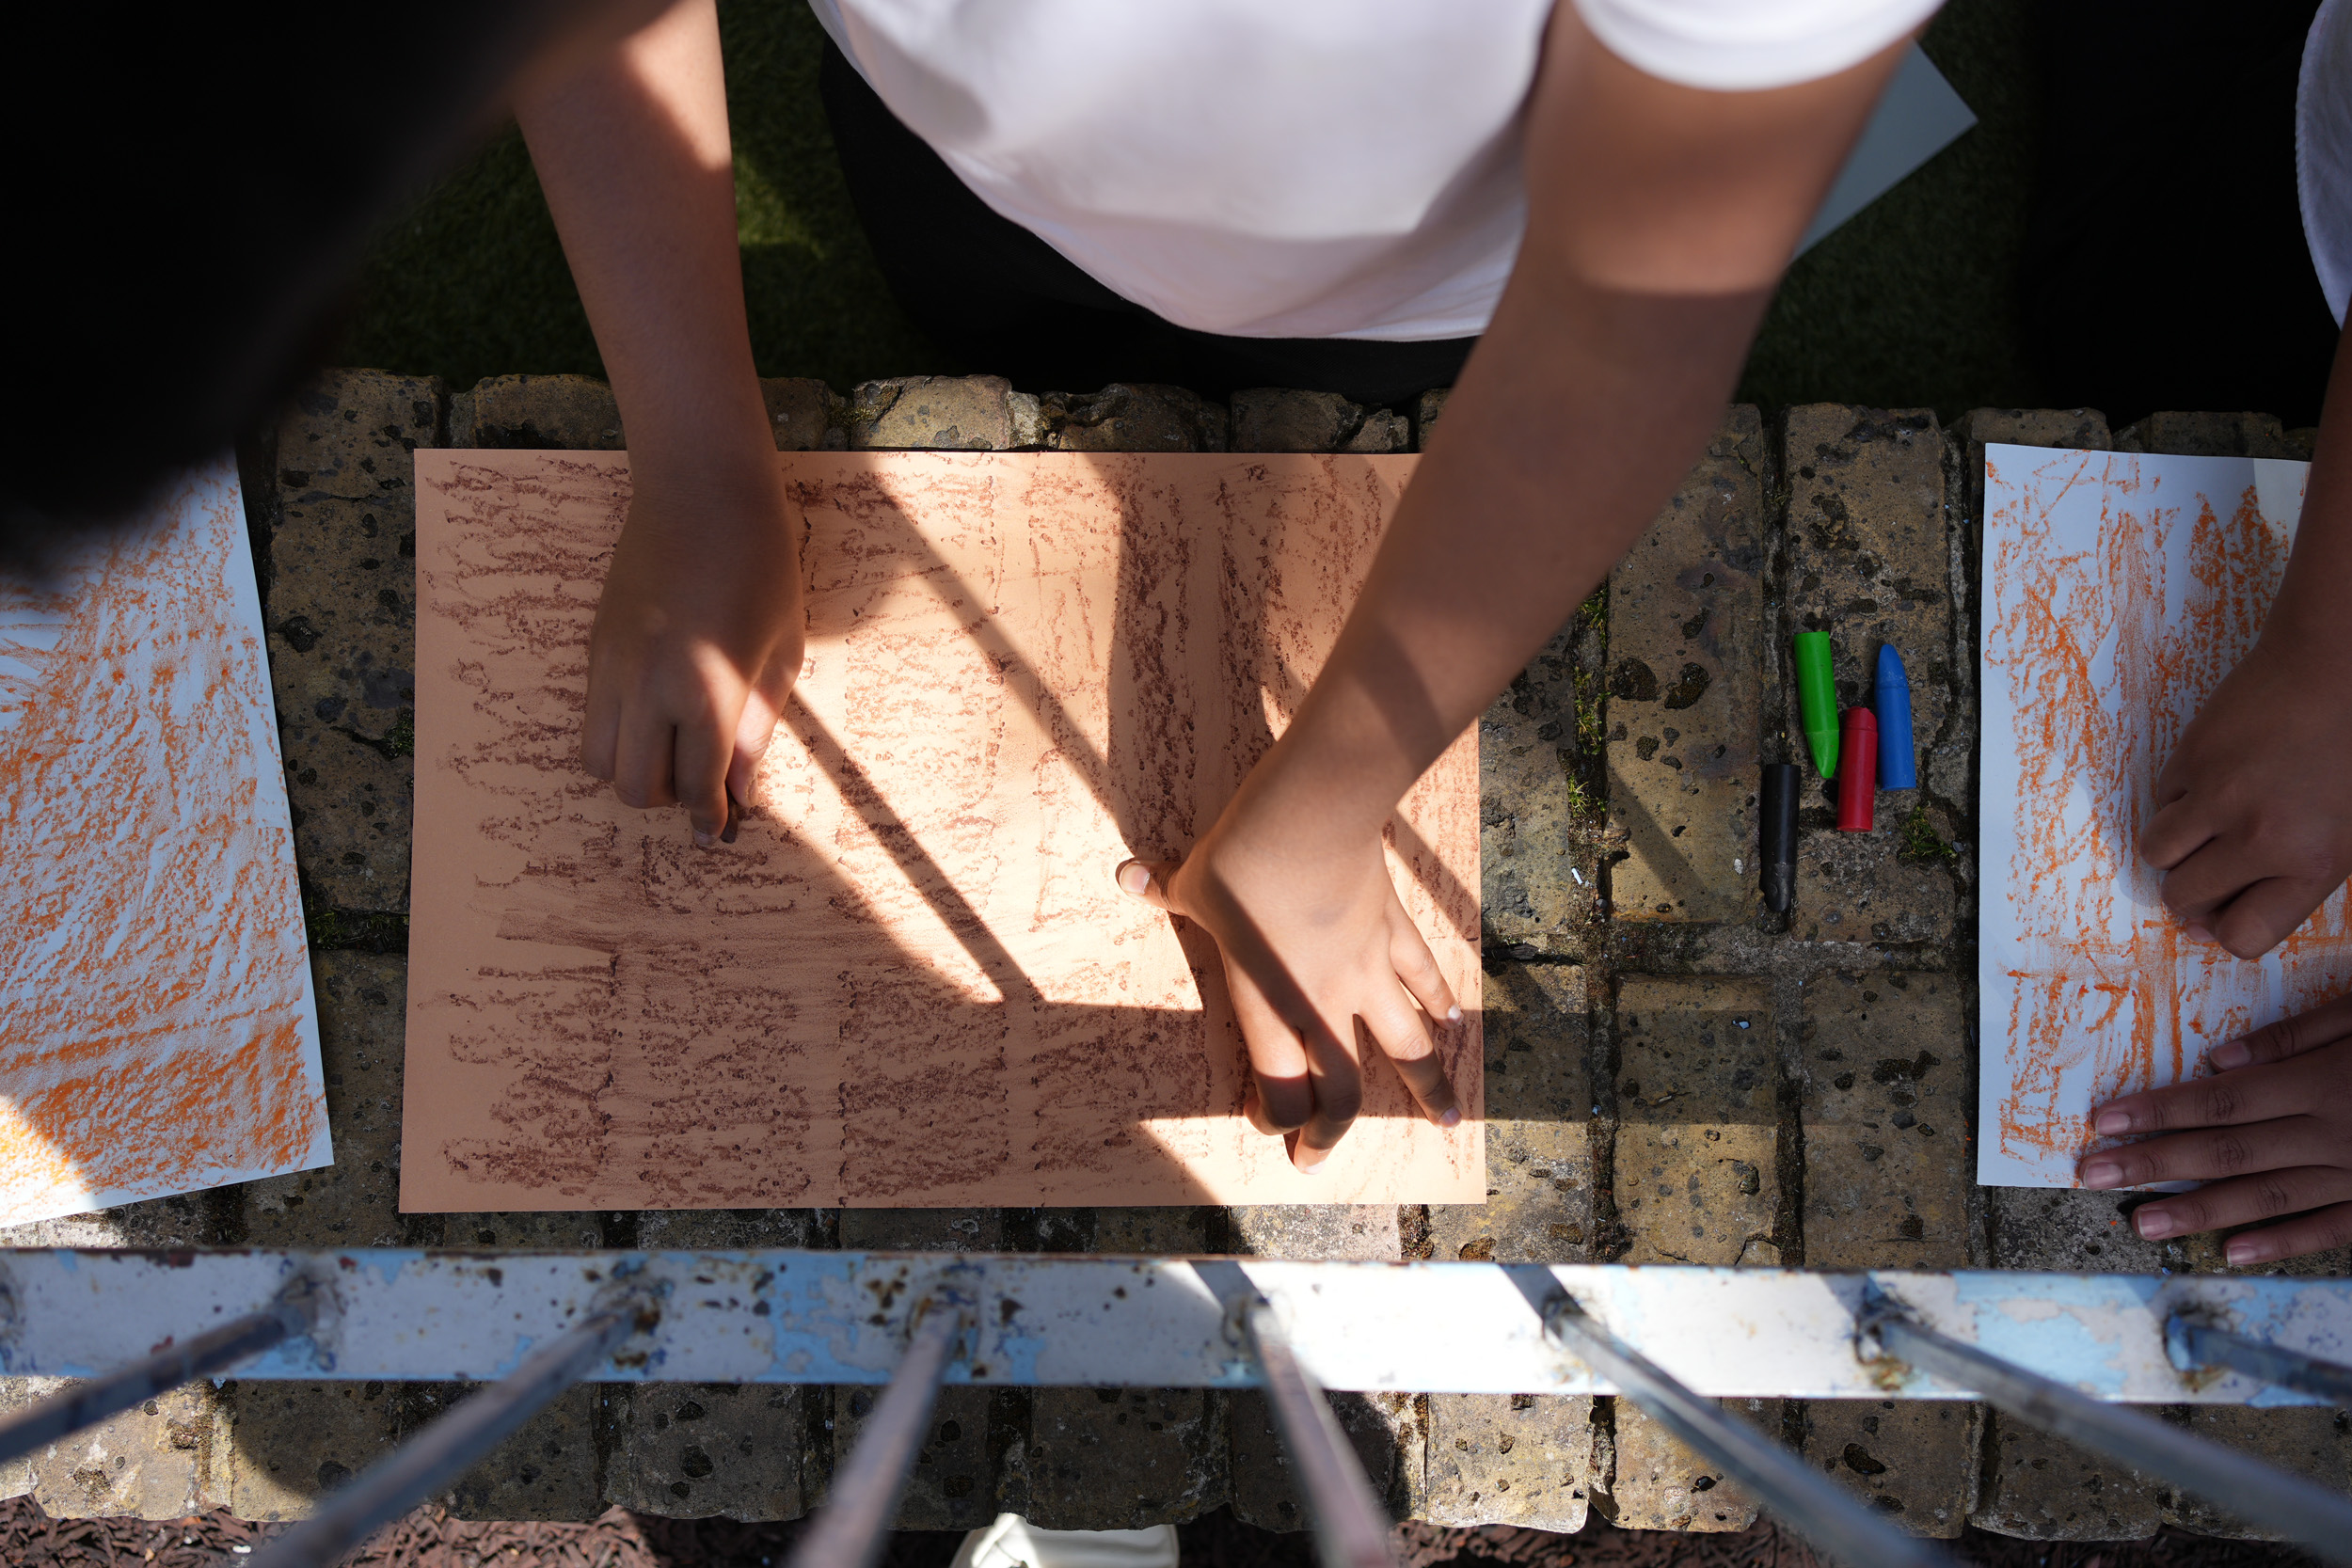
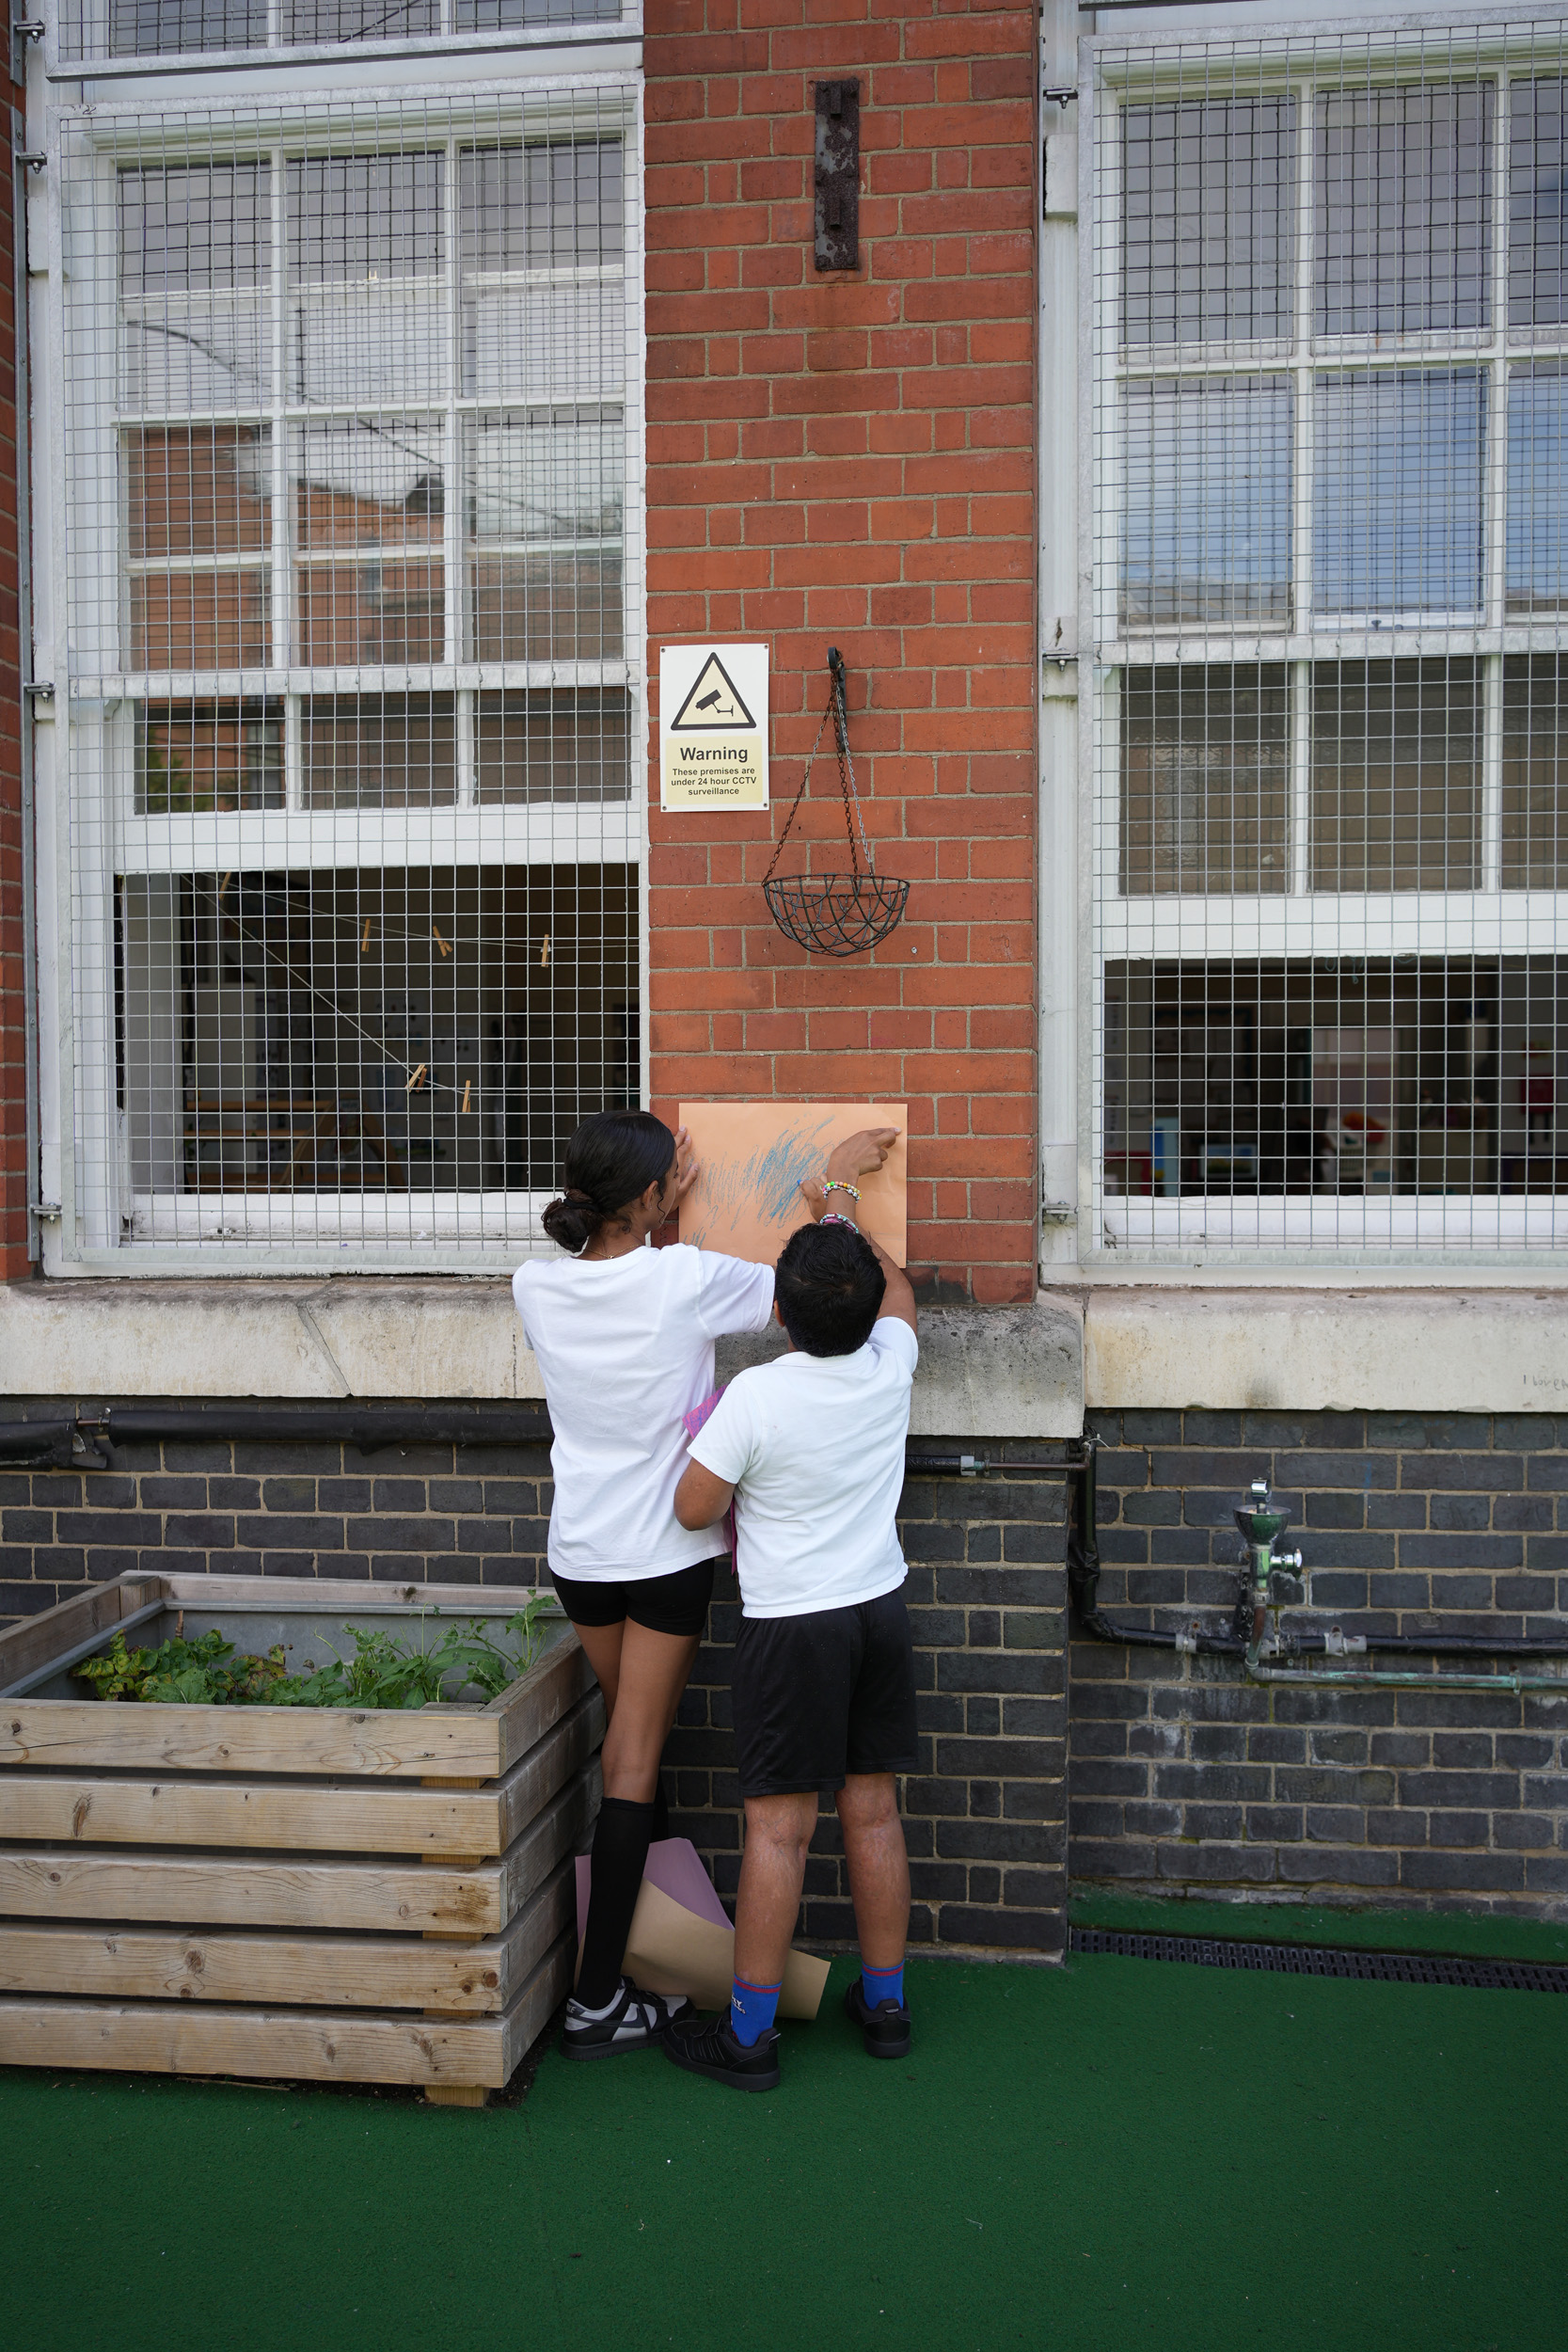
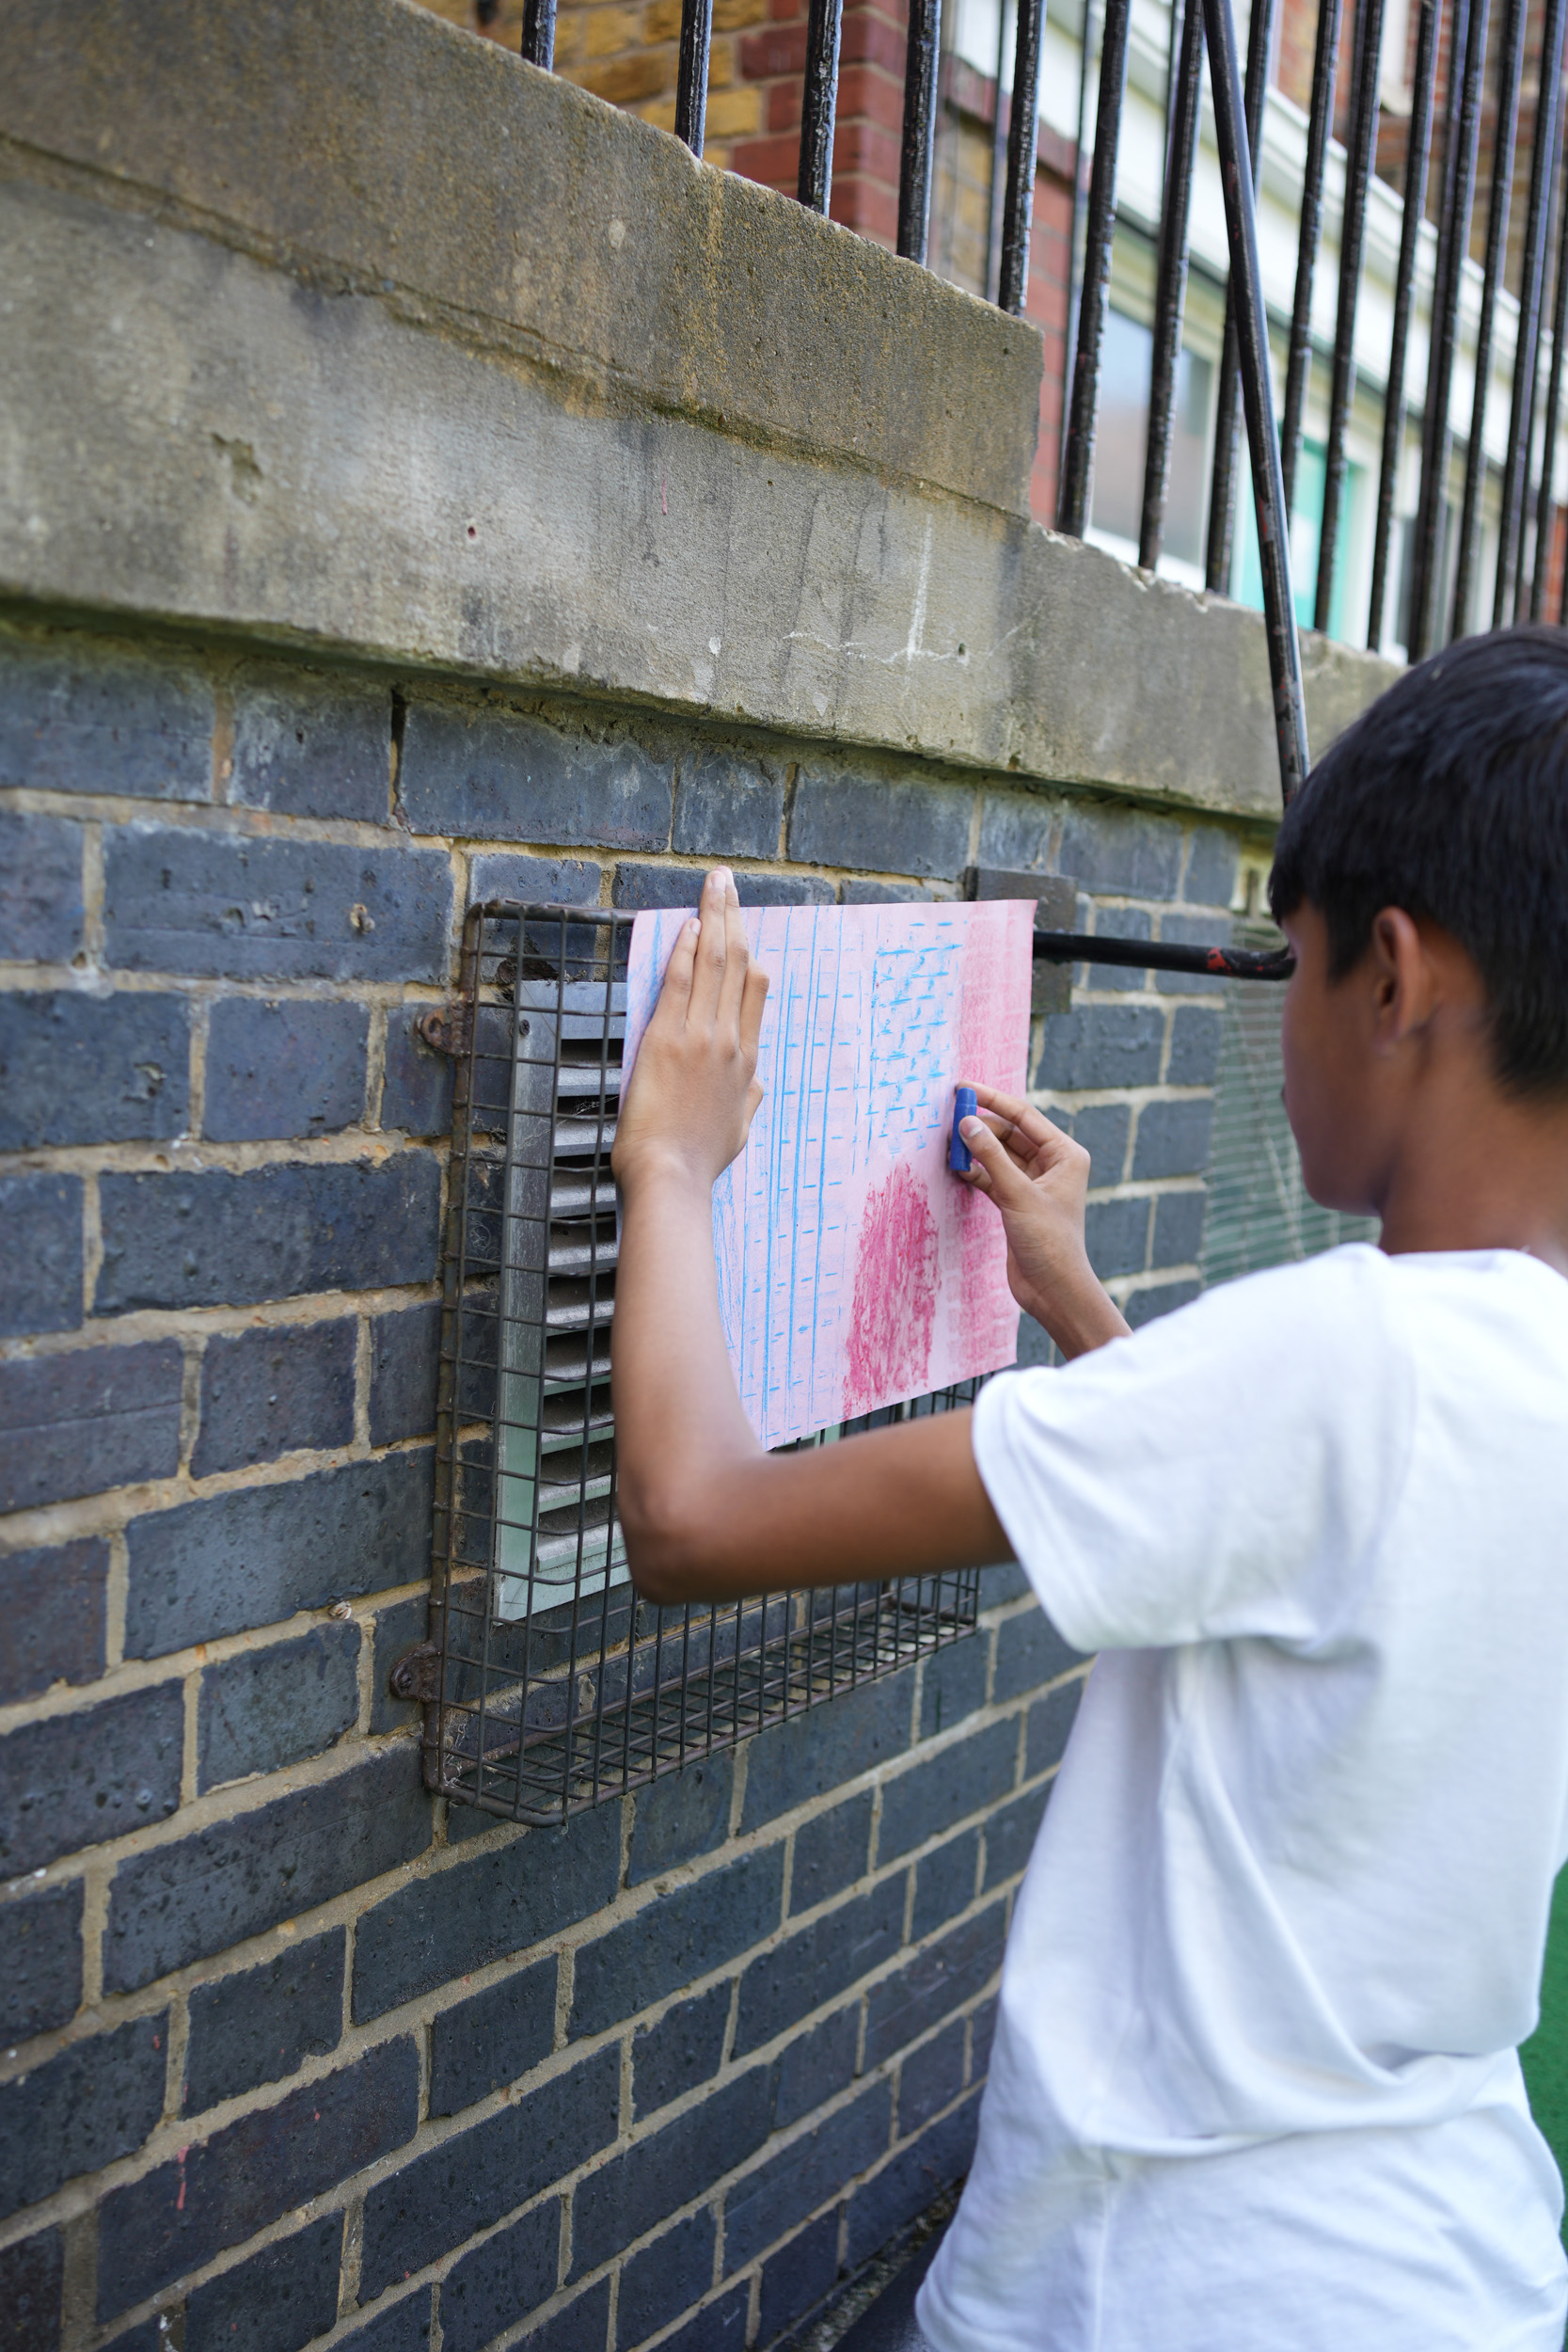
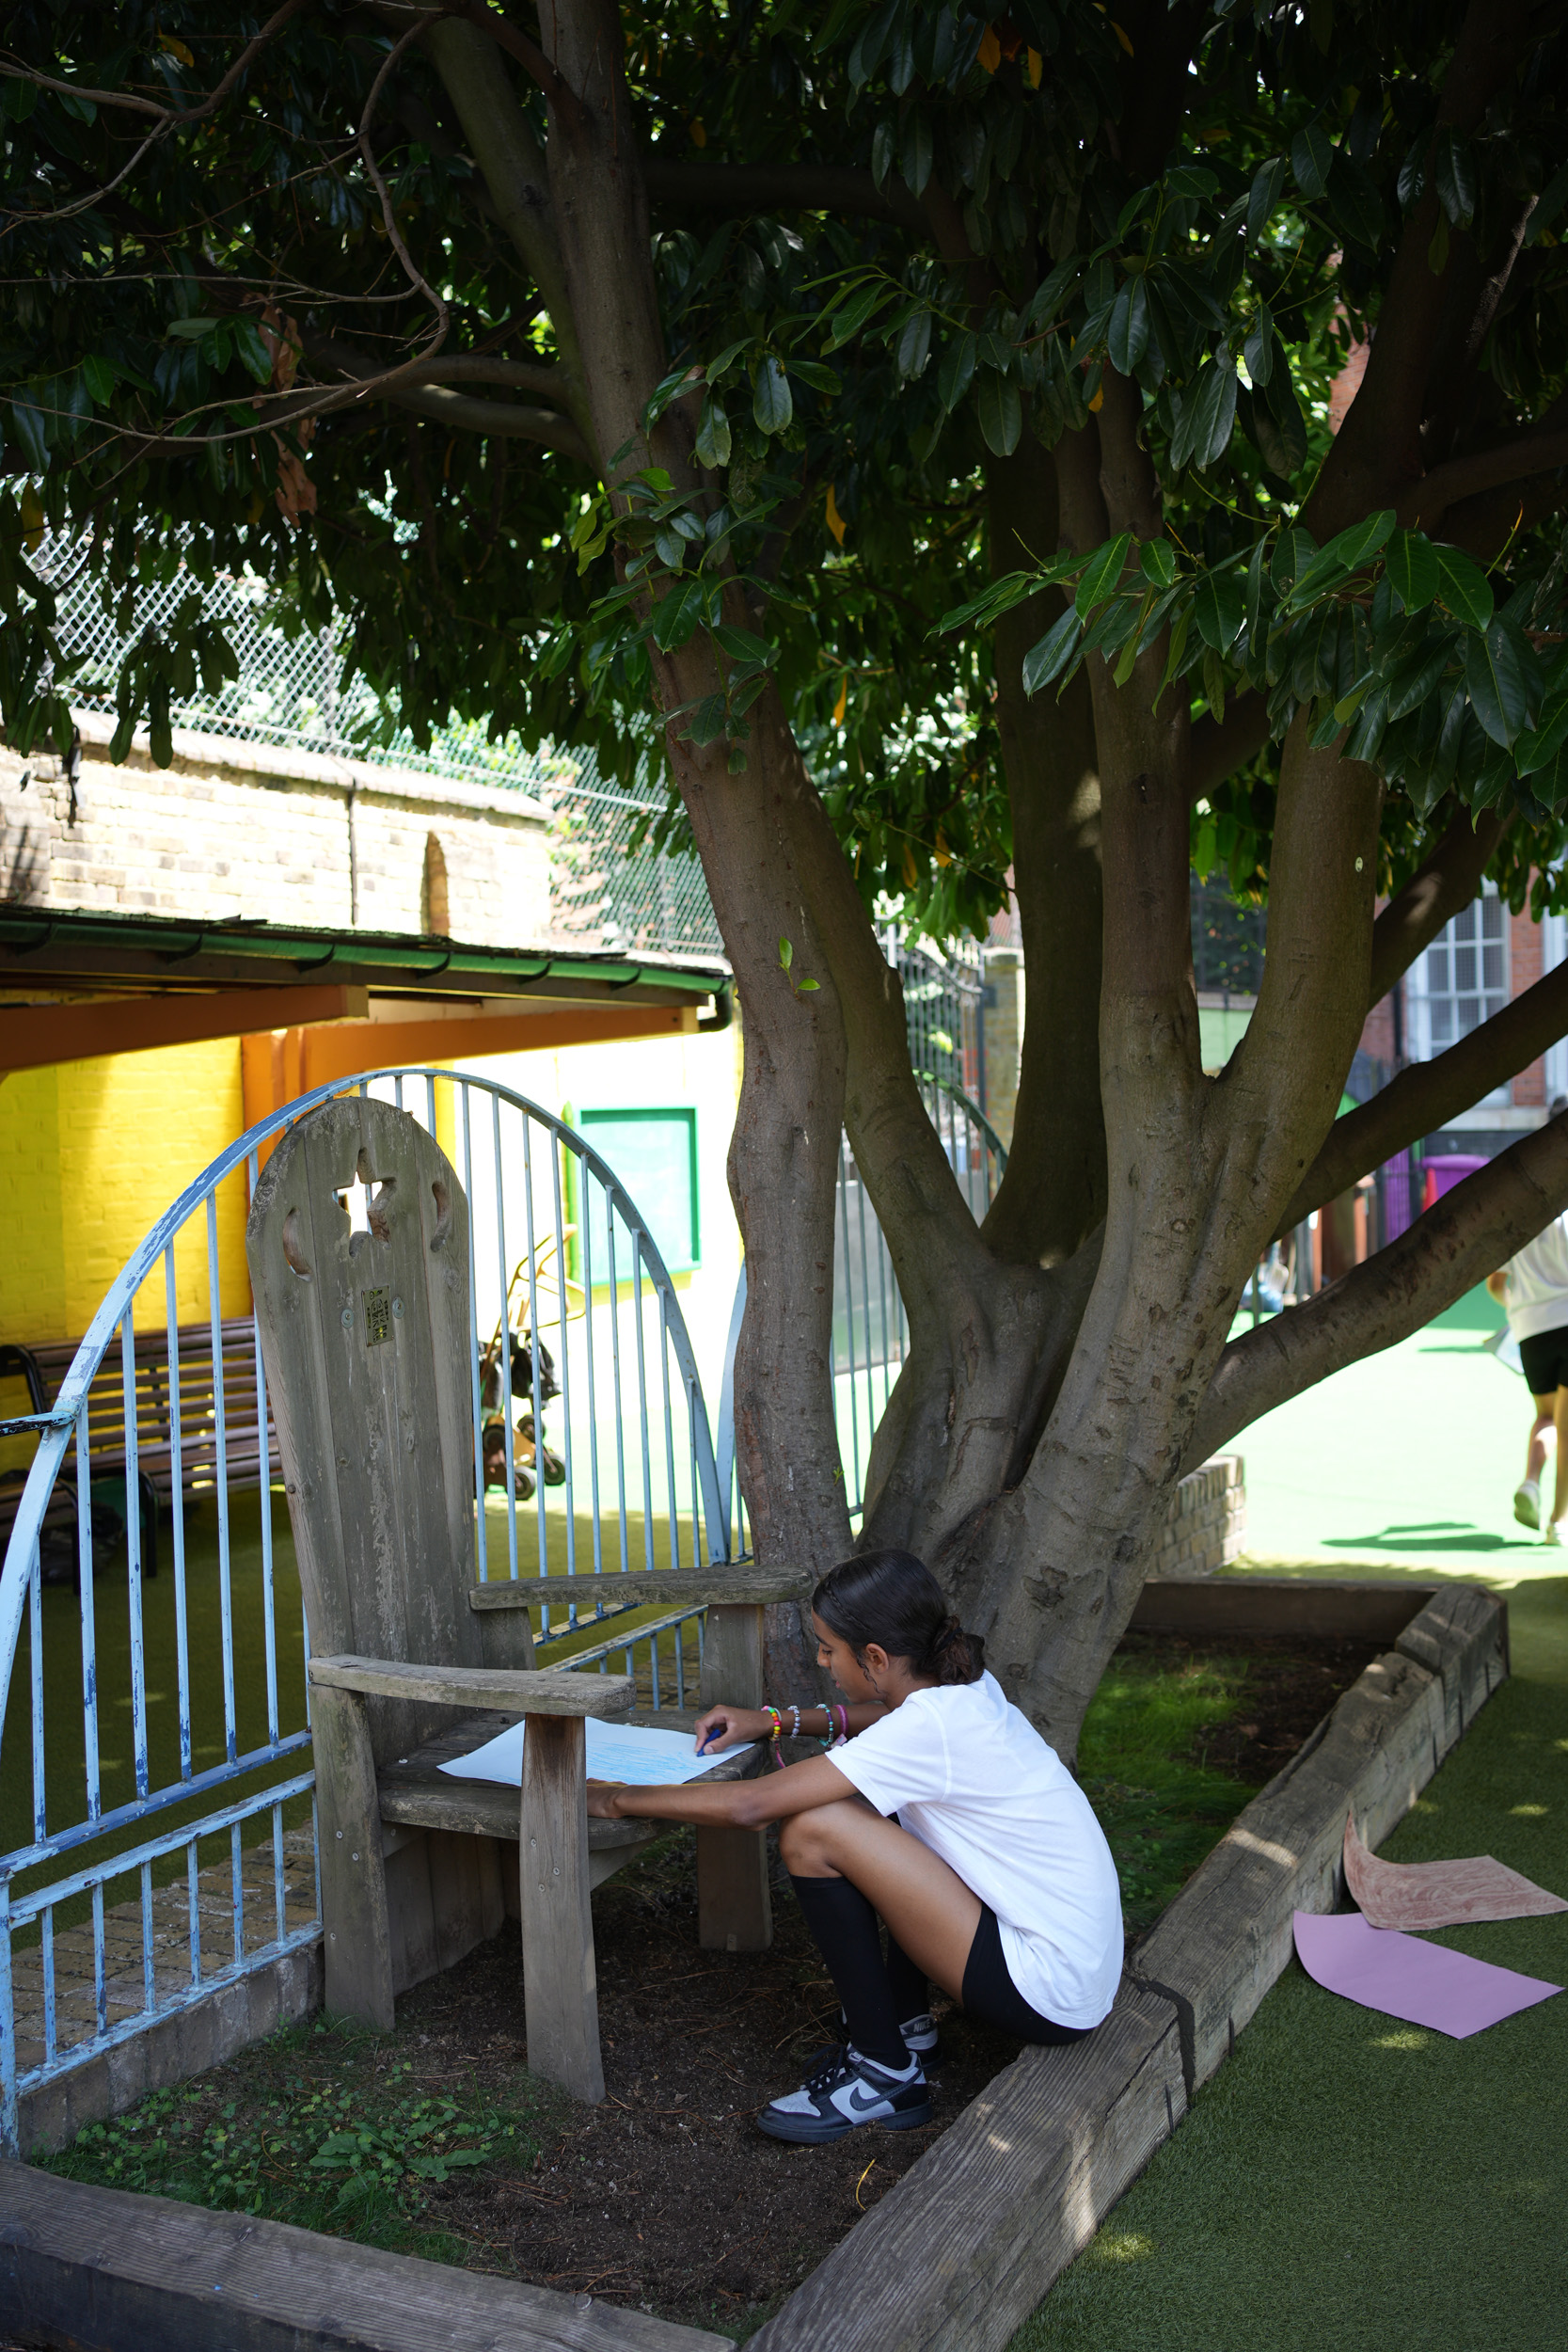
Our first activity is going to be making rubbings. For those of you who haven't done this before, a rubbing is where you place a sheet of paper over a surface, and then you rub a crayon or chalk or pencil over the top, and as you press it catches on all the bumps and edges underneath - so you end up with a picture that shows just the textures. Some of you might have done this when you were younger, but one of the joys of artistic work is that we can return to techniques again and again with new abilities and ideas.
I really love this technique because when we look at buildings we often focus on the big elements like the form of the roof or the windows, but making rubbings force us to look really closely and ask what a building feels like when we touch it. The pictures it makes are also the exact same size as the real place which is really unusual. If we were making a drawing or taking a photo we would shrink everything down until a lot of space fitted on a page, but with a rubbing you have a picture that is exactly life sized - so it's like a small bit of the place you can take with you. That’s what we are hoping to gather today, small bits of your school or home that you have chosen to pay attention to.
It seems like quite a simple method, but some artists have used it to do amazing things. The artist Do Ho Suh did a huge rubbing of an entire house, his childhood home in Seoul - covering the whole thing in paper, then spending days going over it in pencil. Then he peeled the paper off and stuck it all back together to make a full size paper version. He did this because the house was important to him, and he wanted to spend time looking closely at it, and he then used that to talk about issues of migration - what happens to people or places move? That’s what we want to do here, use this technique to take rubbings of your school, and maybe do some more at home tonight - so that we all spend time looking closely at these places that are important to us,
The artist Max Ernst made rubbings as well. He gathered lots of strange textures, then cut them up and reassembled them to make other images. So a rubbing from a tree trunk might become the circles of someone’s eye, or a leaf might be the wings of a dragonfly.
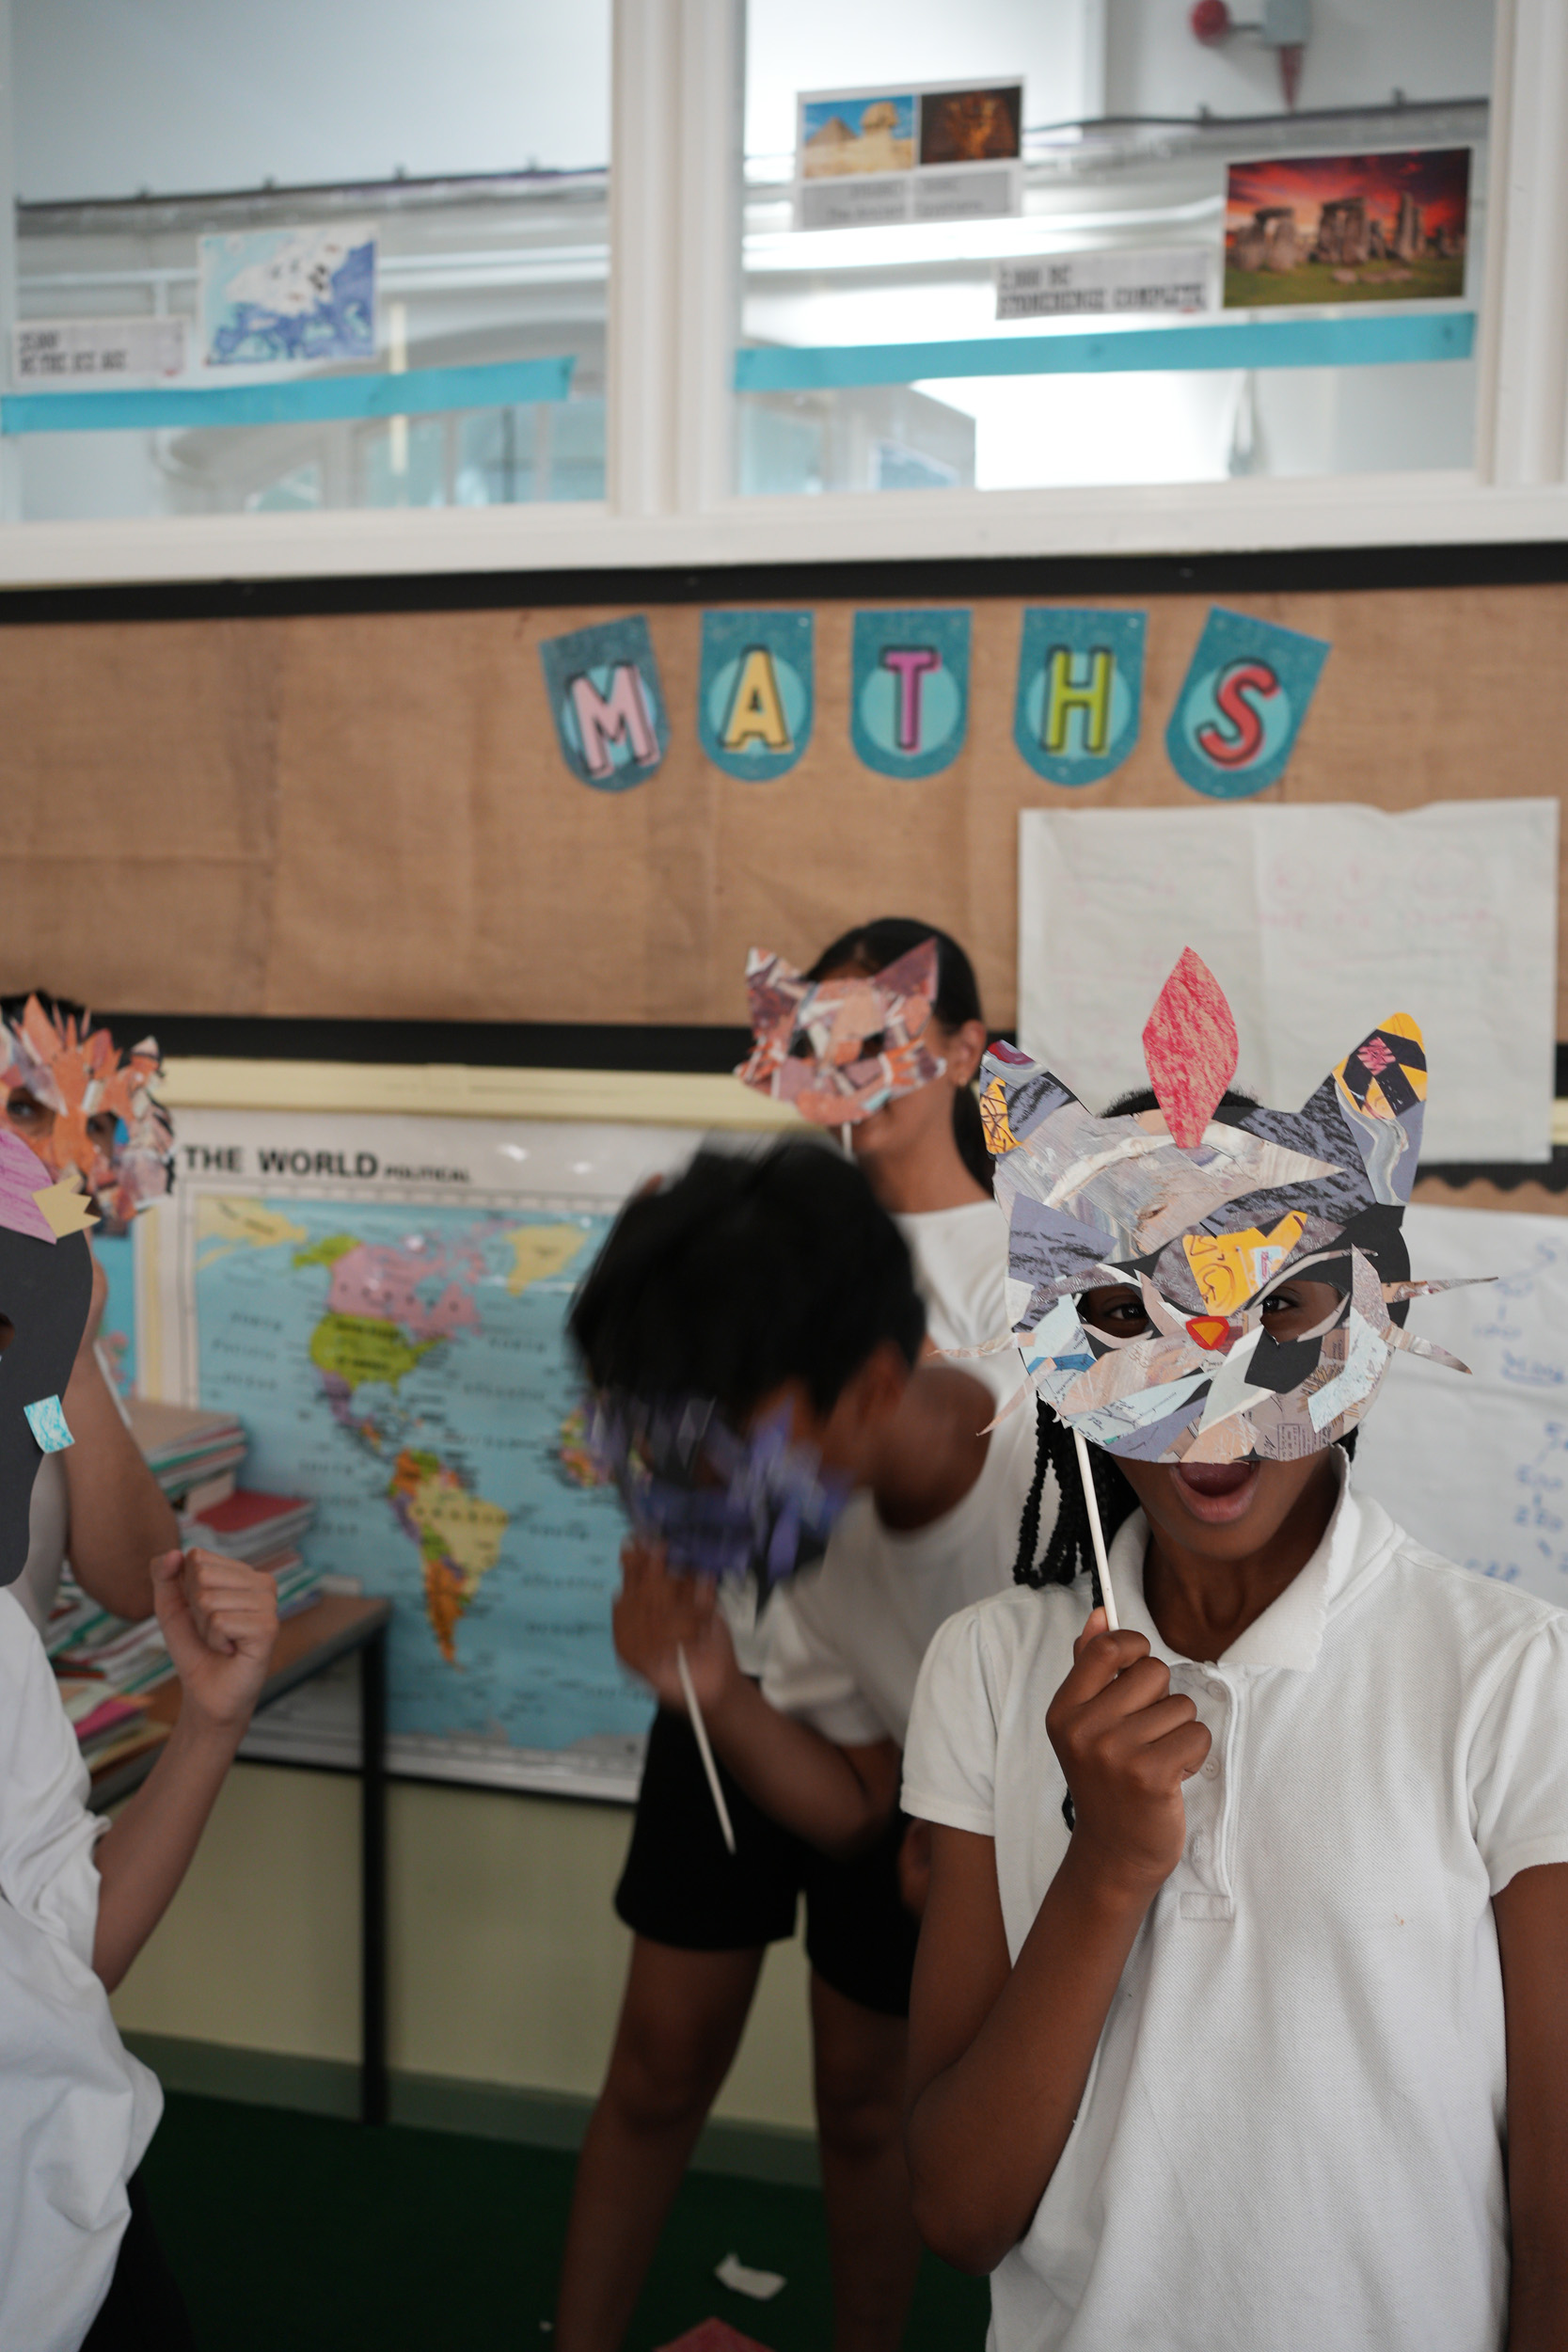
That’s what we will be doing here! You will be gathering lots of pages of rubbings, then you will be using them as the textures for animal masks - so the rough surface of the playground could be the bumpy skin of a frog, or the ripples in a bit of wood could be a rabbit's fur. You don’t need to decide on your animal now, like Max Ernst will start by gathering all the textures and then we will see what they make!
I’m going to show you a few tricks to get the best rubbings.
- Write your name on the back of three sheets
- Look closely. You can use any surface, so you need to explore - think about all the different surfaces around you - the wall, the floor, a bench, a tree, a drain.
- Feel the surface first! Work out where there is an interesting texture, so place your paper on top of a join between bricks or a particularly bumpy bit of wood.
- Rub with the crayon held at an angle. If you use the sharp end it the texture won’t show up as well, and it will take much longer.
- It there is a direction to the texture, rub along the grain not across it- and try and go in the same direction.
- Fill the whole page. Small rubbings can be super interesting, but if you fill the page you can cut any shape you want later.
- Try out different colours of paper or crayon.
Paste papers workshop - Sing Yun Lee
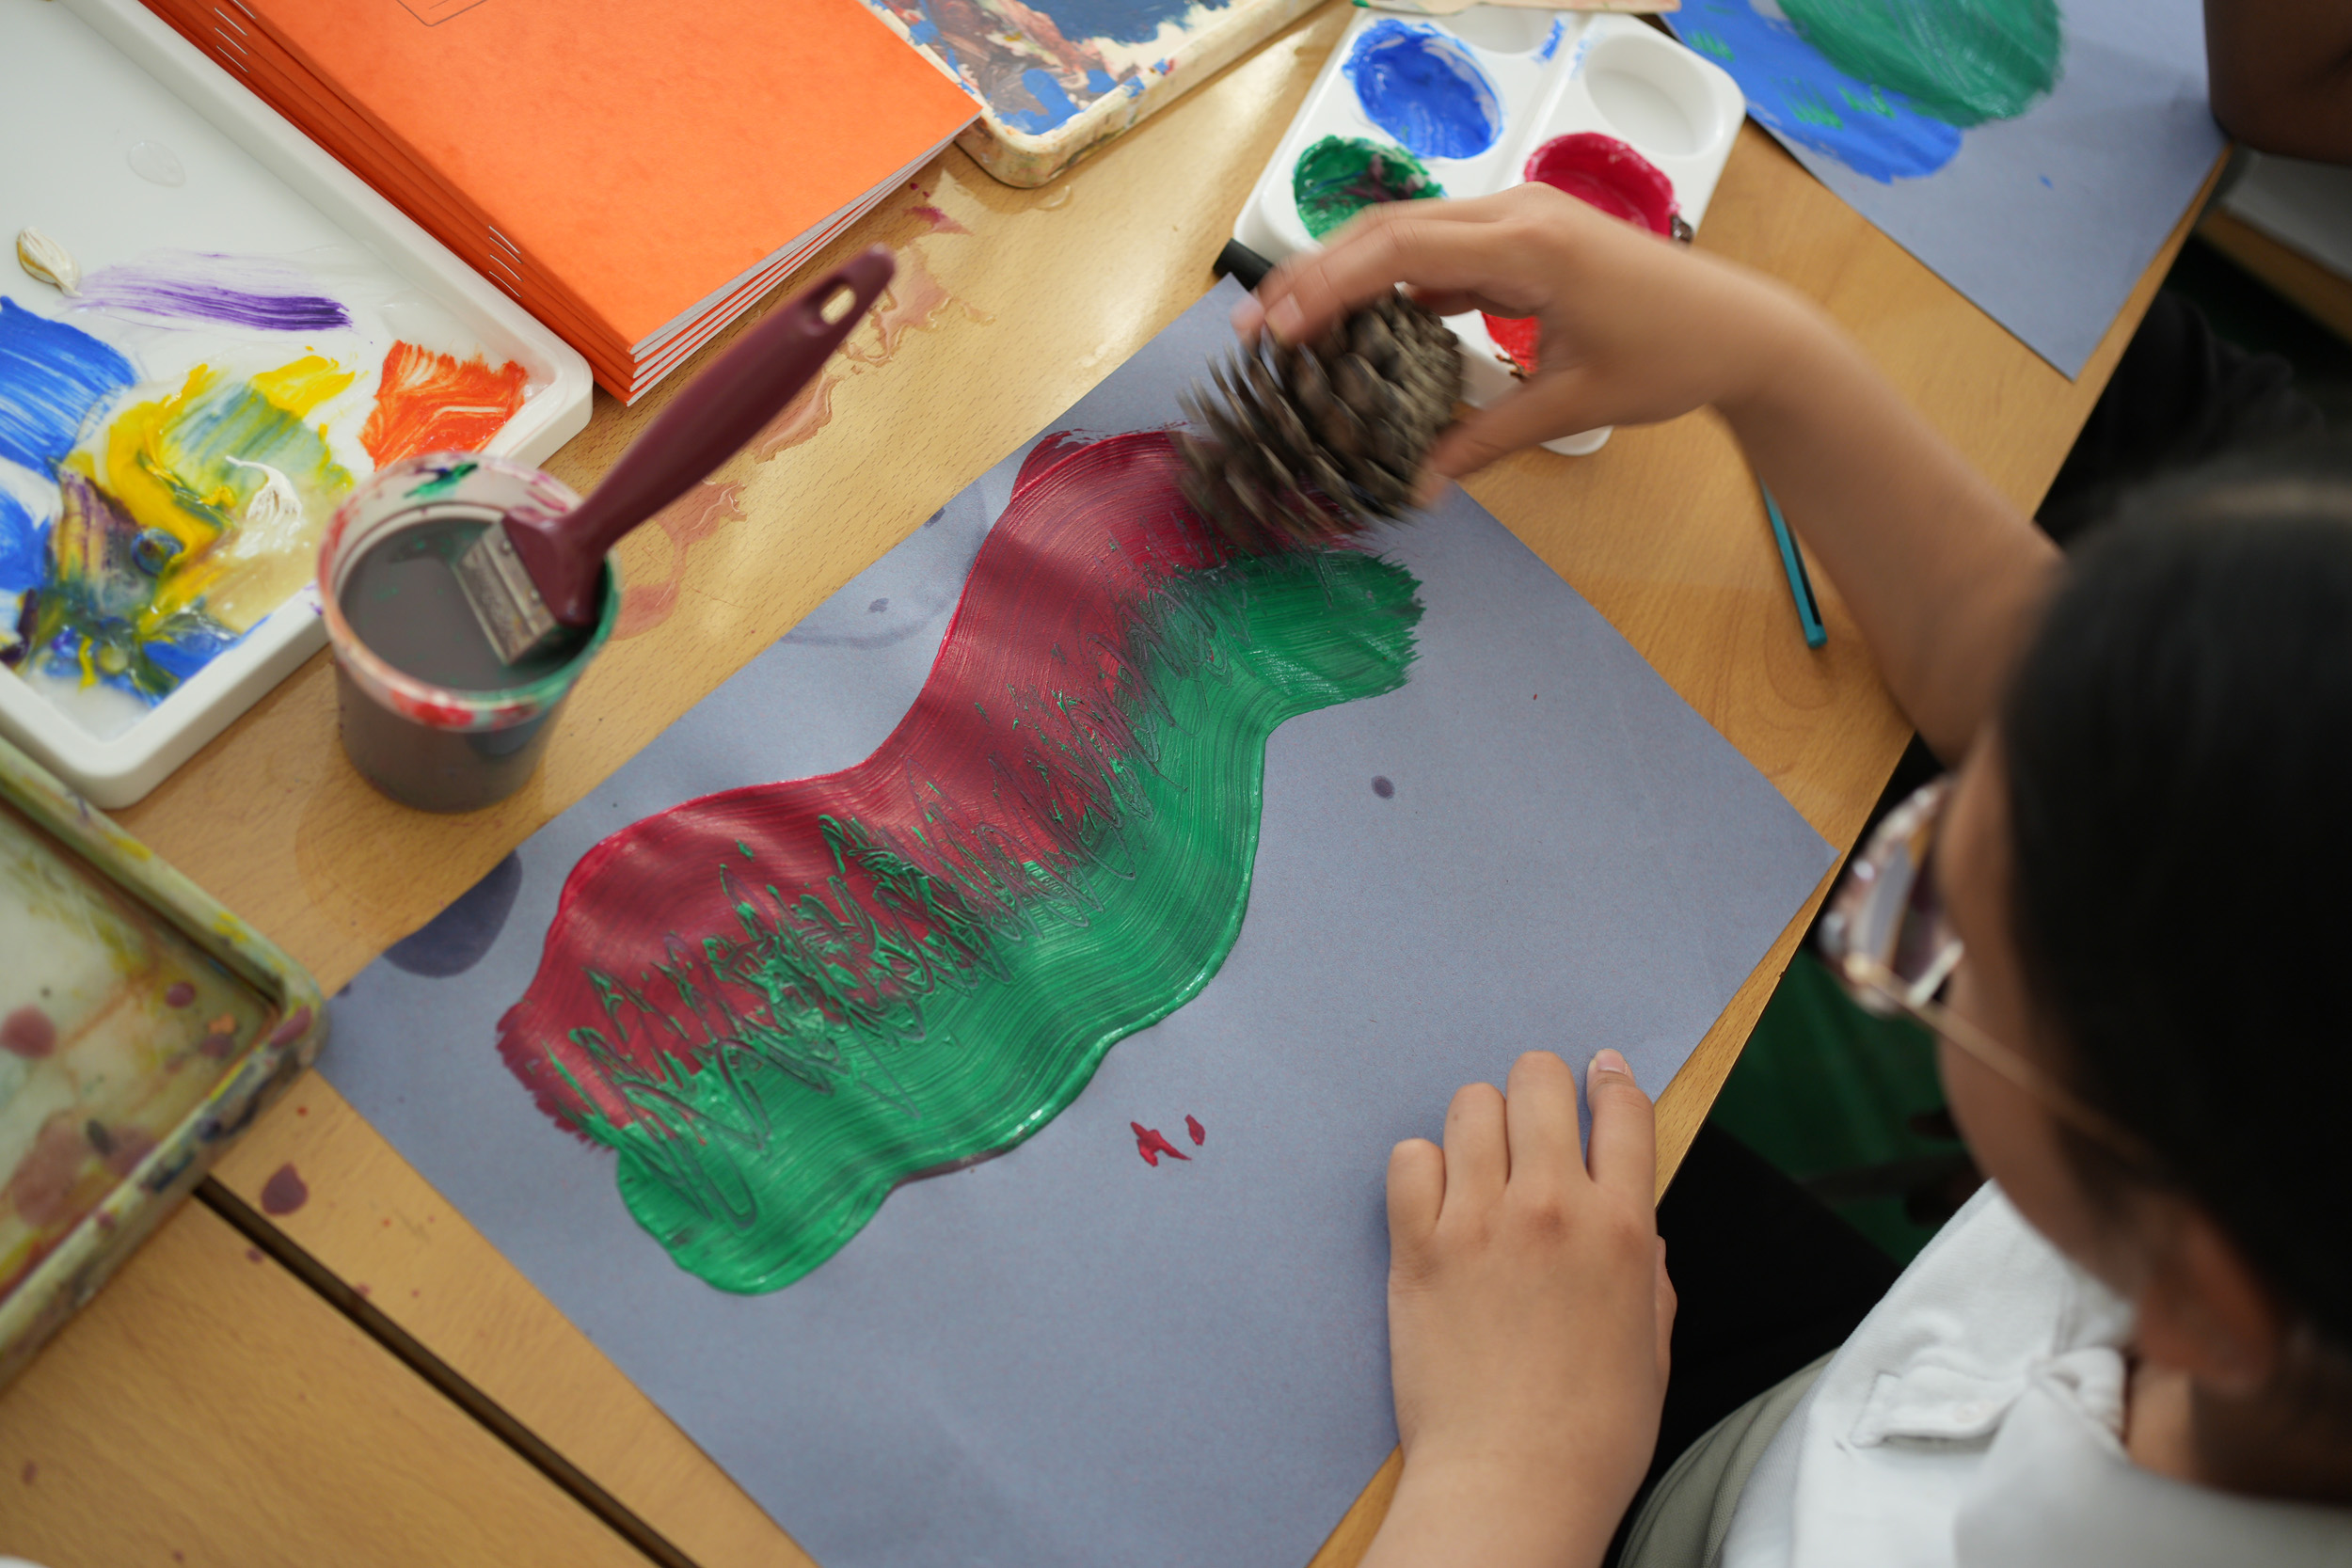
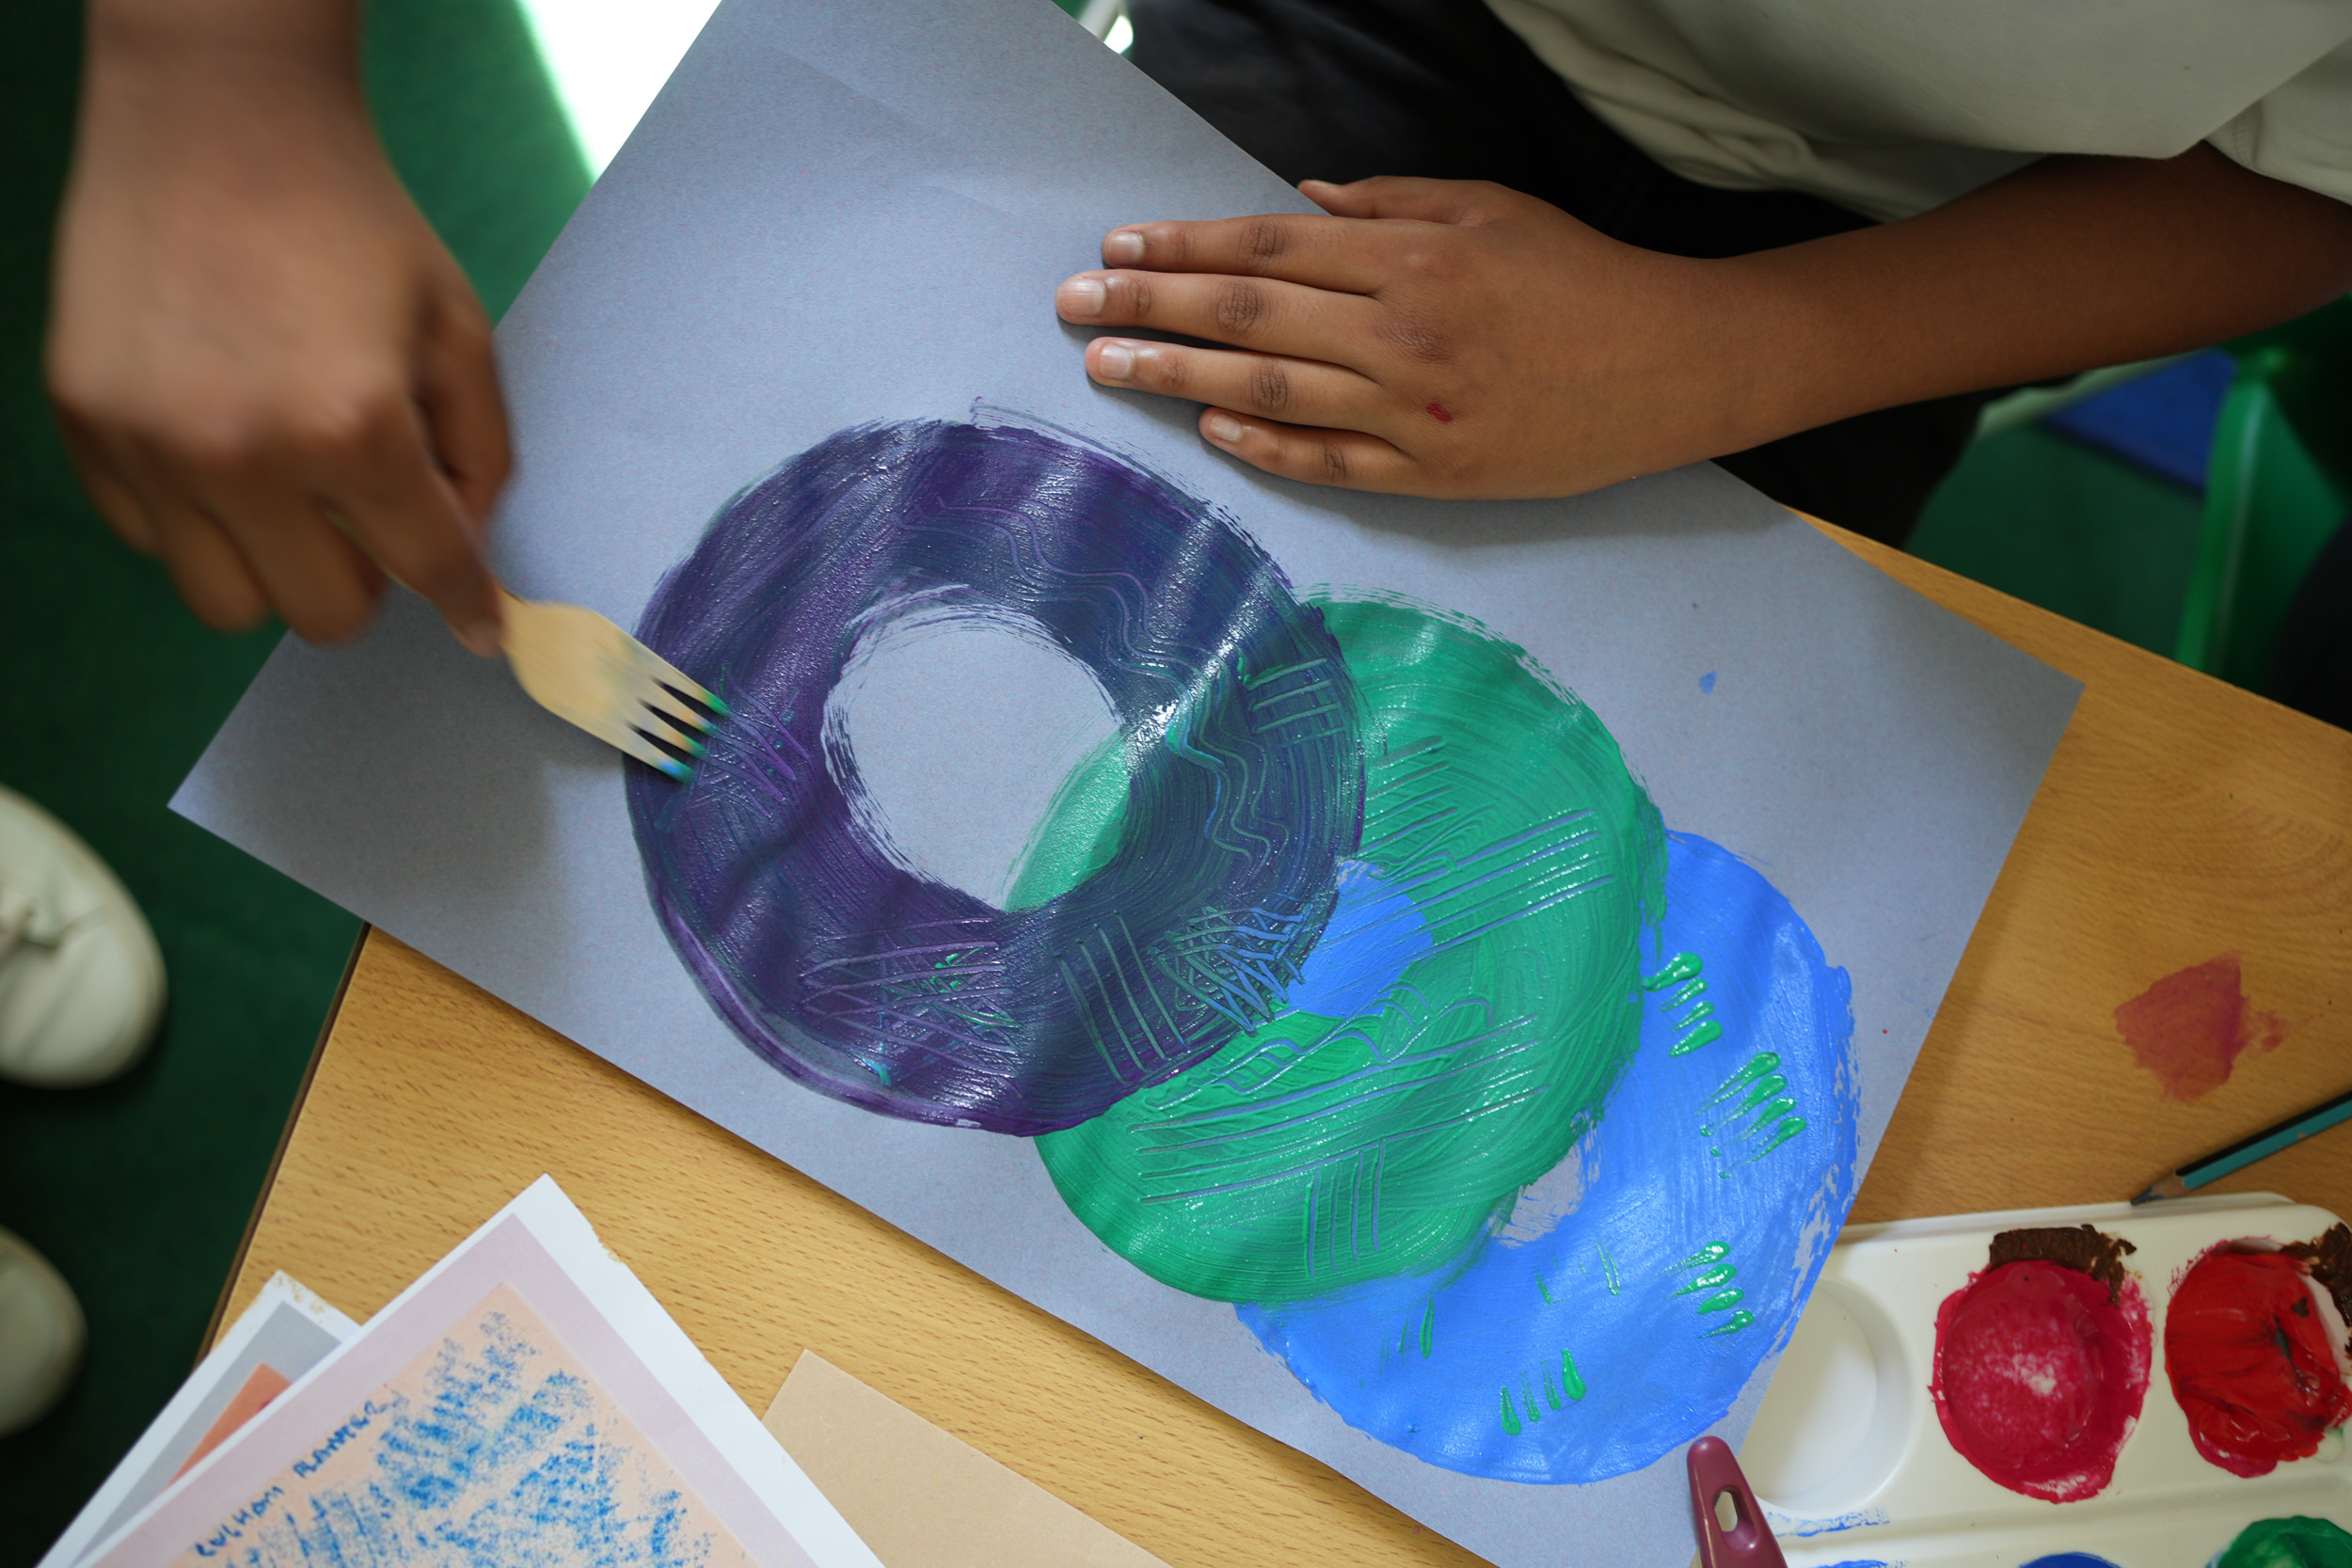
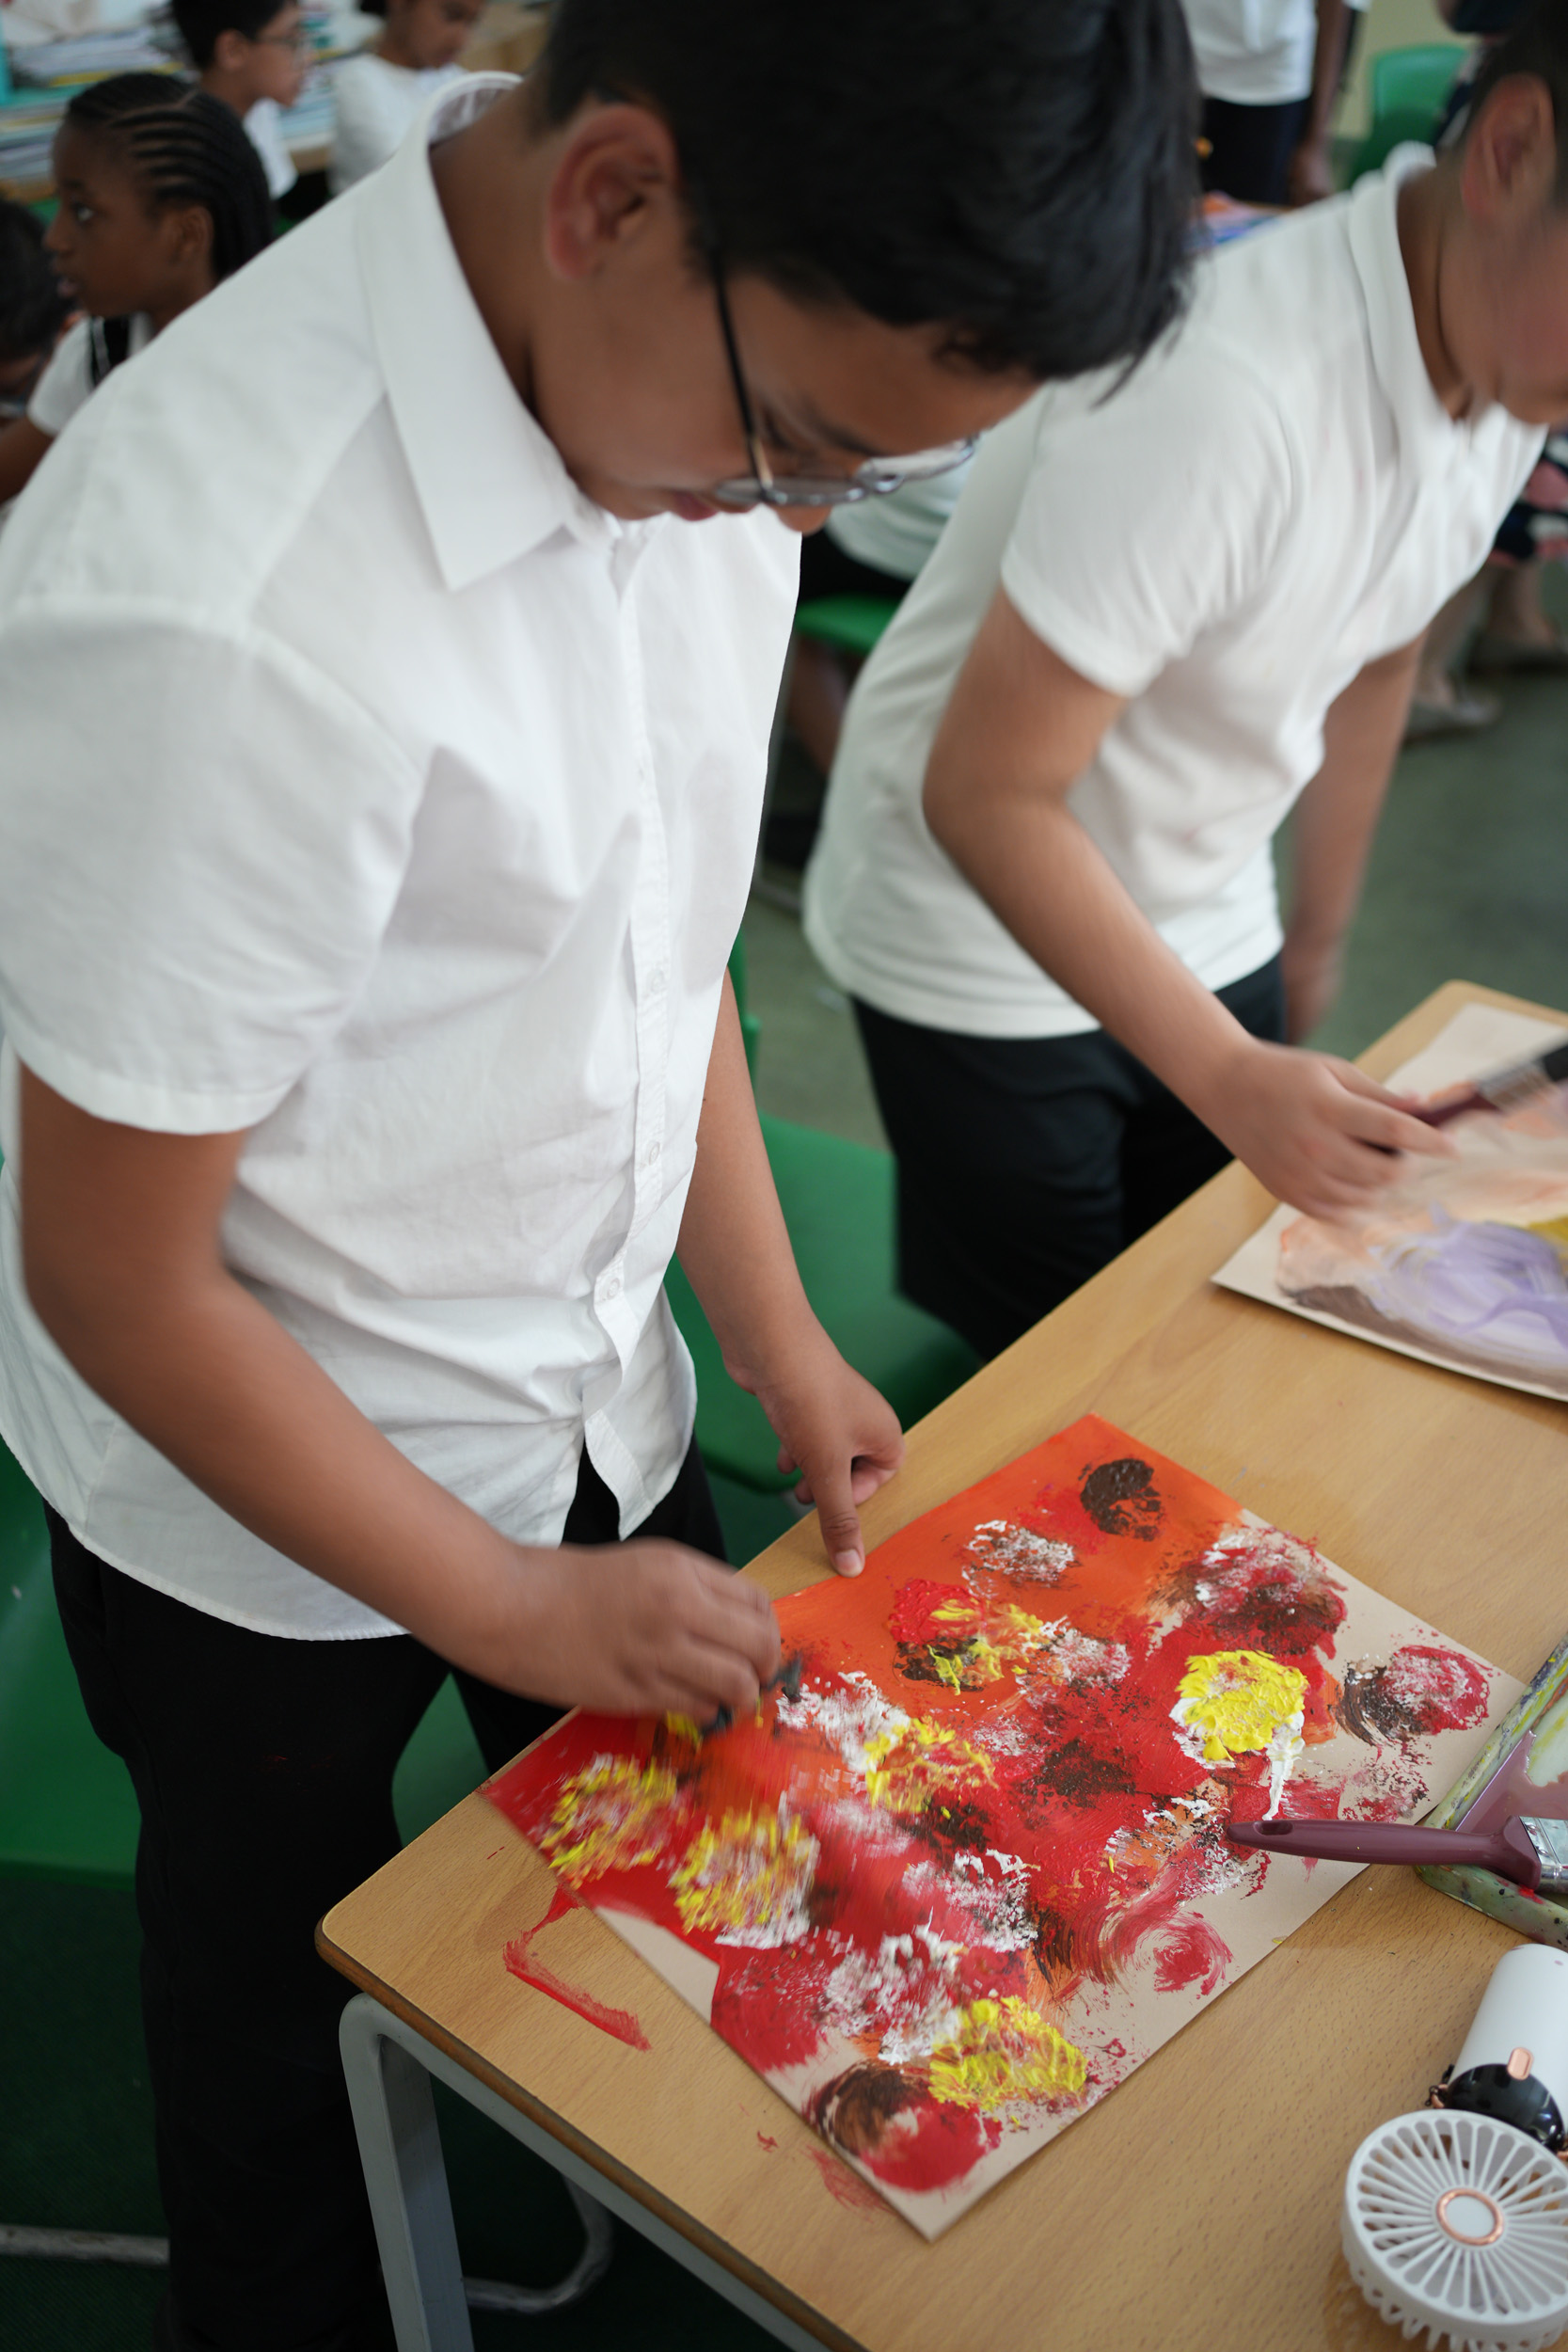
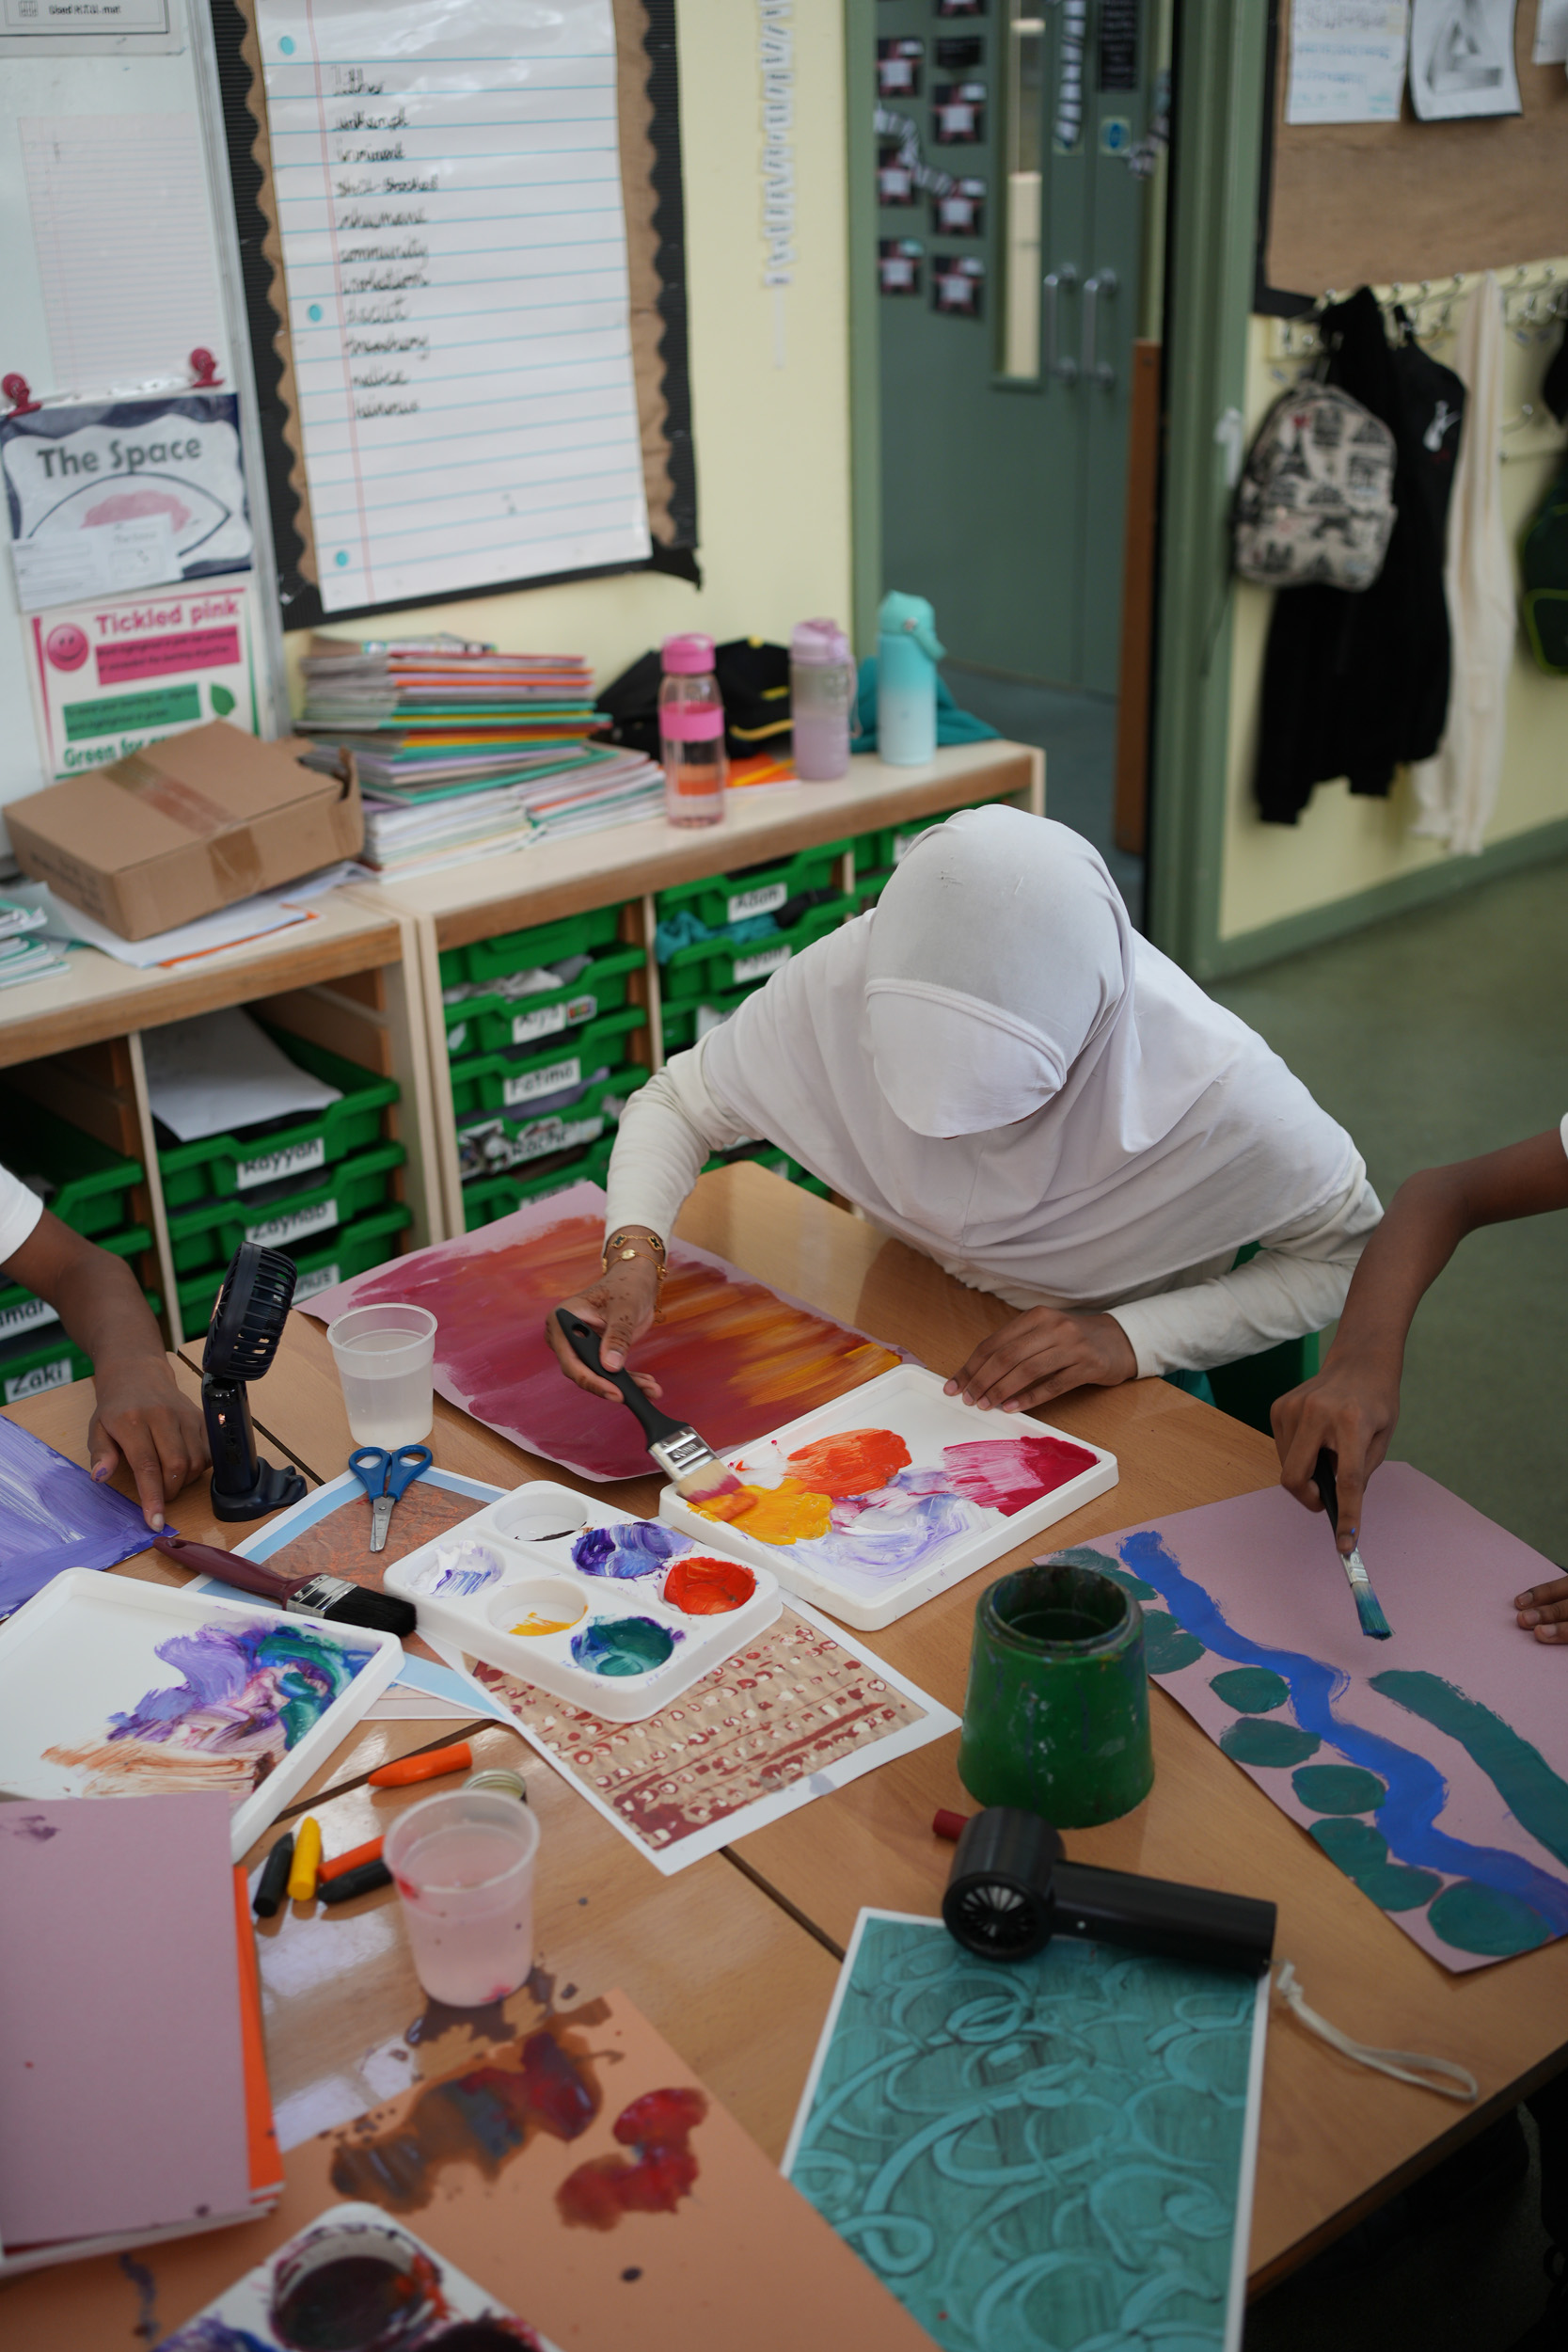
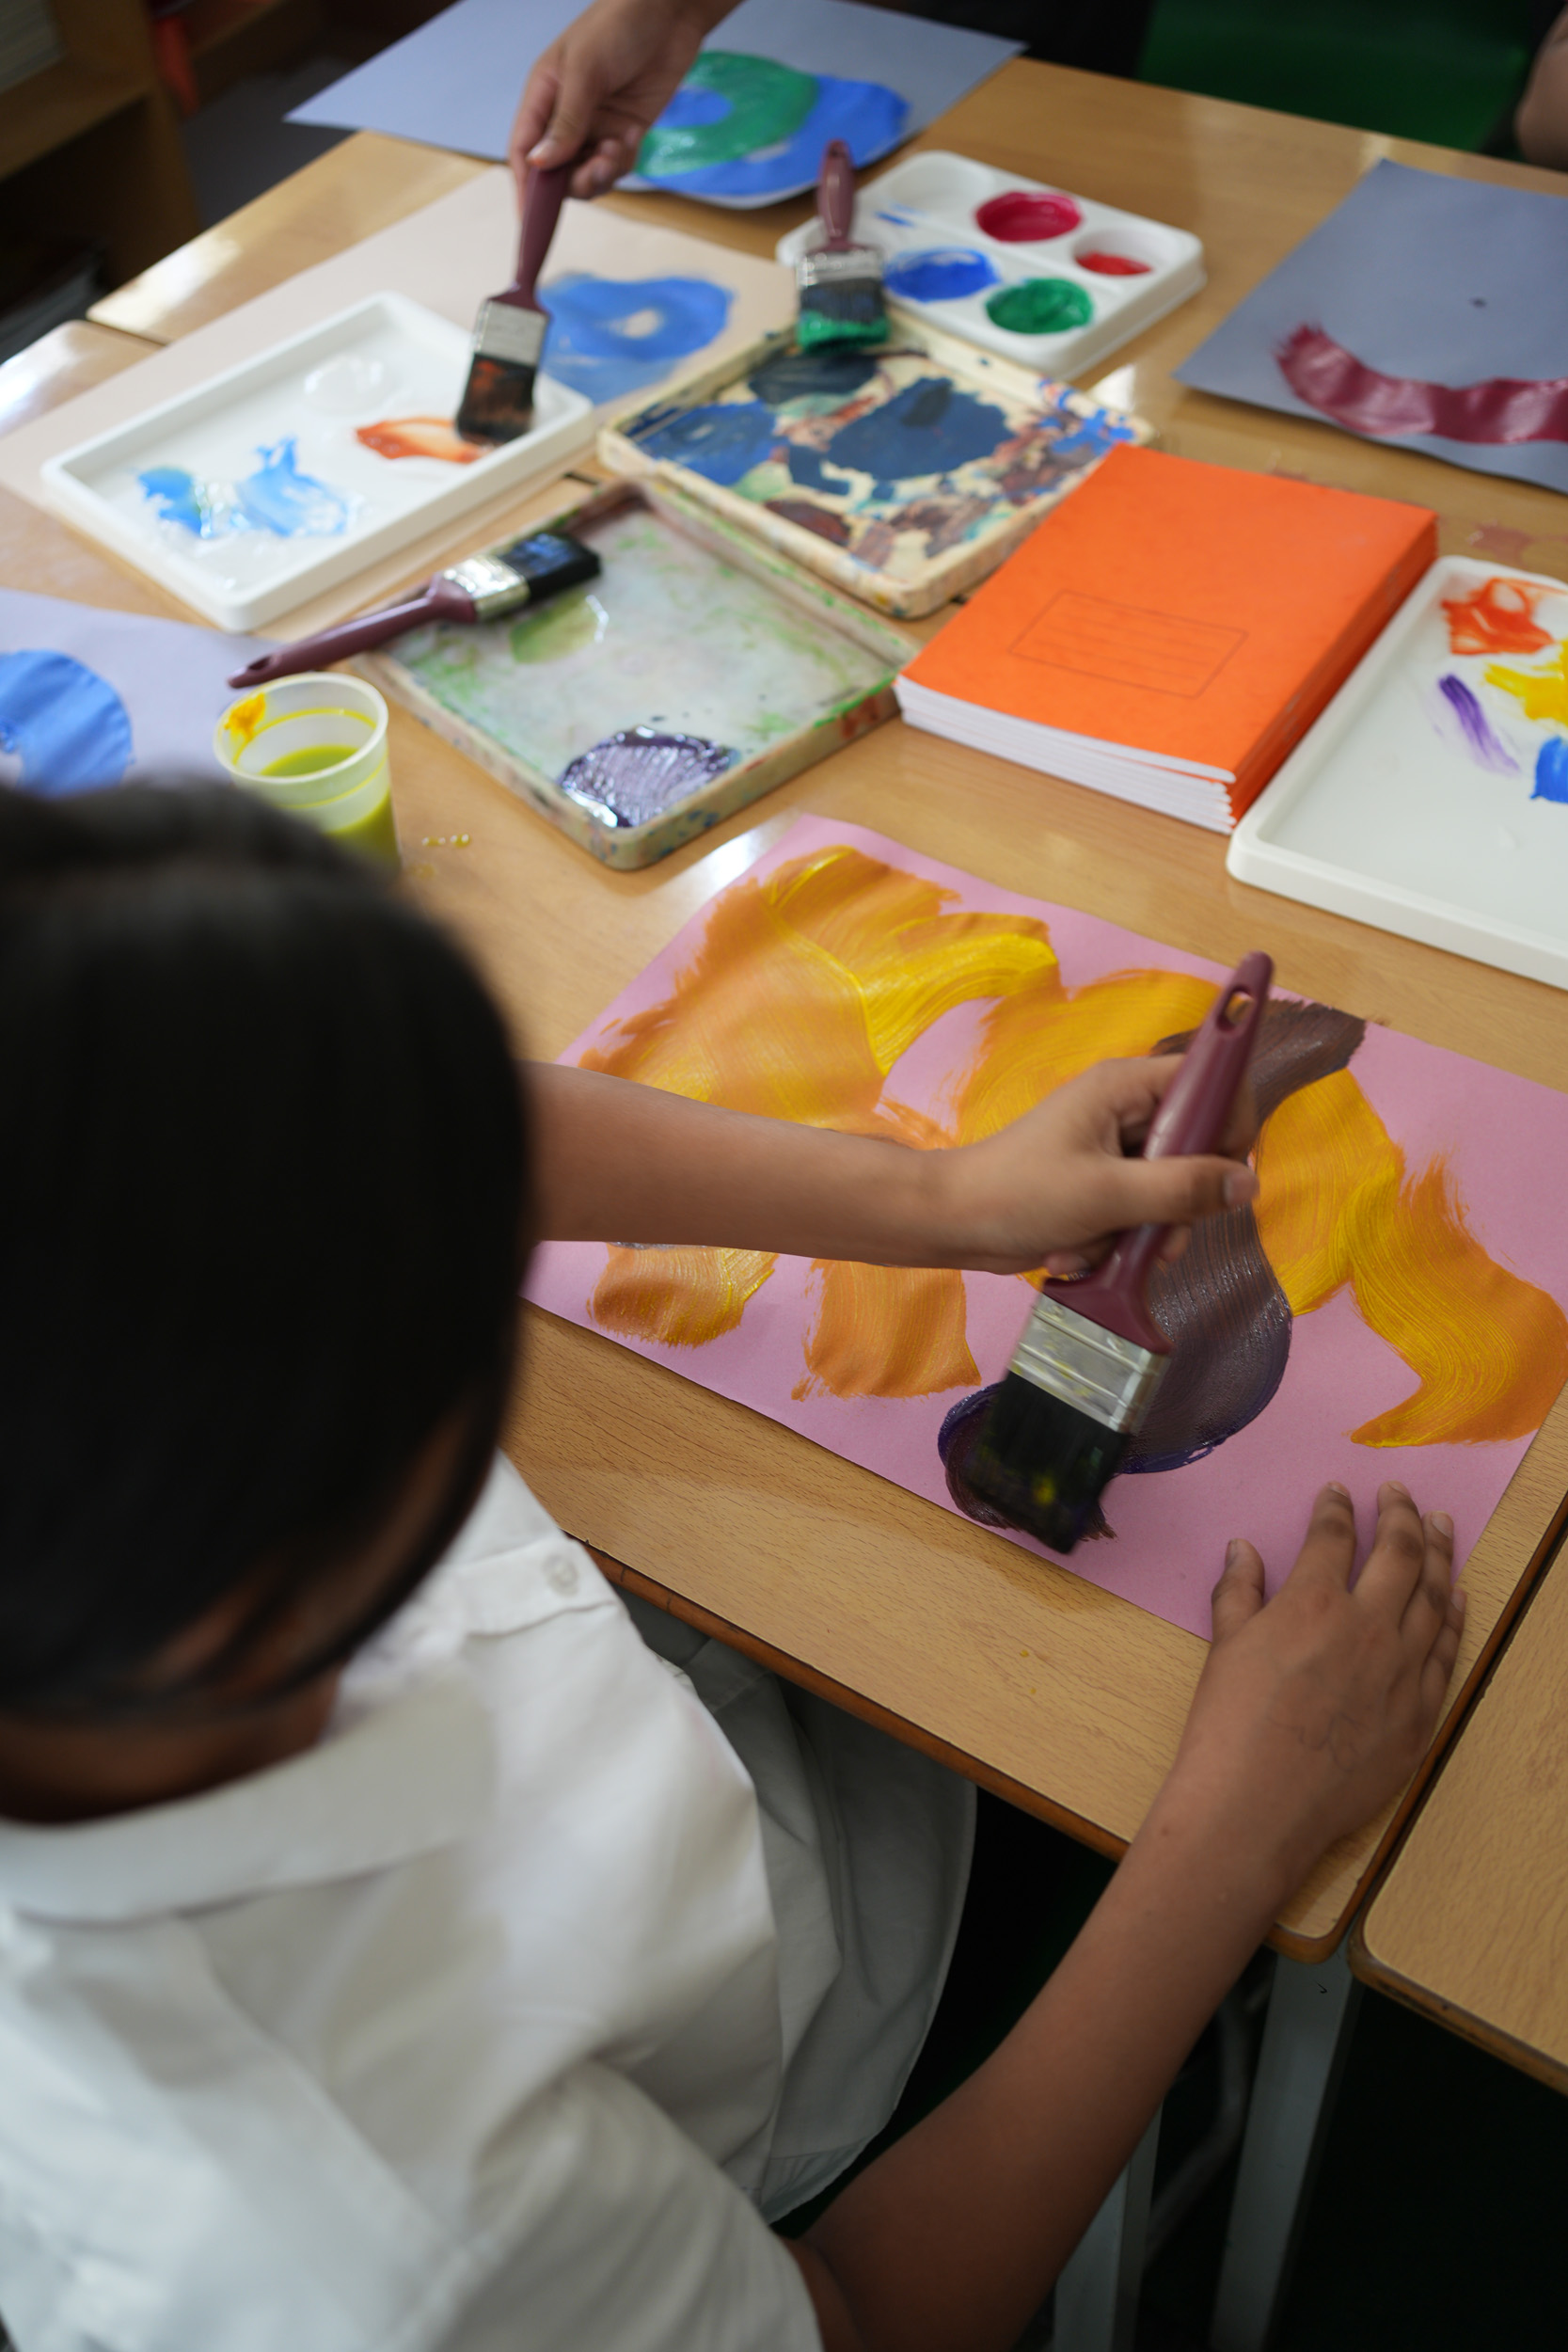
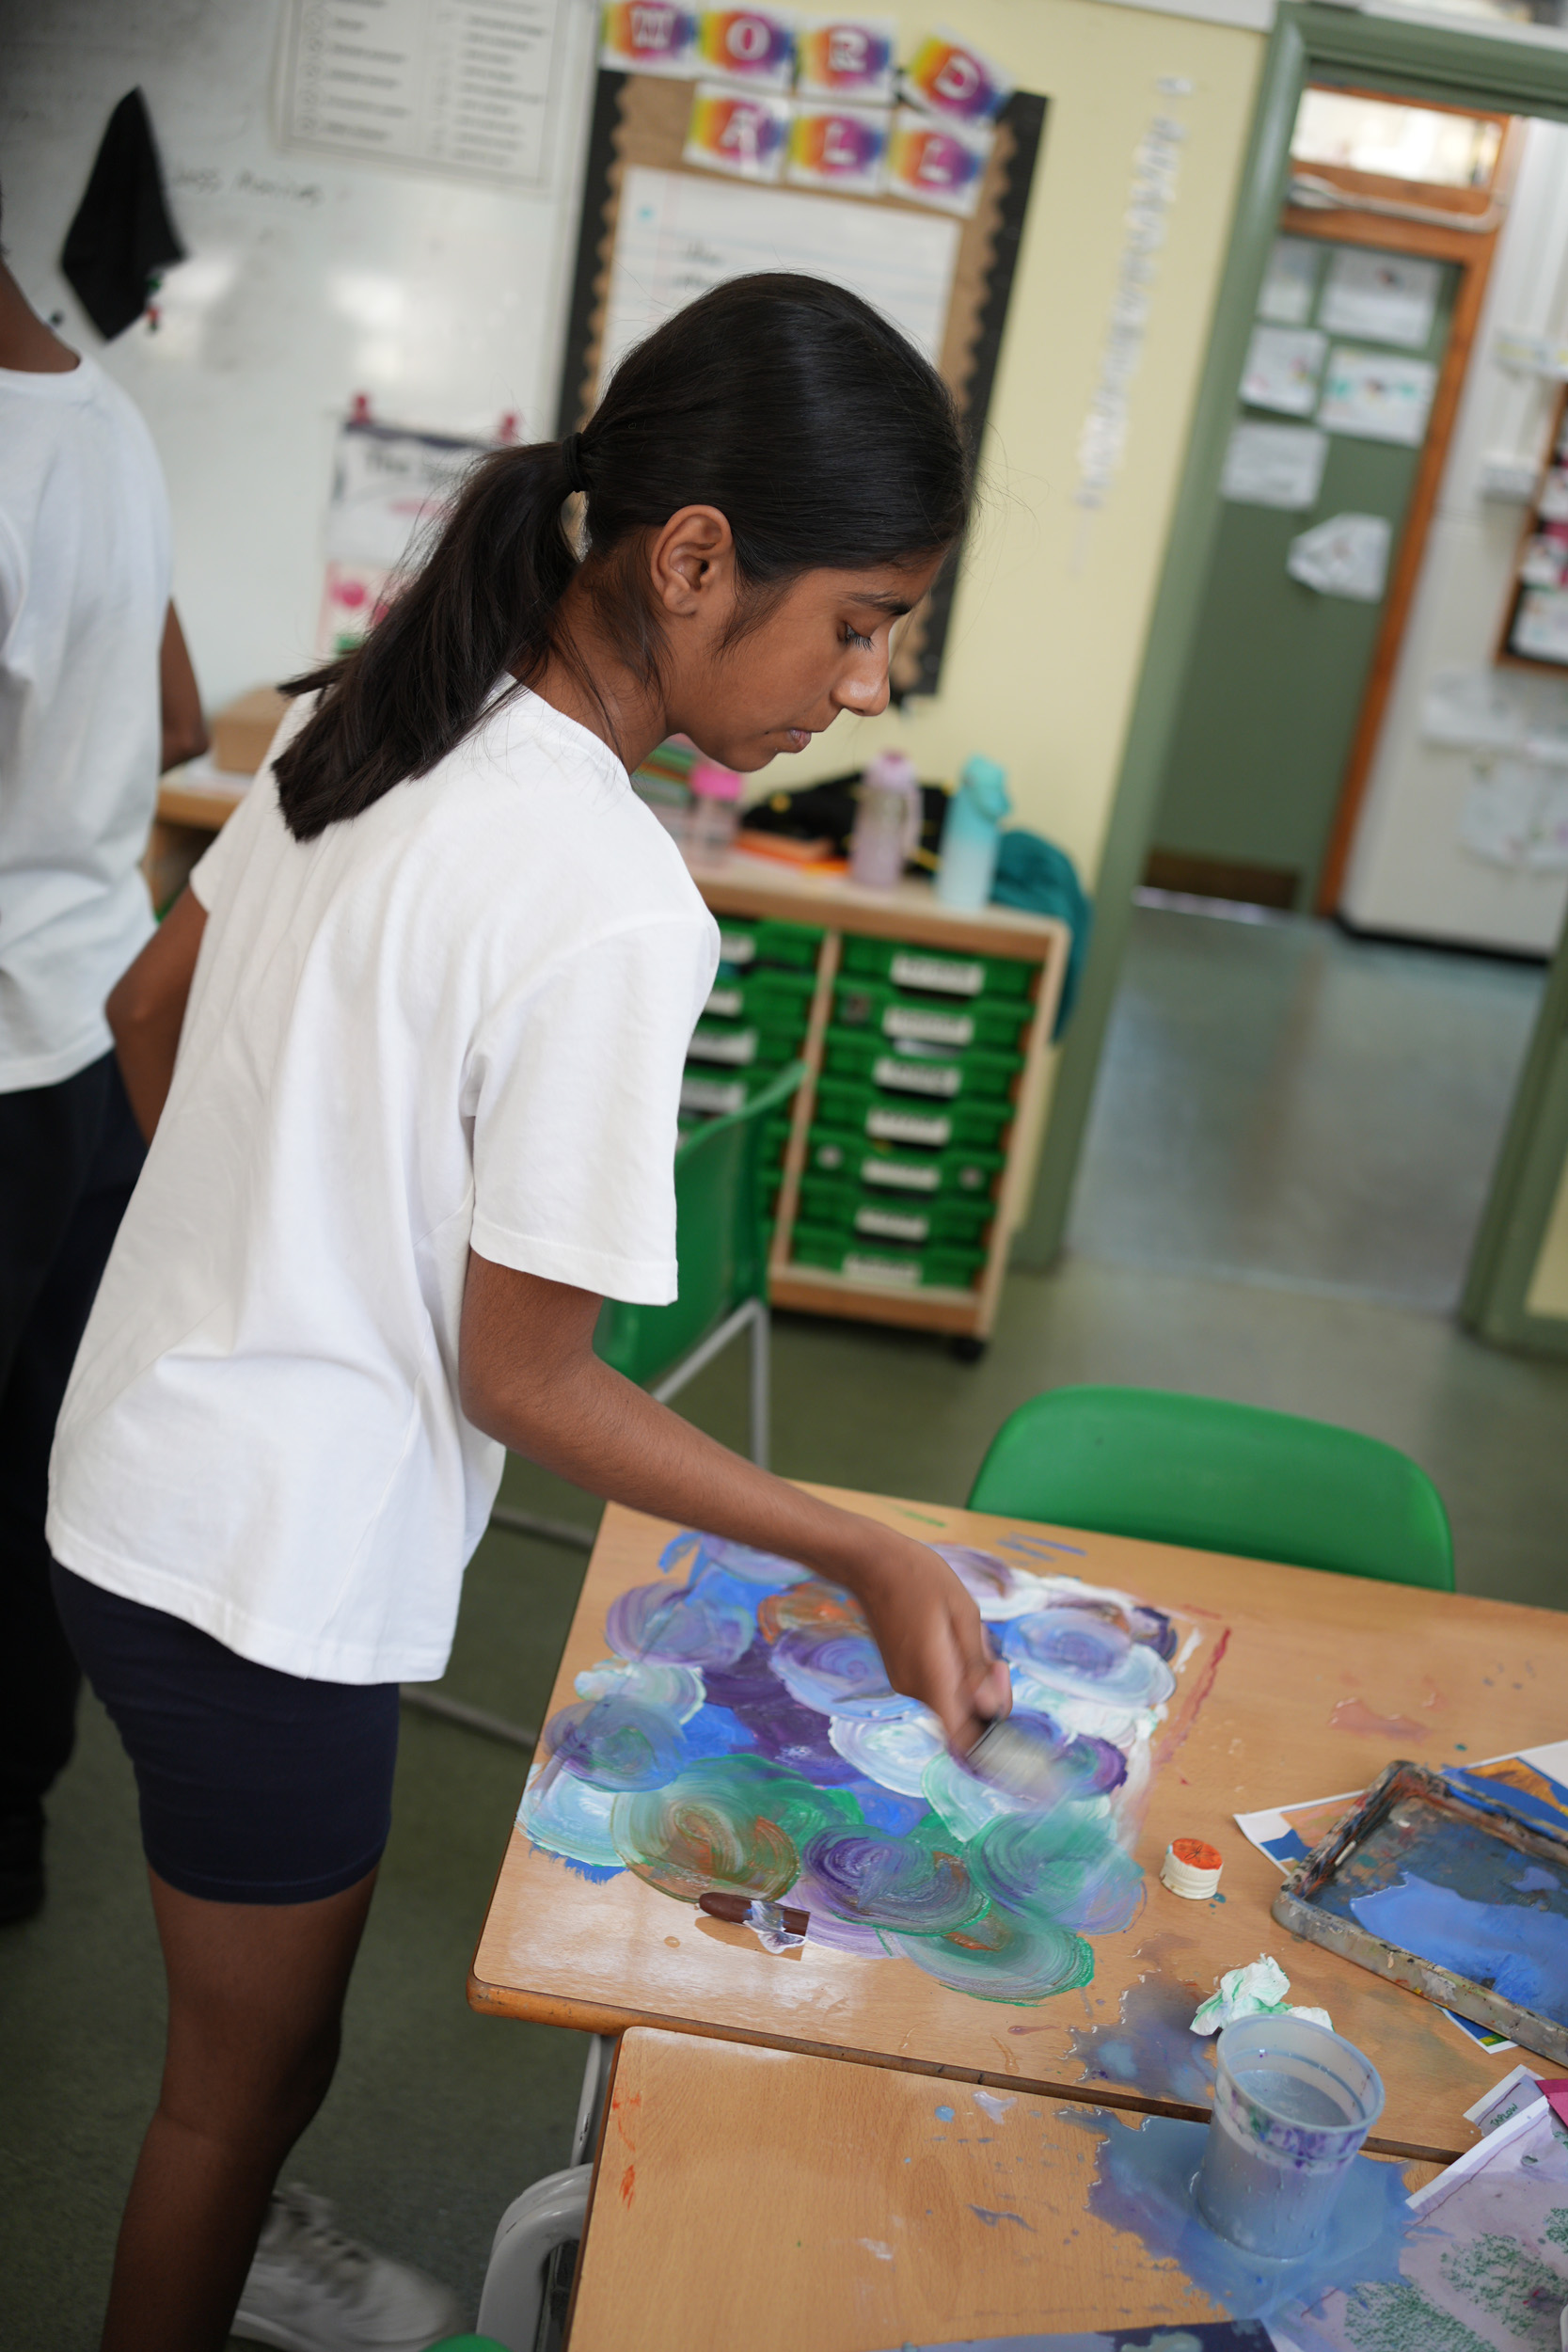
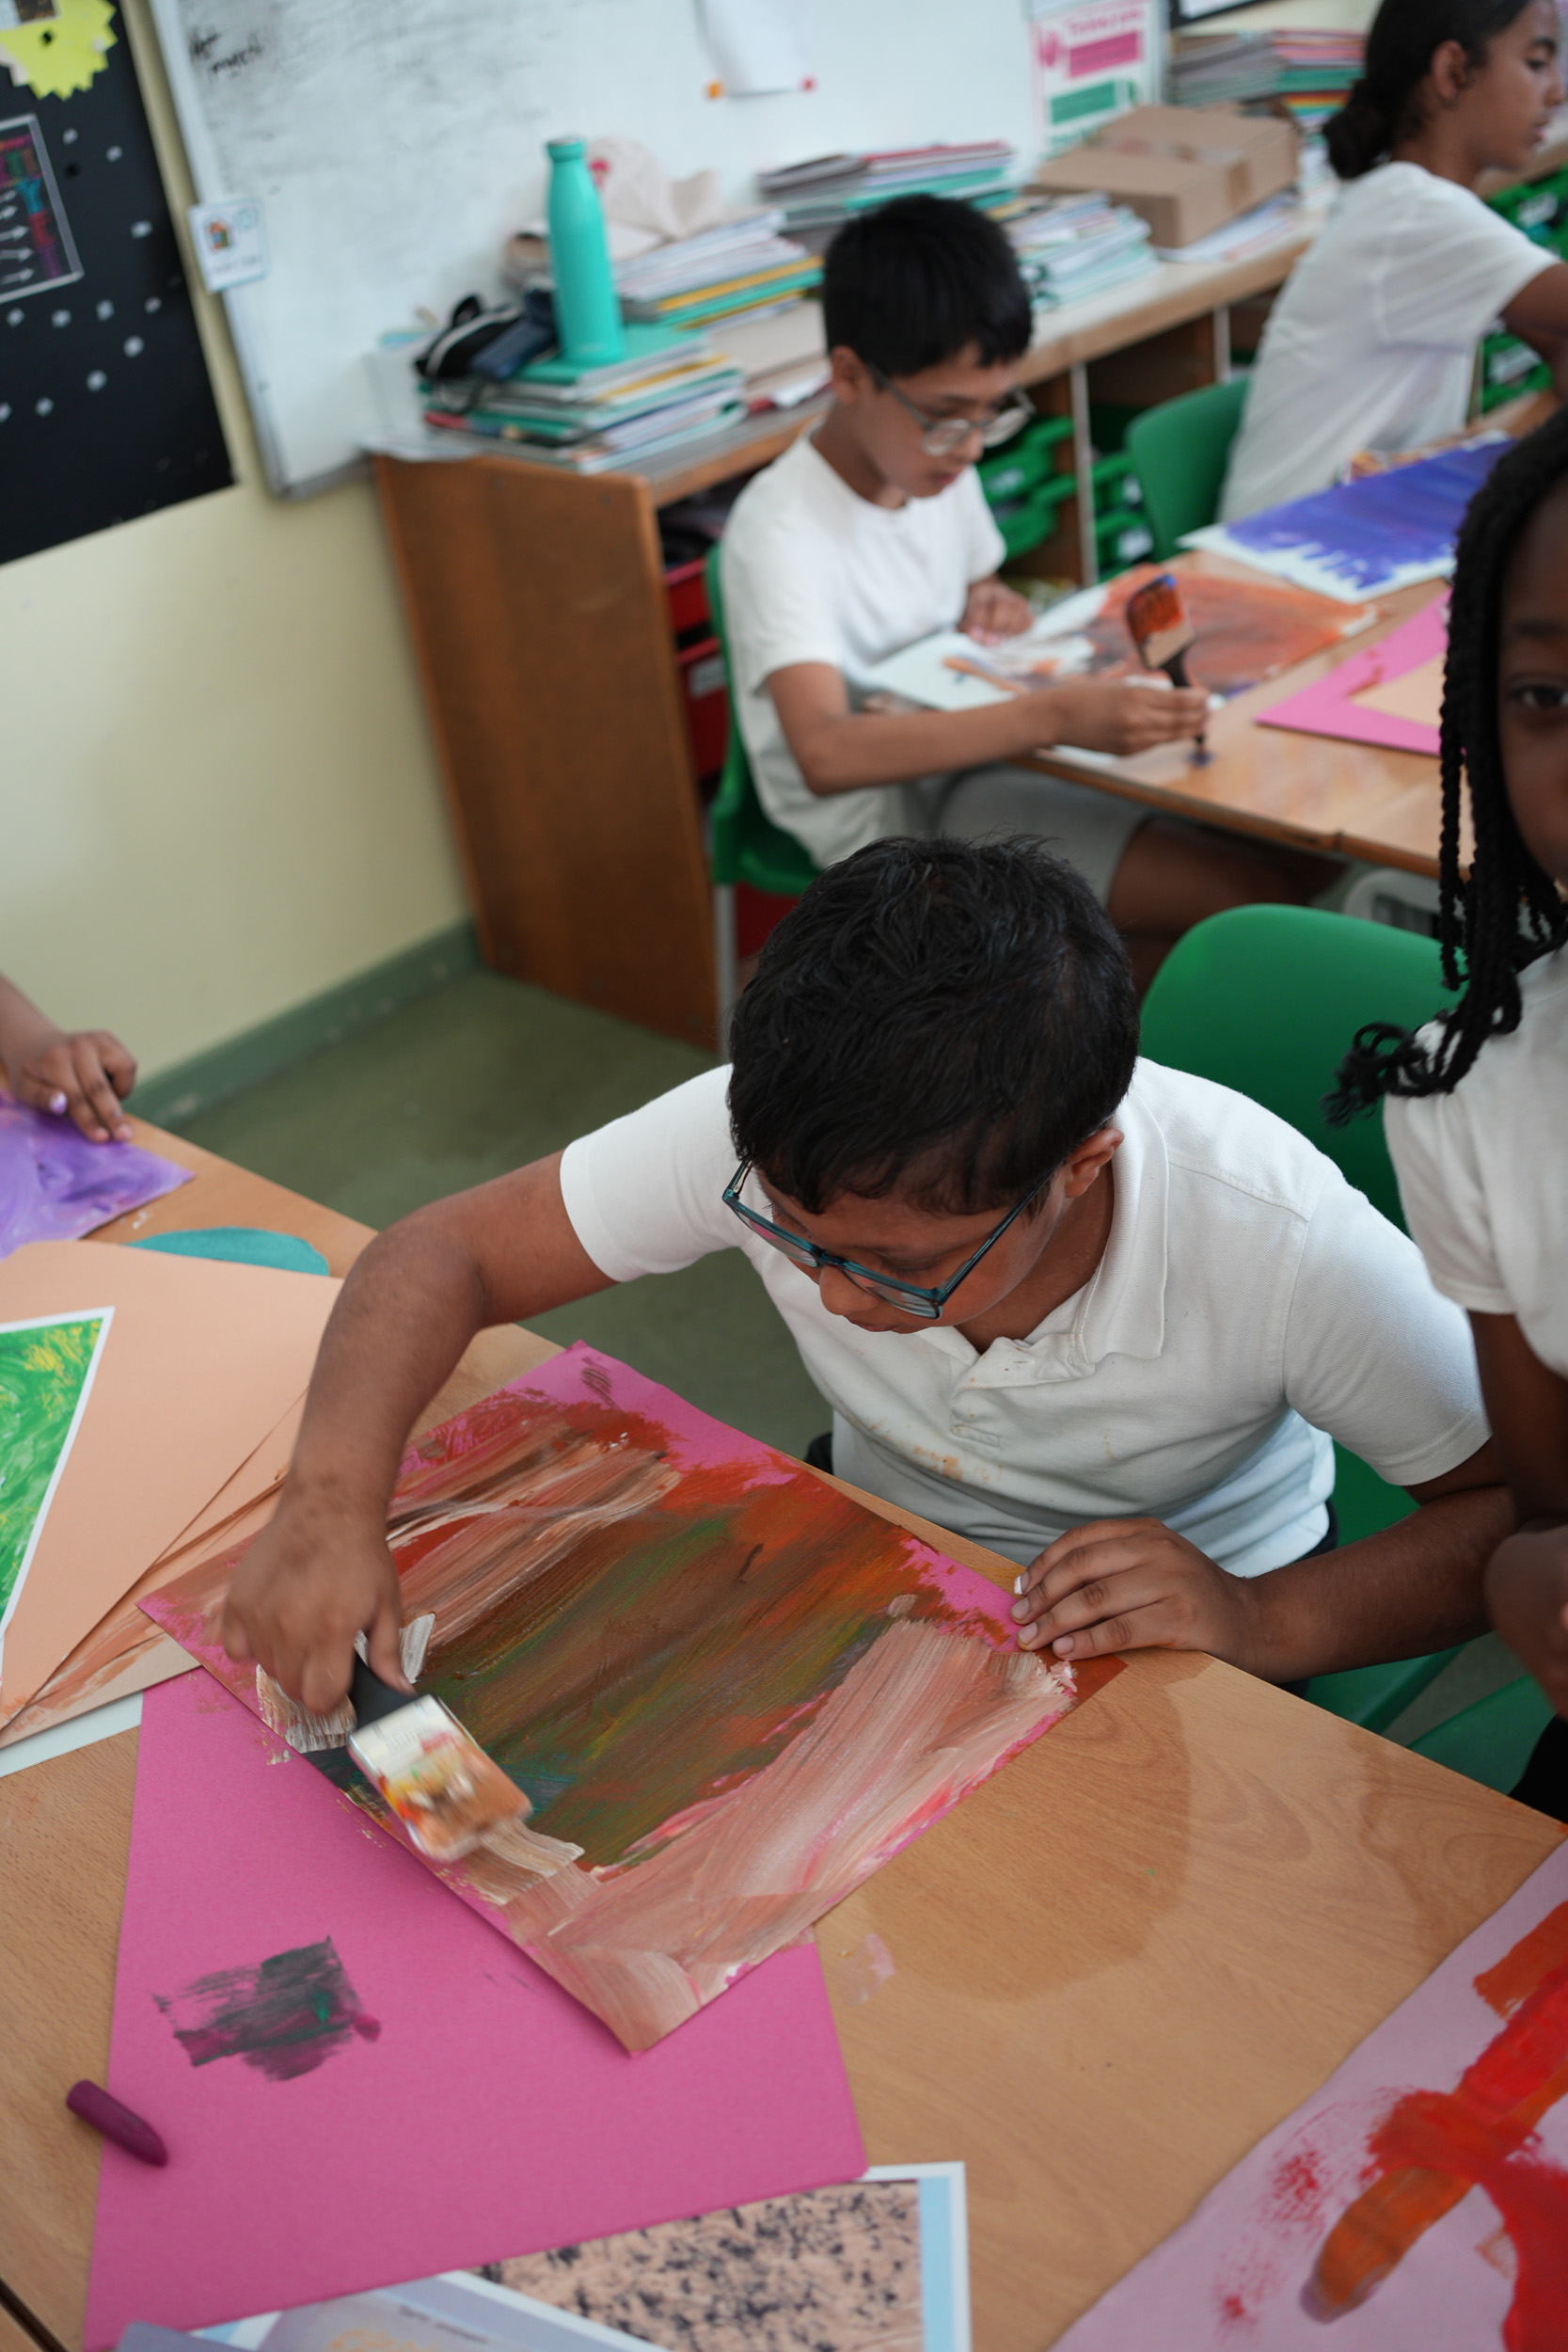
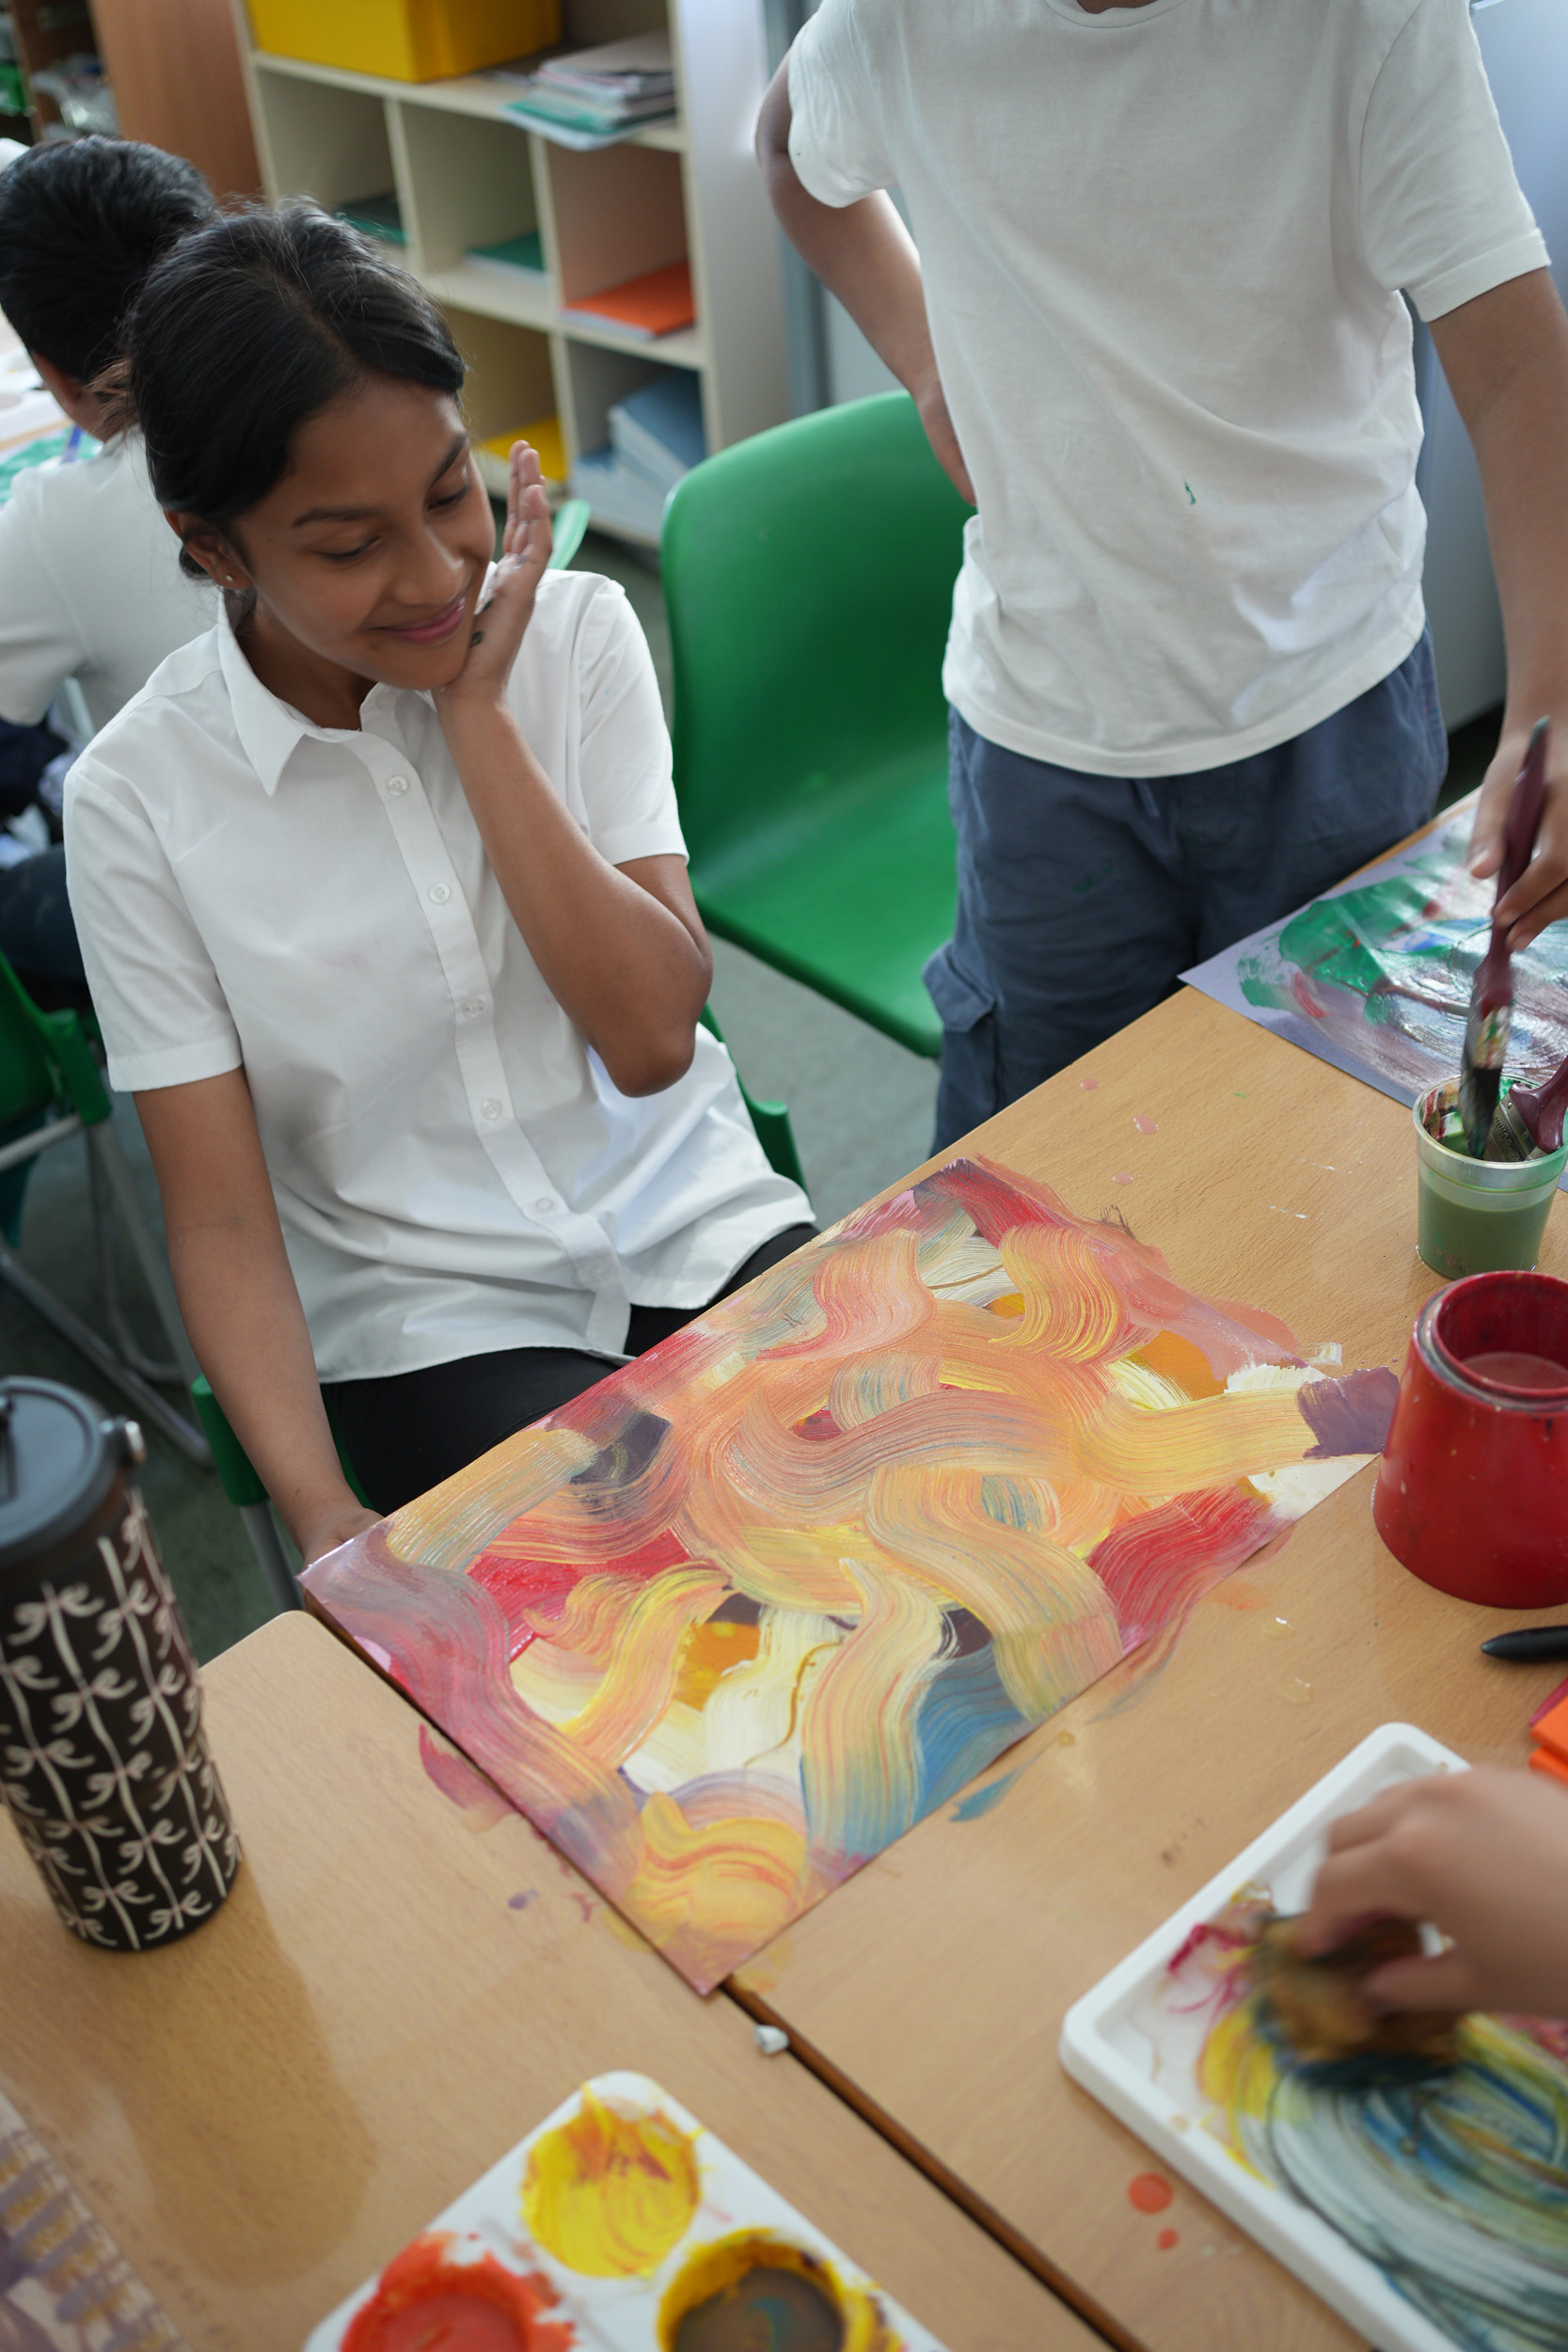
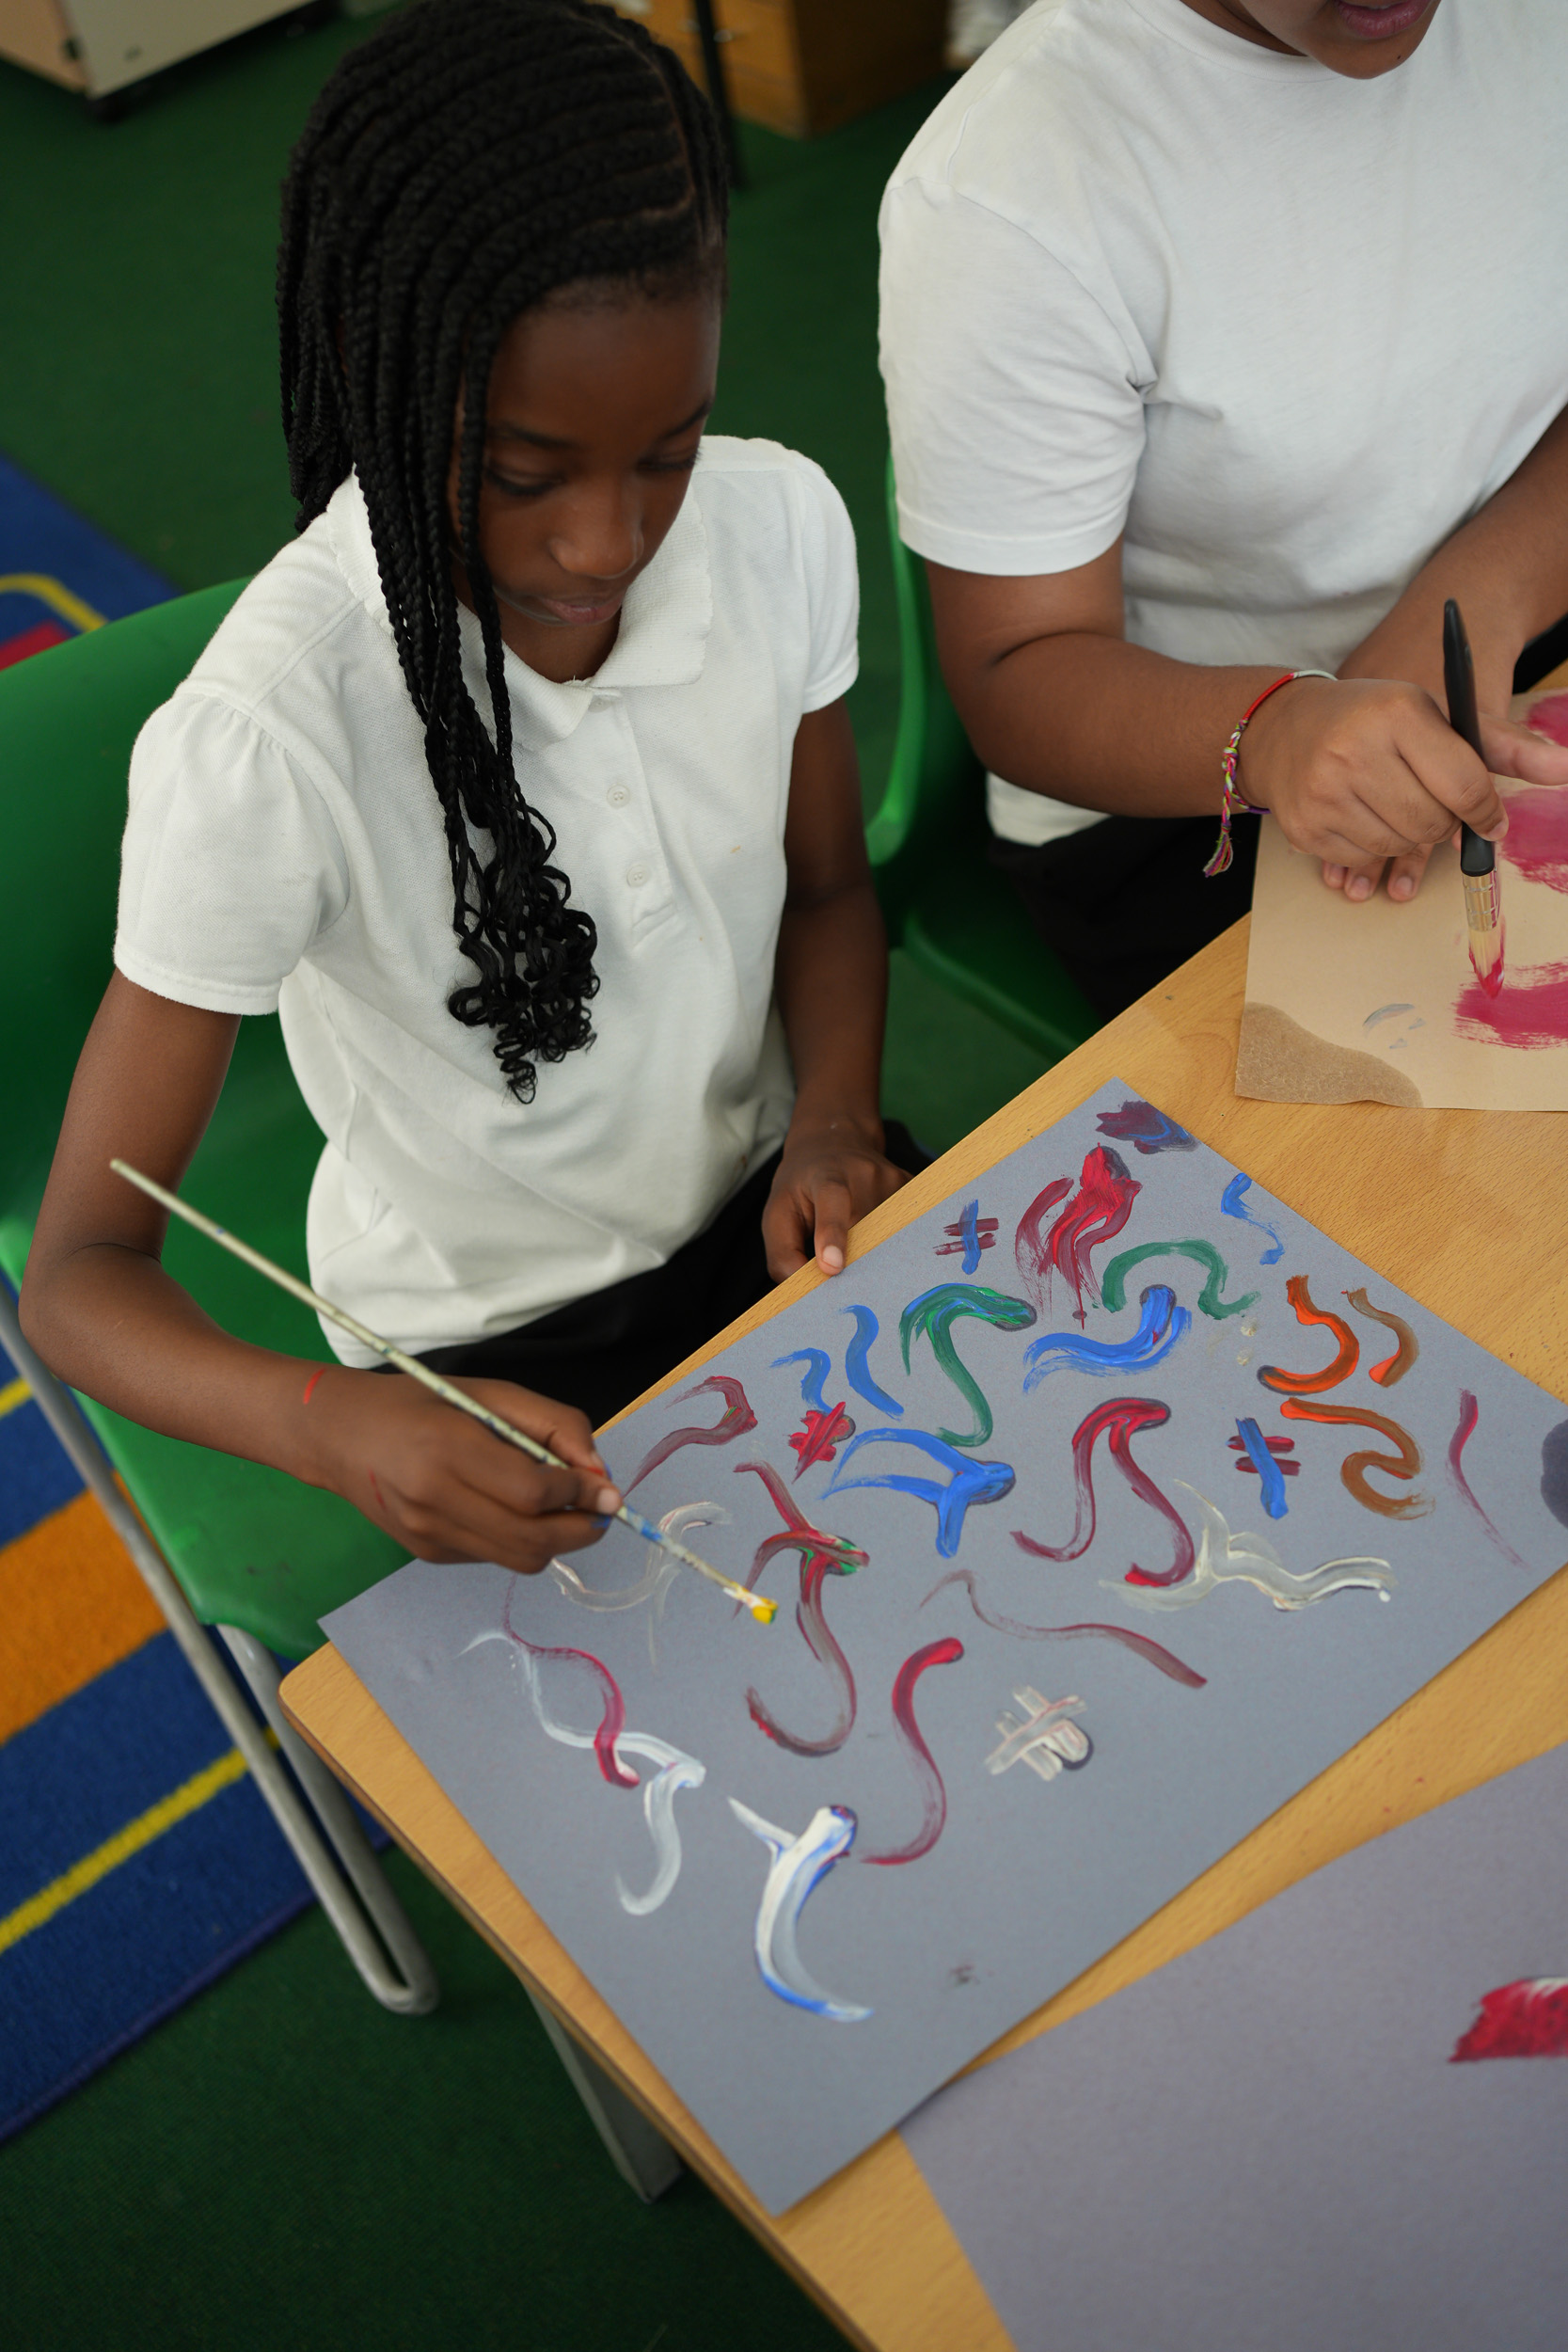
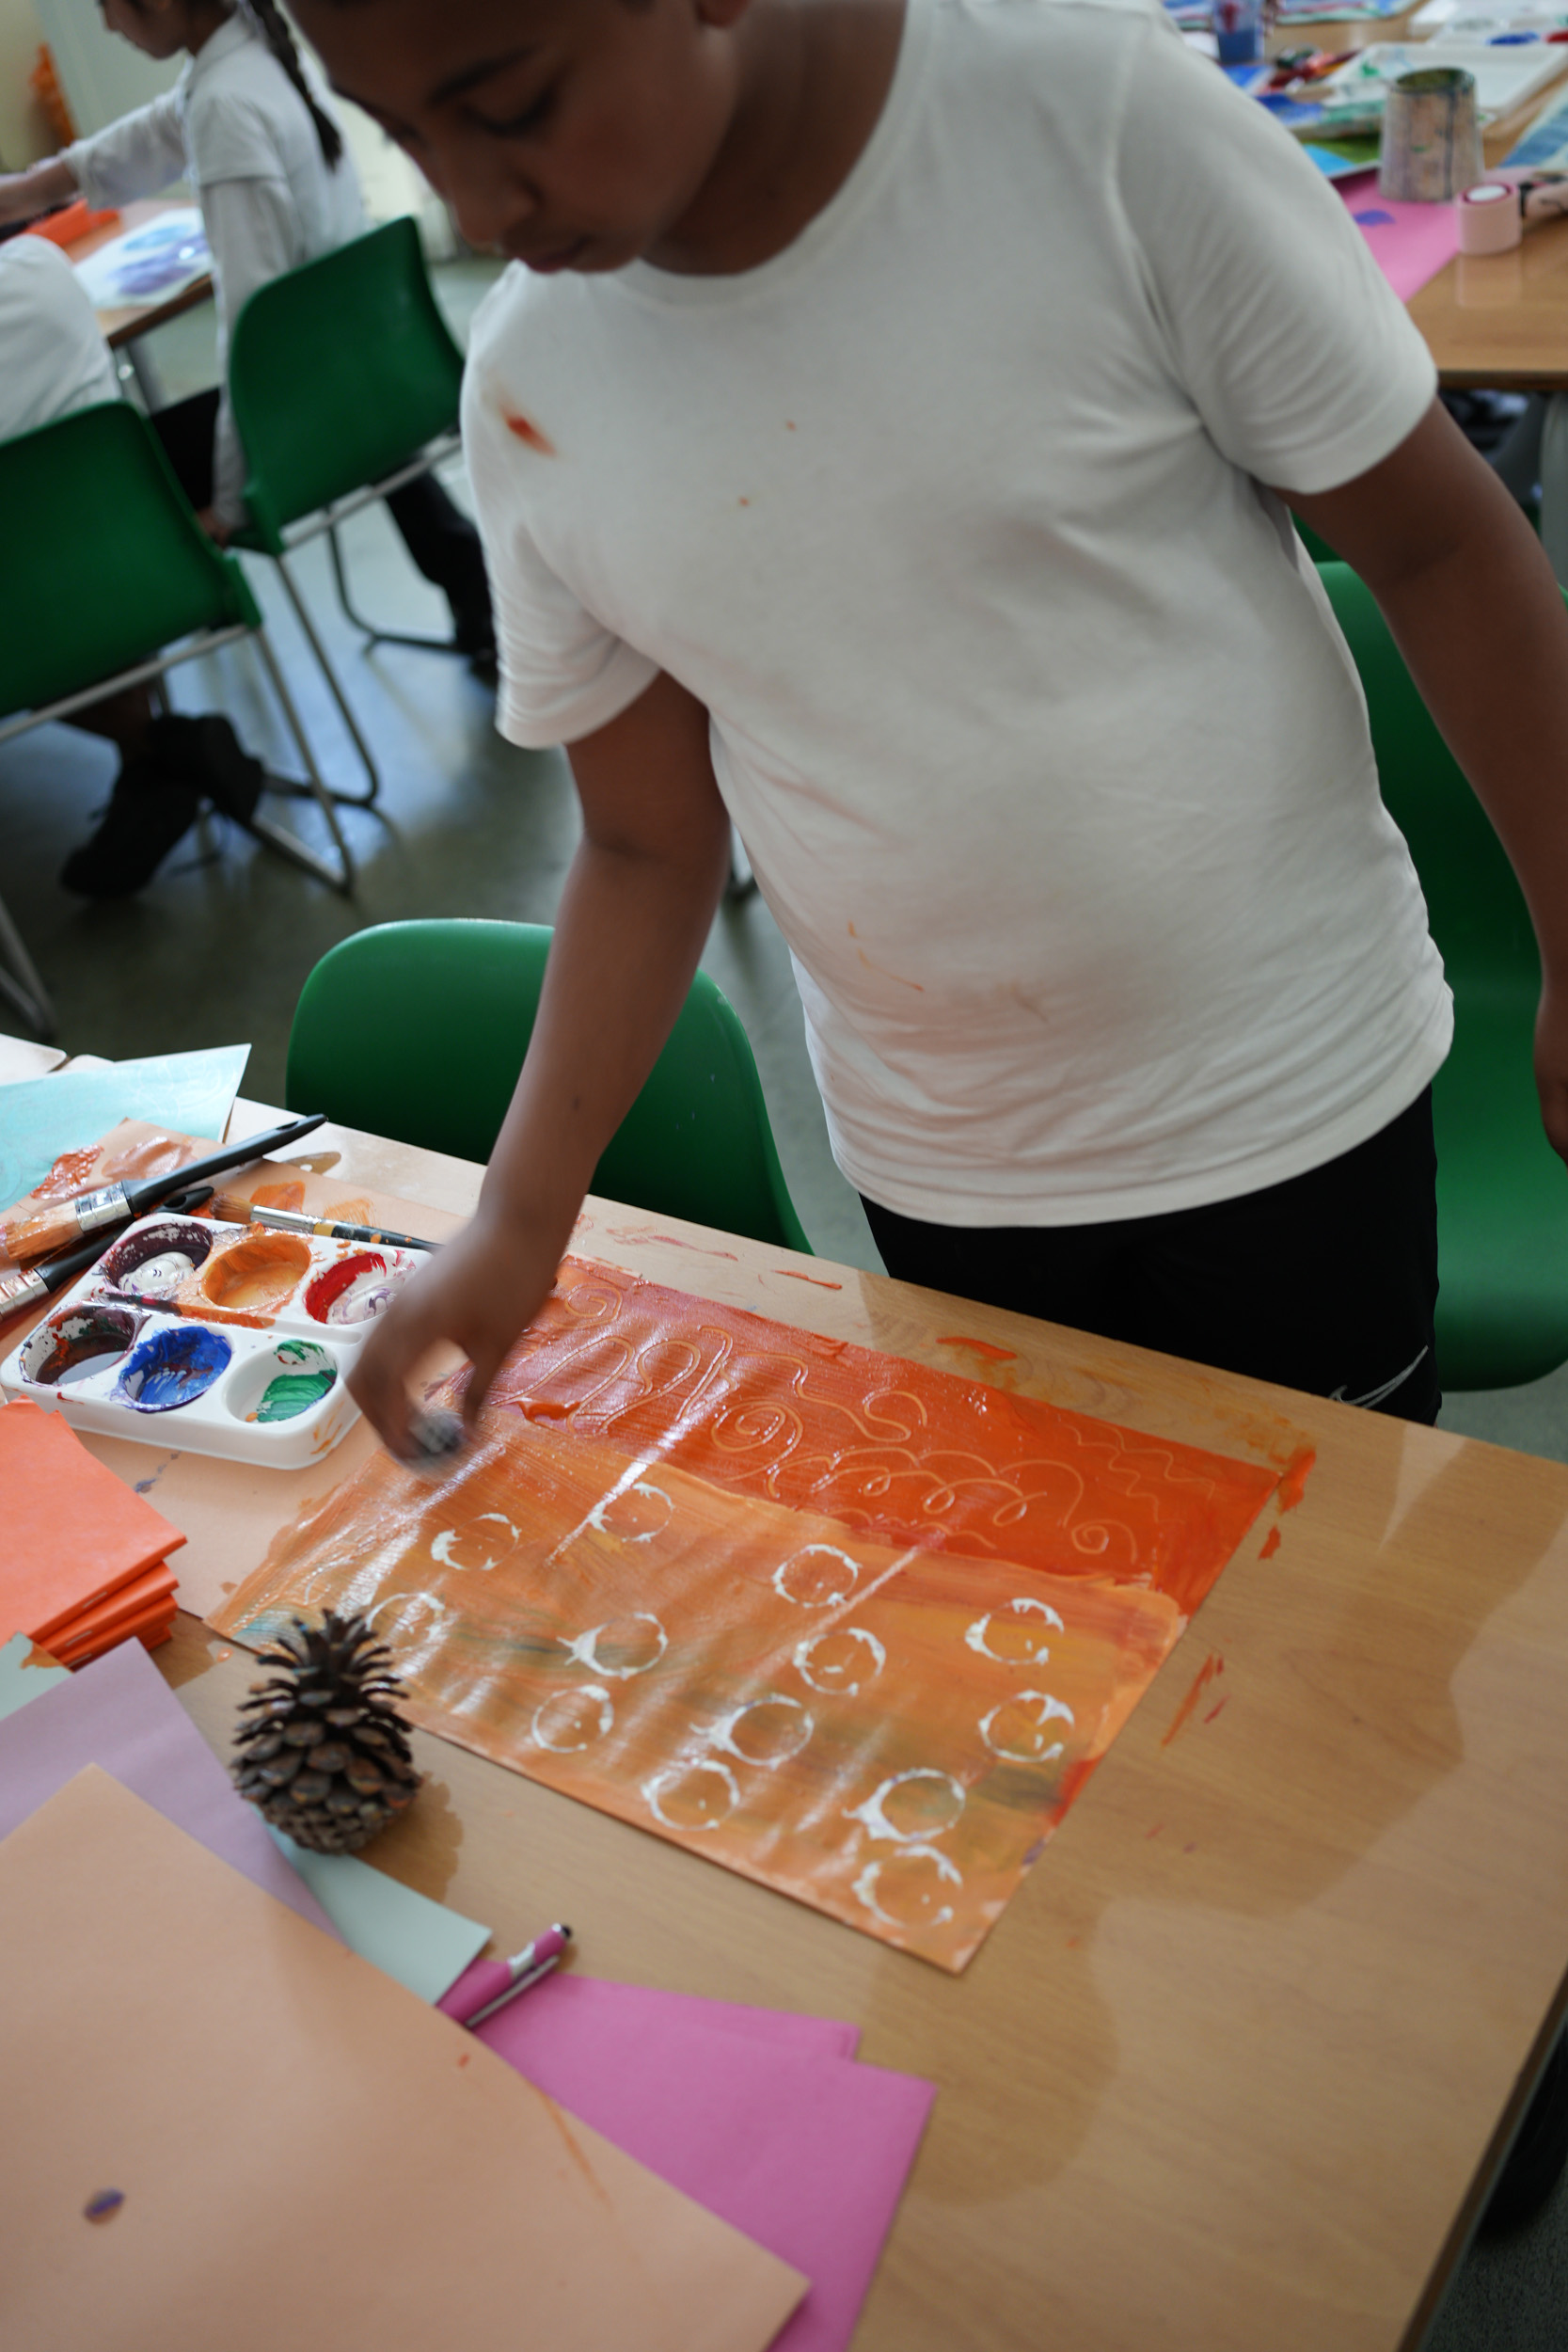
Our next activity is going to be making paste papers. Paste papers are sheets of colour, texture and patterns. They’re made by making a coloured paste, and using a tool or instrument to make marks across the whole surface, before leaving it to dry. The starch in the paste means that any marks you make stay there and are permanent. They are brilliant as examples of a surface design, and are used in making paper collages, which we’ll be doing tomorrow. Remember, you’re not trying to create something representational - a picture or an image - you are mark making.
The goal is just for you to experiment with the variety of marks you can make in the paste, and how you can make each sheet look different. Be bold and try out whatever ideas you can think of. If you do need some inspiration, feel free to take a look through these two books. It could also be helpful for you to think about what colours or designs will be helpful for you to illustrate the animal mask you’ll be making tomorrow. Does your animal have fur, feathers, or scales? Do they like leaves or flowers? Do they eat fruit or vegetables? Feel free to be imaginative.
I’m now going to demonstrate the technique:
- Take a piece of paper and before you start write your name on the back, so you can find them again.
- Take a small amount of paste in a palette, and add pigment to it. You can use any of these paints or inks, and mix them in with the paste until the mixture is completely blended. You don’t want any lumps of paste left in there.
- Next, take a brush - a big brush is best, but any brush - and cover the whole sheet of paper with the coloured paste.
- Find a tool - this could be anything. Anything! A bottle cap, the other end of your brush, your finger, a ruler, a sponge, and make marks on the surface of the paste. (I will show a brush, a comb, a bottle cap, a feather, a shell).
- You can even paint two separate sheets of paper, stick them together, and then gently and carefully pull them apart.
- Leave them aside to dry.
Mask Making workshop – Amy Brookes
When architects are designing buildings, we tend to focus on the human inhabitants, but there are always other creatures living with us, as well as the wider ecologies we inhabit, so it is one of our responsibilities as designers to think about the needs of these non-human inhabitants of the city.
Listing animals - We are going to start with a quick brainstorming exercise to choose an animal character, so get out your exercise books. First think about your home and school - what animals are there that live with you or in the local area? These could be invited animals like pets, or unwanted house guests like fleas or wasps, or wild animals like foxes and pigeons. Write a long list of all those ideas down in your book. Look at the textures you have gathered - are there any that remind you of an animal? This doesn't have to be local - it could be a fantastical animal like a dragon, or it could just be your favourite animal.
Choosing an animal - Now we are going to choose an animal by writing a very short story about an encounter. Pick an animal from your list and either - try to remember when you last saw this animal at school or at home or somewhere nearby, or imagine a scenario where you meet this animal at home or school. Write a short paragraph about that meeting between the two of you - where are you, and what do you both do?
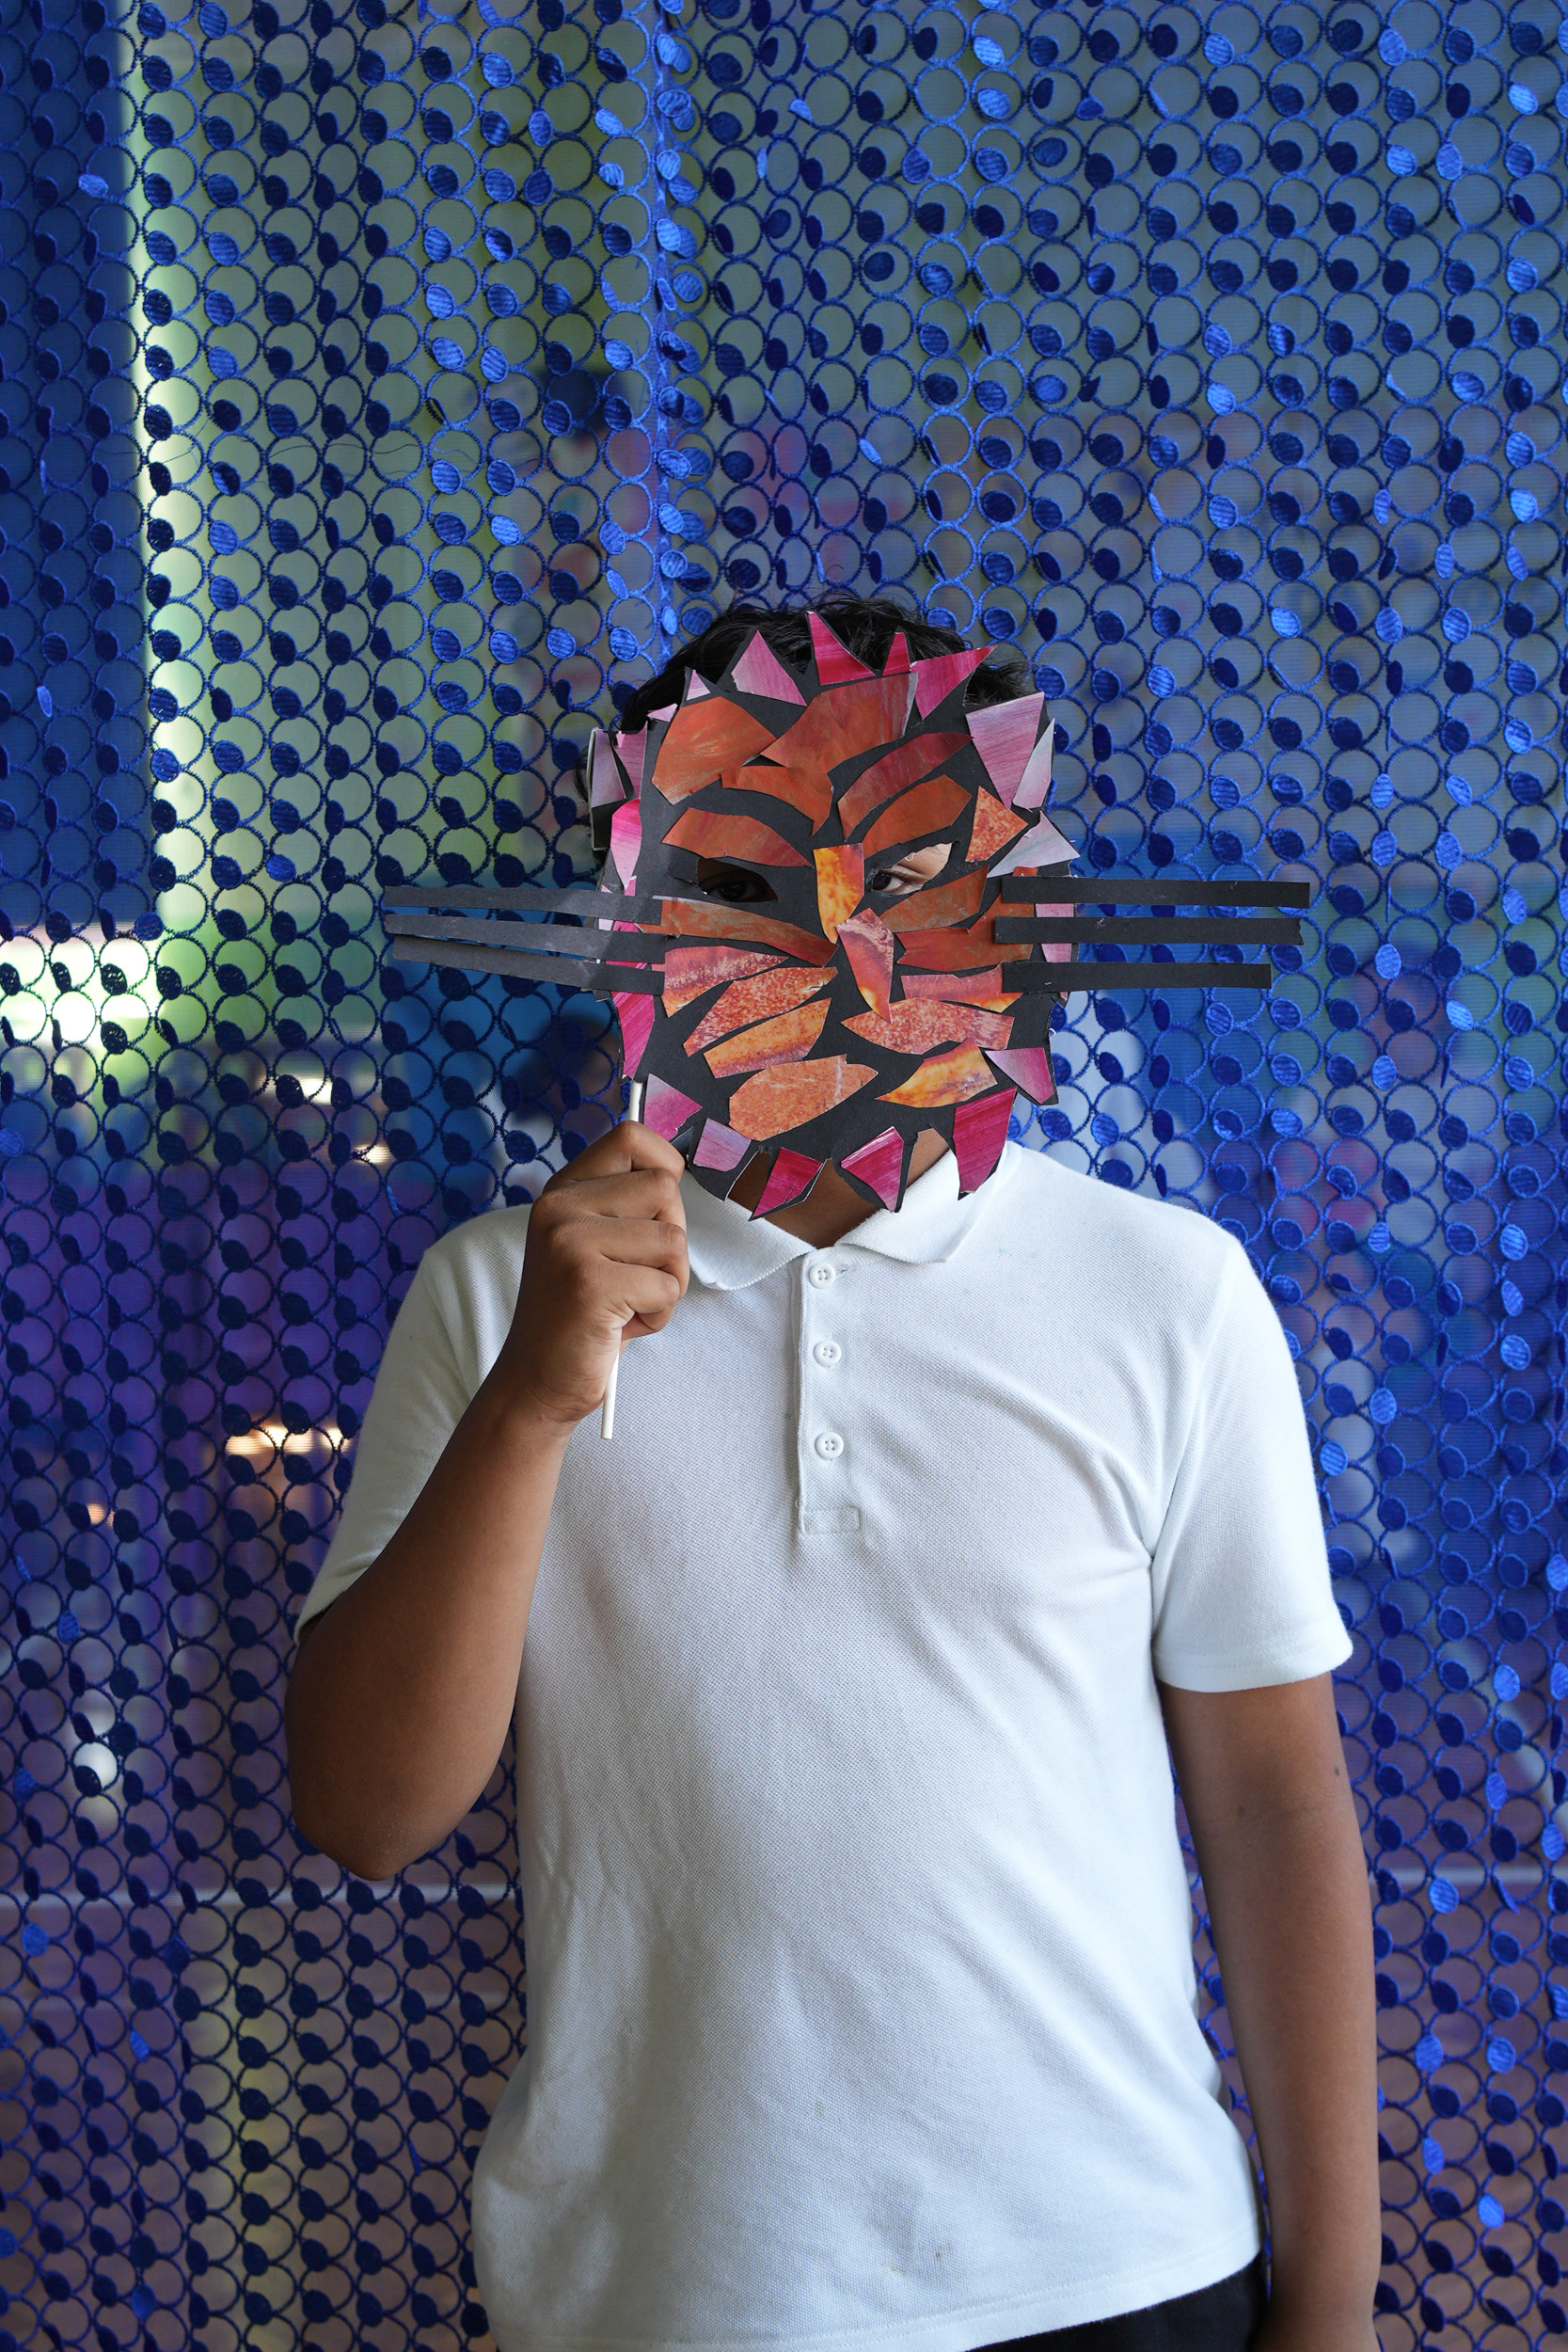
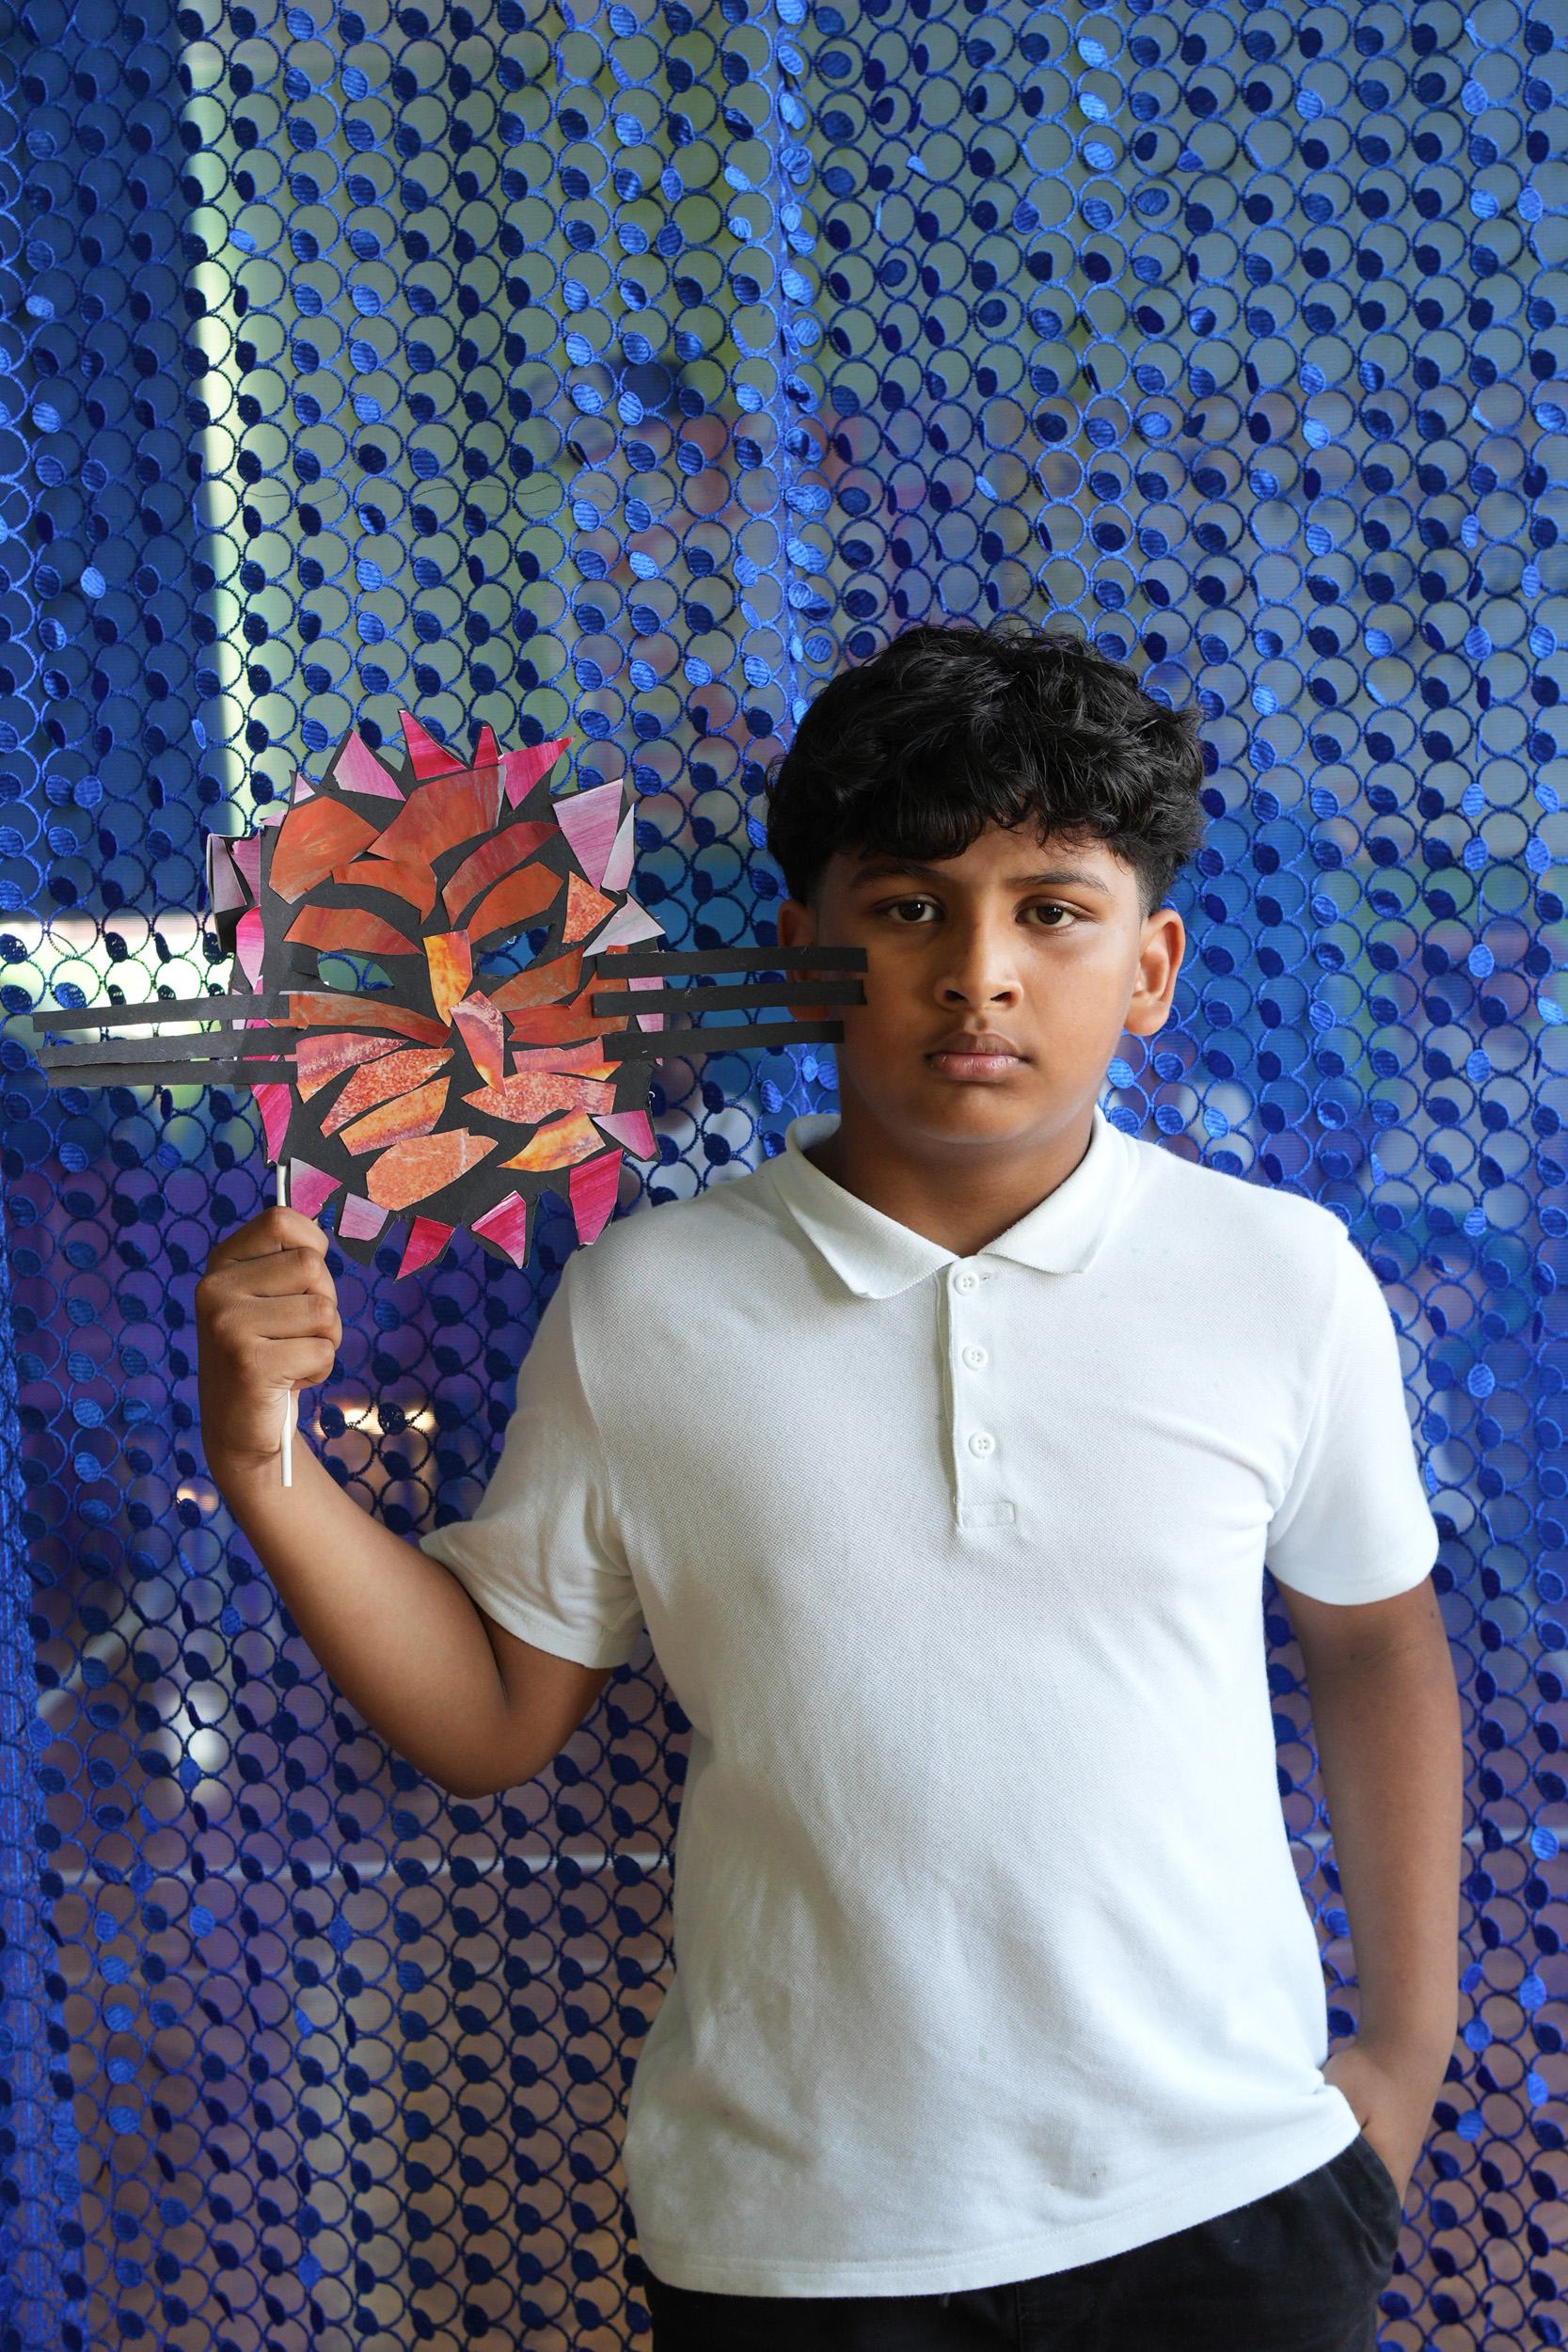
Mask design - Now we are going to make a mask to become that animal. Masks are used around the world for lots of different reasons, they can be part of religious or cultural ceremonies in masquerades, at Mardi Gras in New Orleans, or the Mexican Day of the Dead. In English folklore people dress up as The Green Man, or Jack in the Green on the first of May, dressing up like a tree or a bush to represent the summer which is coming and all the wildness of nature. So wearing a mask can allow us to be someone else, or something else - like with Jack in the Green it can allow us to take on the role of a different part of the natural world - to inhabit the perspective of a different creature and try to empathise or understand them.
- There are templates on the tables, so pick the one closest to your chosen animal. Don't worry if it isn't an exact match, just find something similar.
- Test it for scale by holding it up to your face to see if the eye holes are in the right place.
- Then stick it in the middle of a piece of card.
- Then change the design - you can add bits on or redraw the outline - it is only there as a guide. You can be as creative as you would like changing these animals!
- This will give us an outline shape - you will be doing your design on the other side of the card, so you don’t need to draw any details like whiskers or noses.
- Then we will carefully cut around the outline of the mask, and cut eye holes.
Collage workshop – Sing Yun Lee
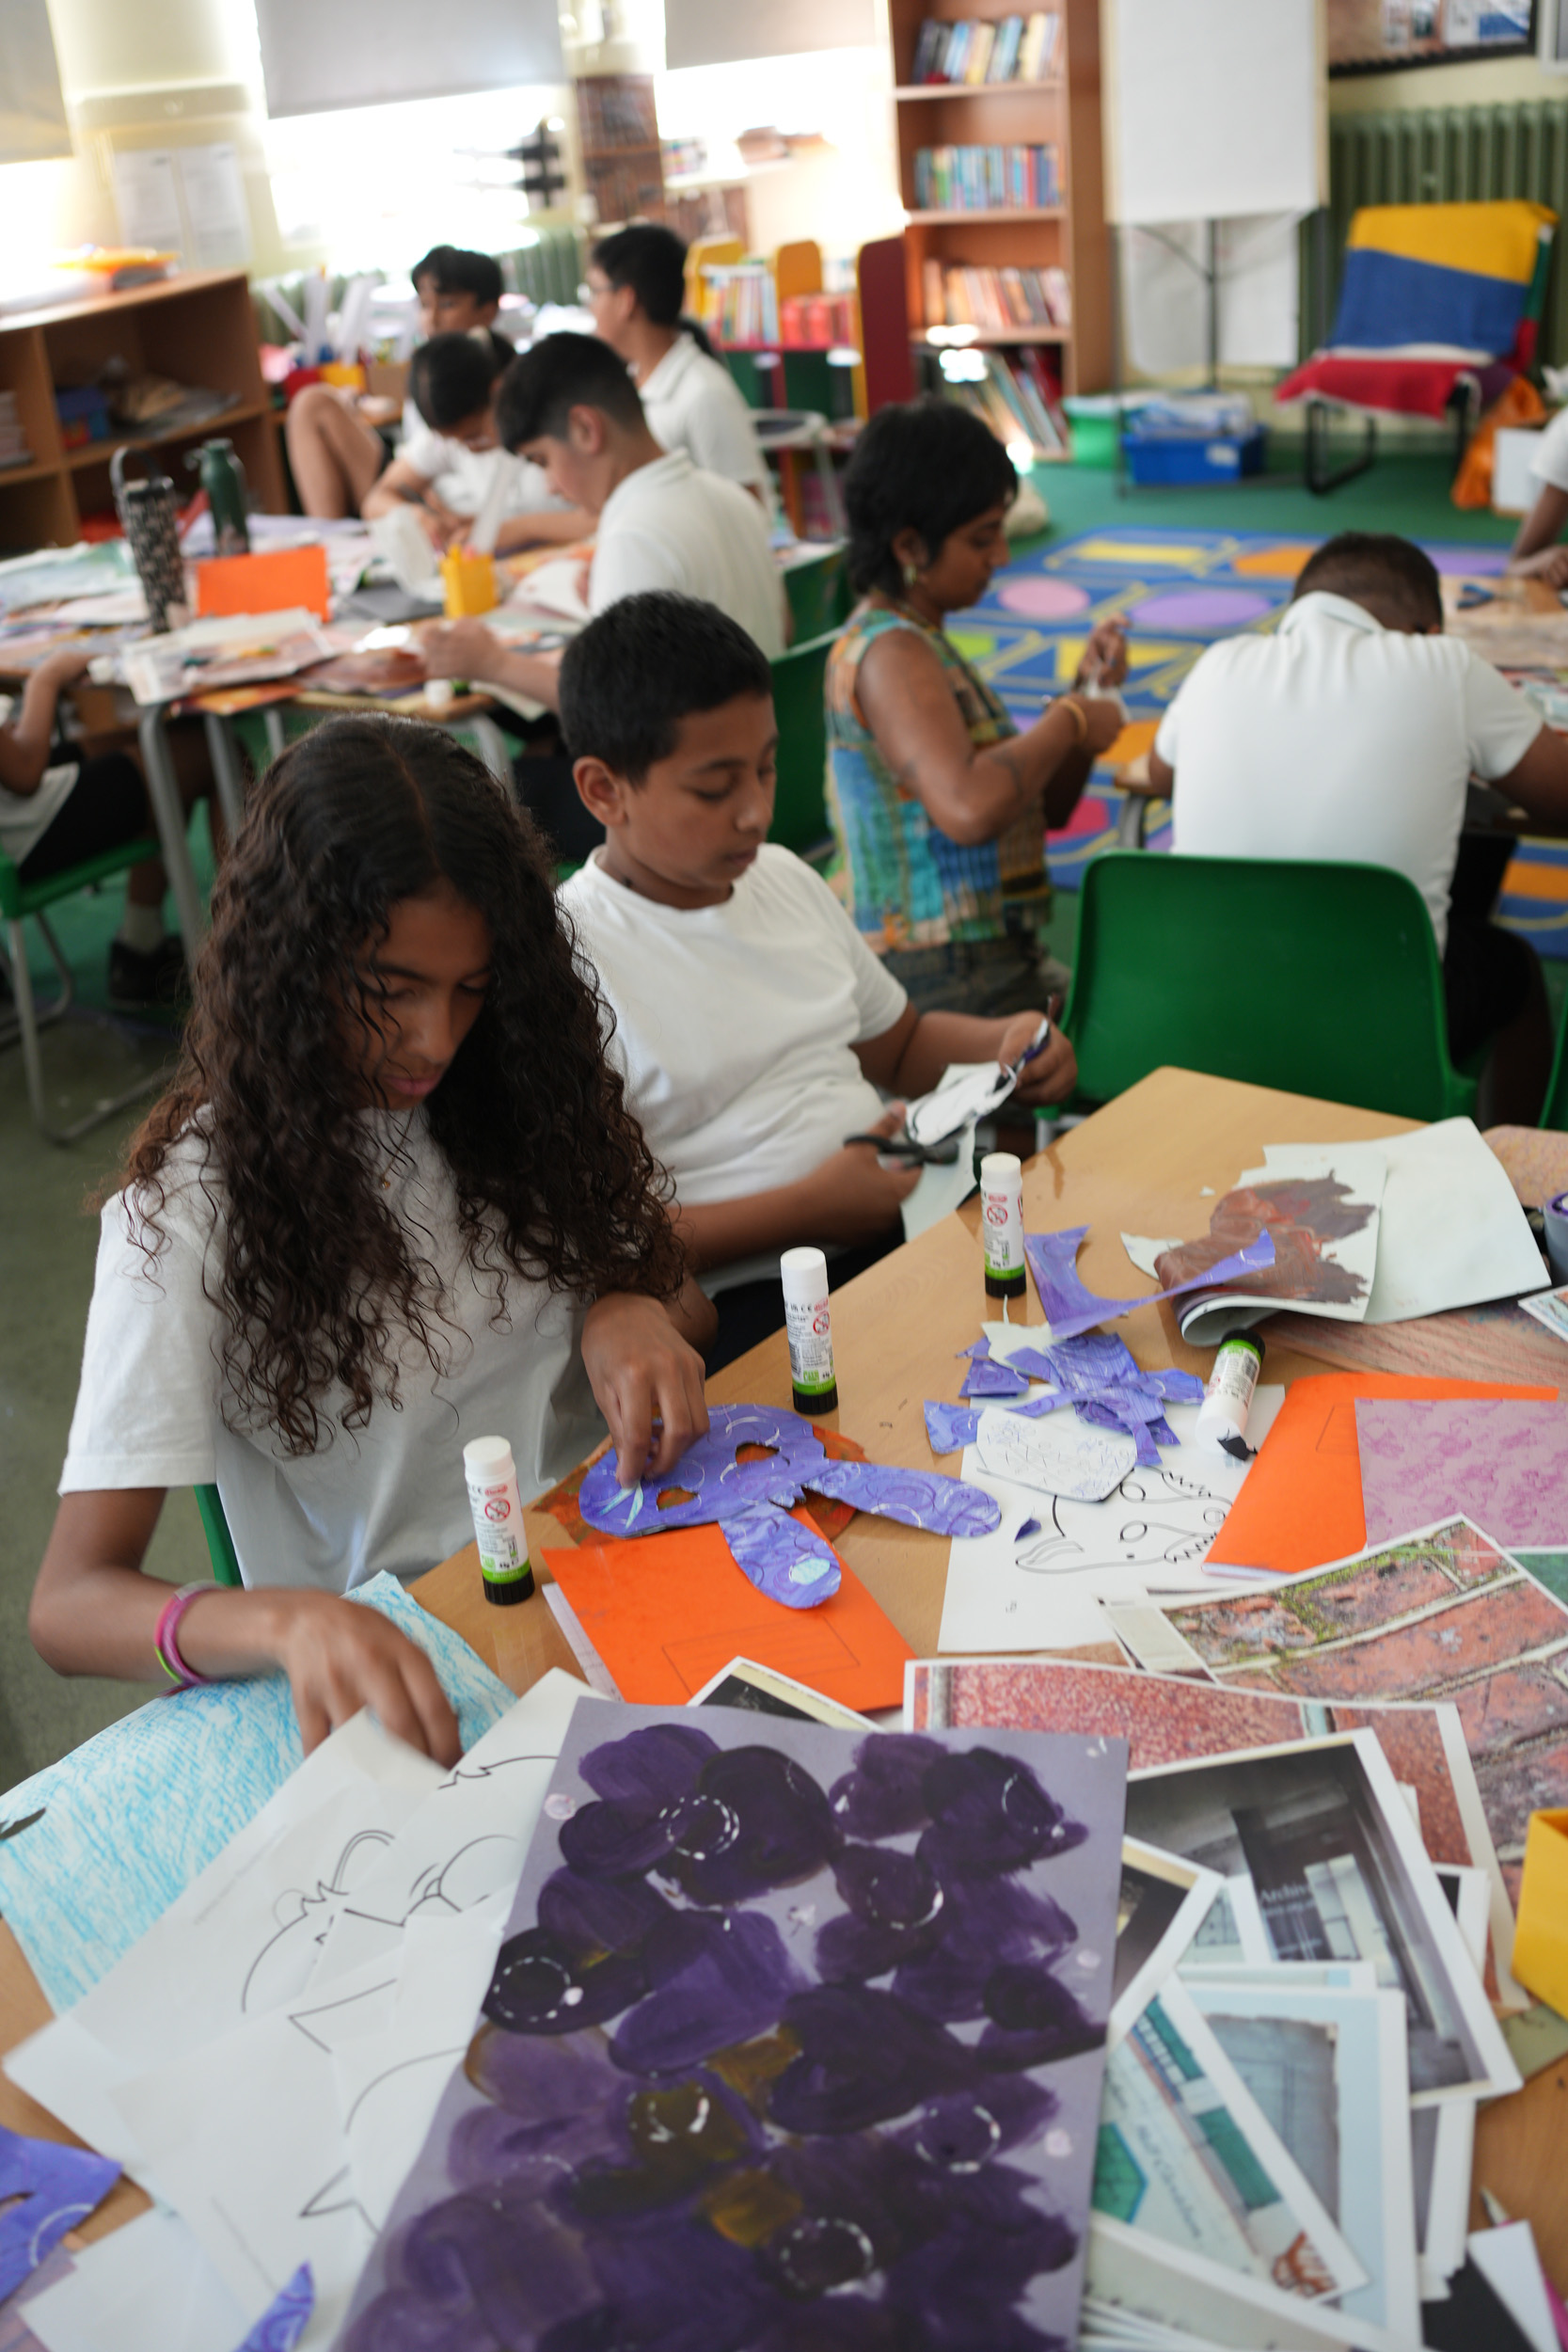
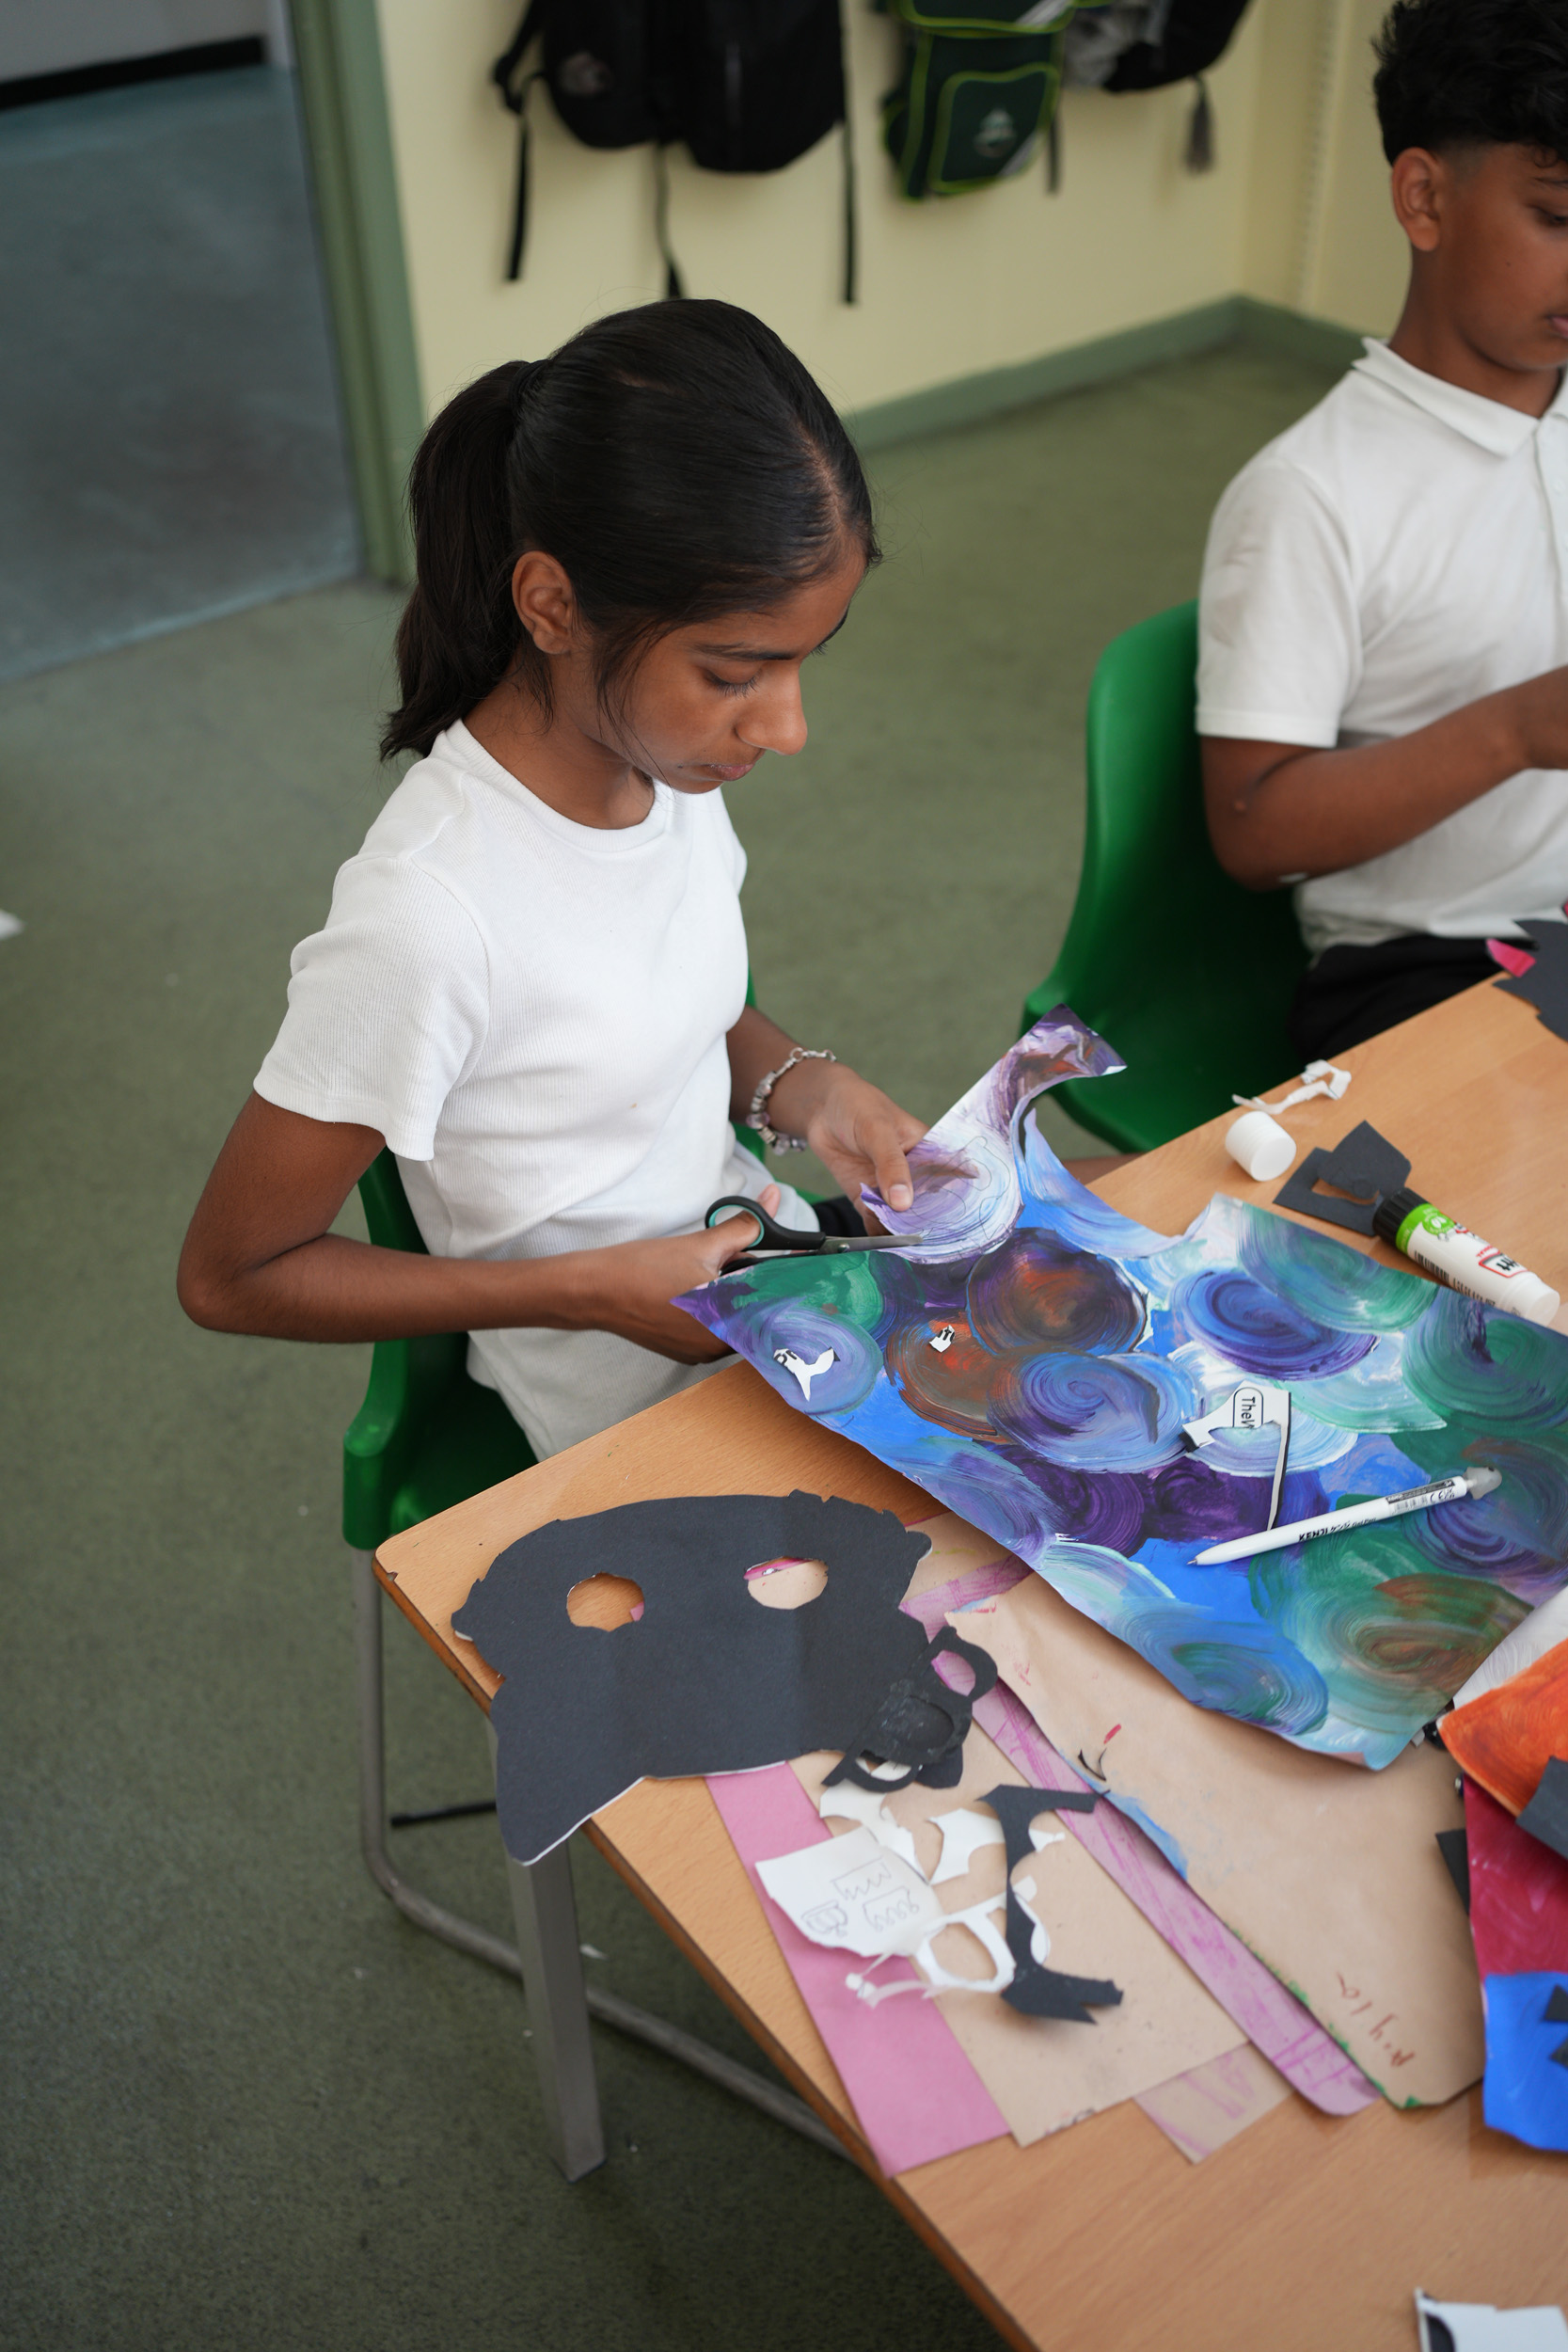
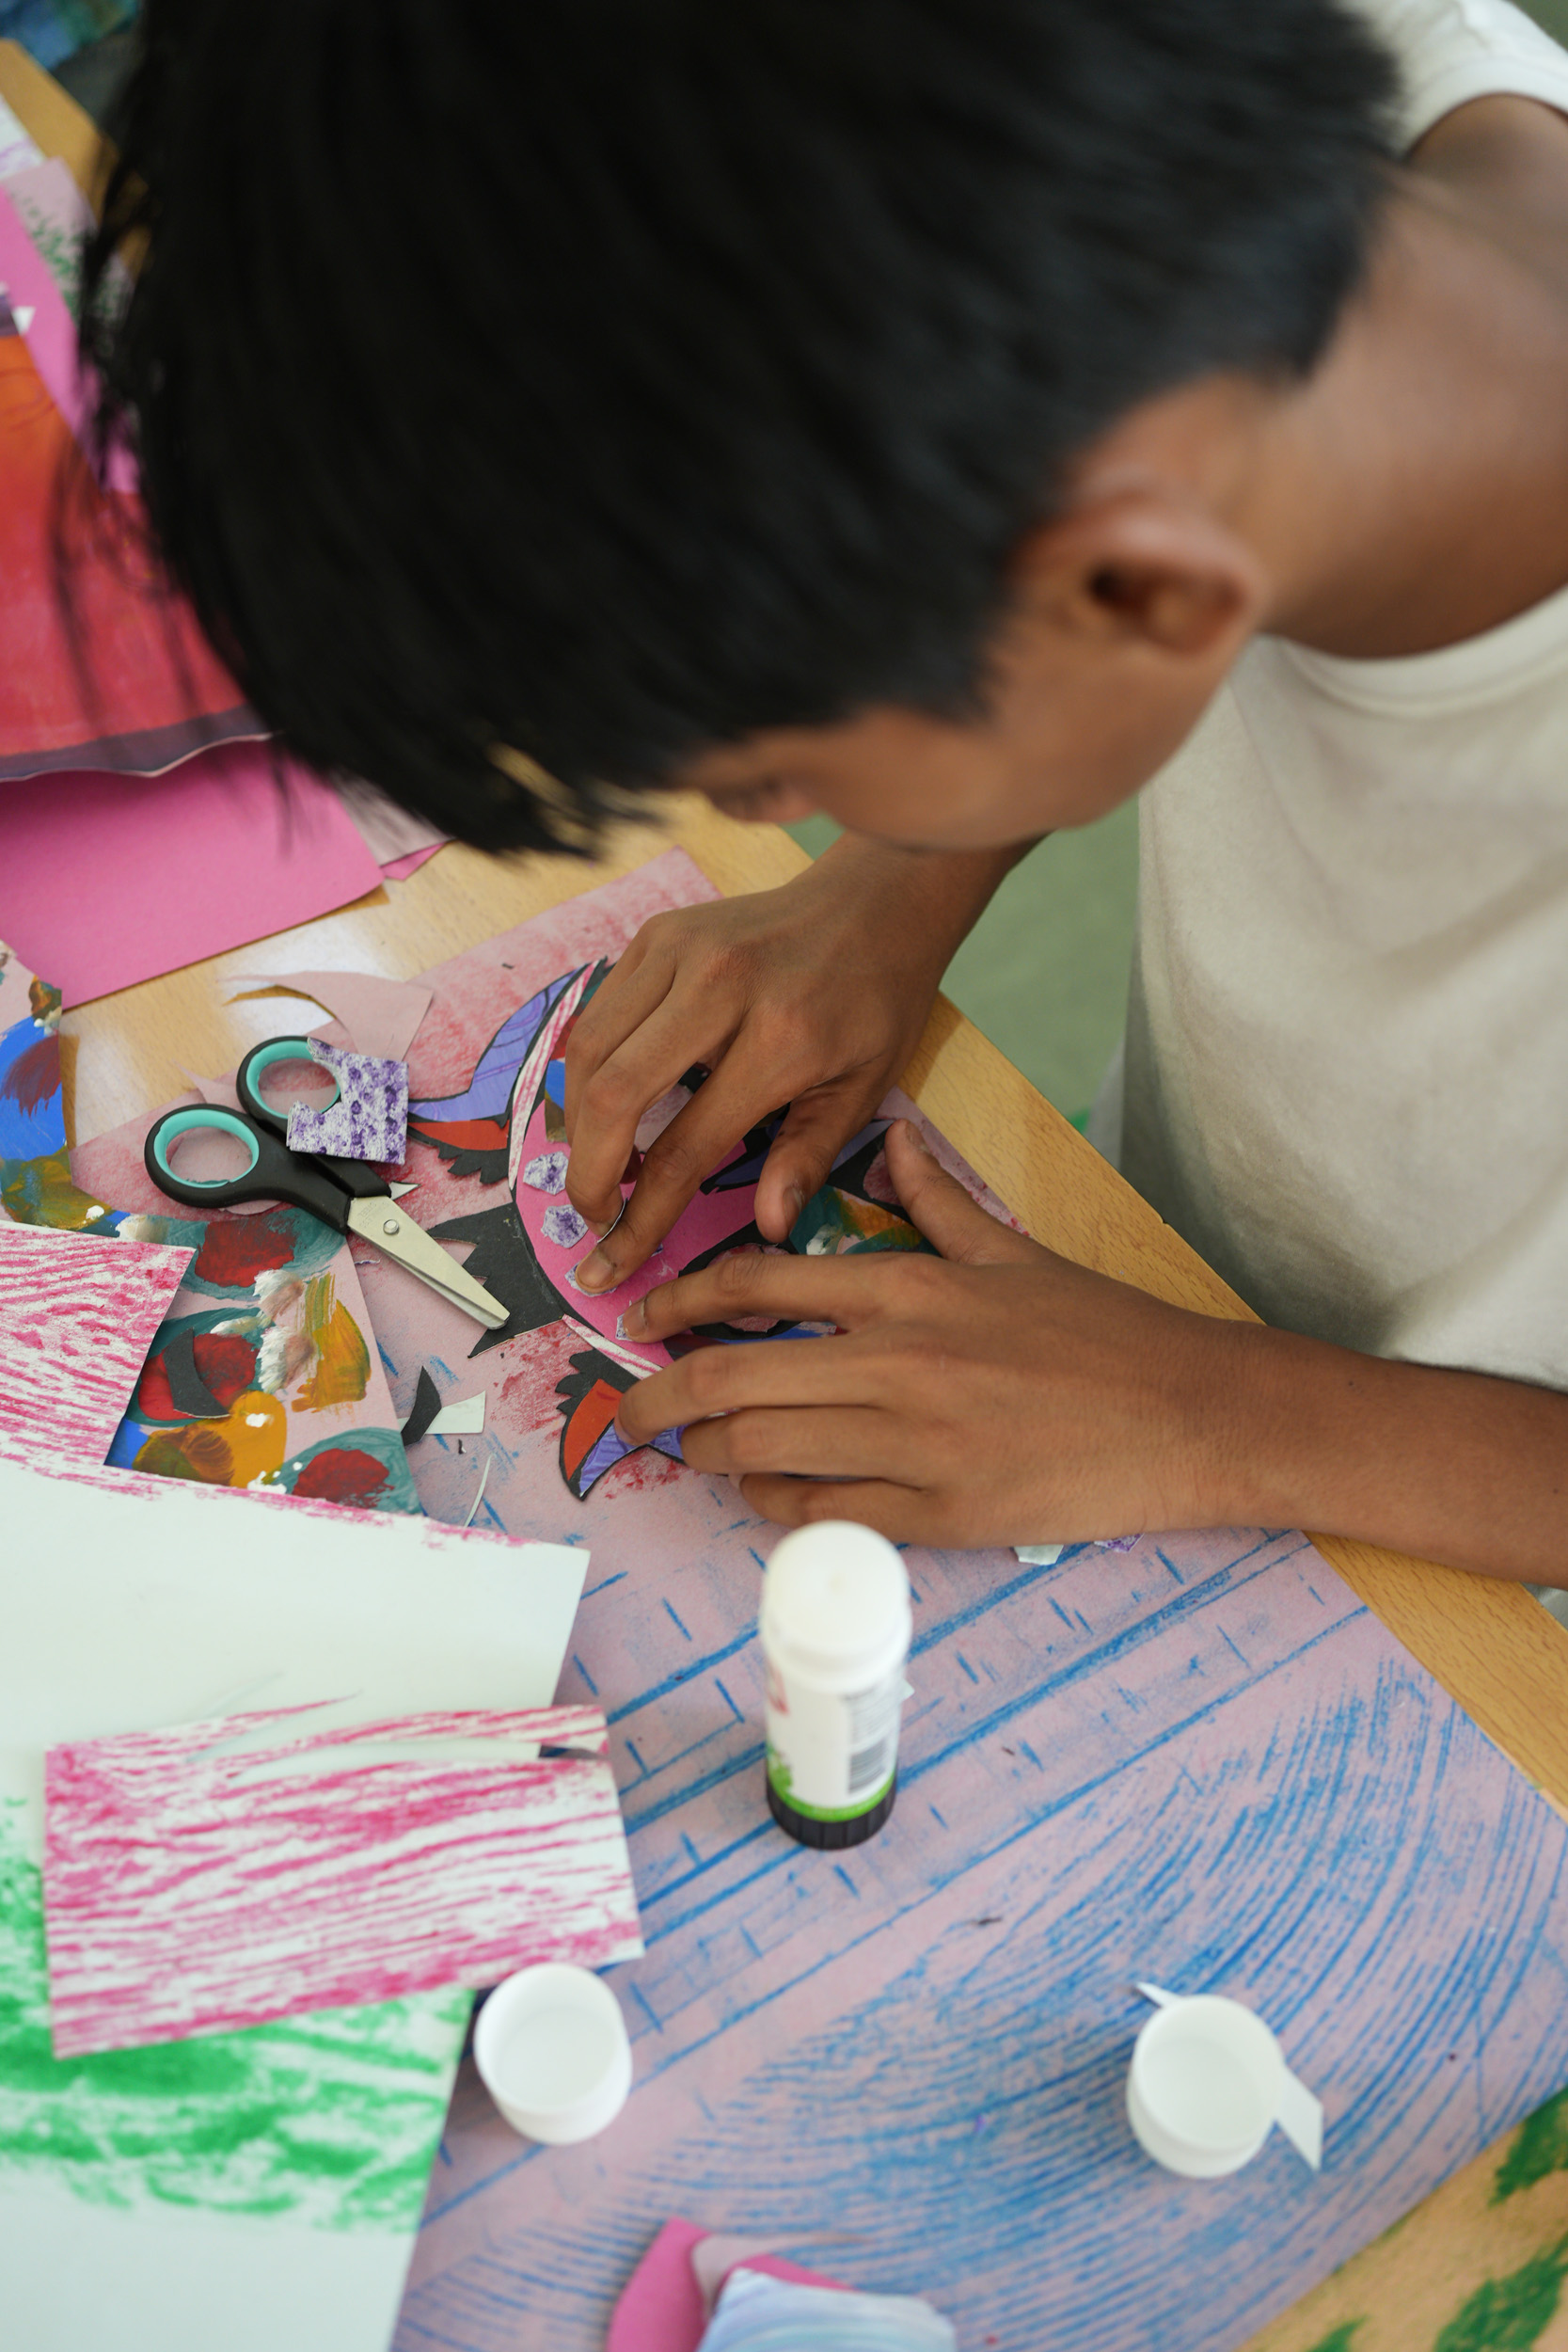
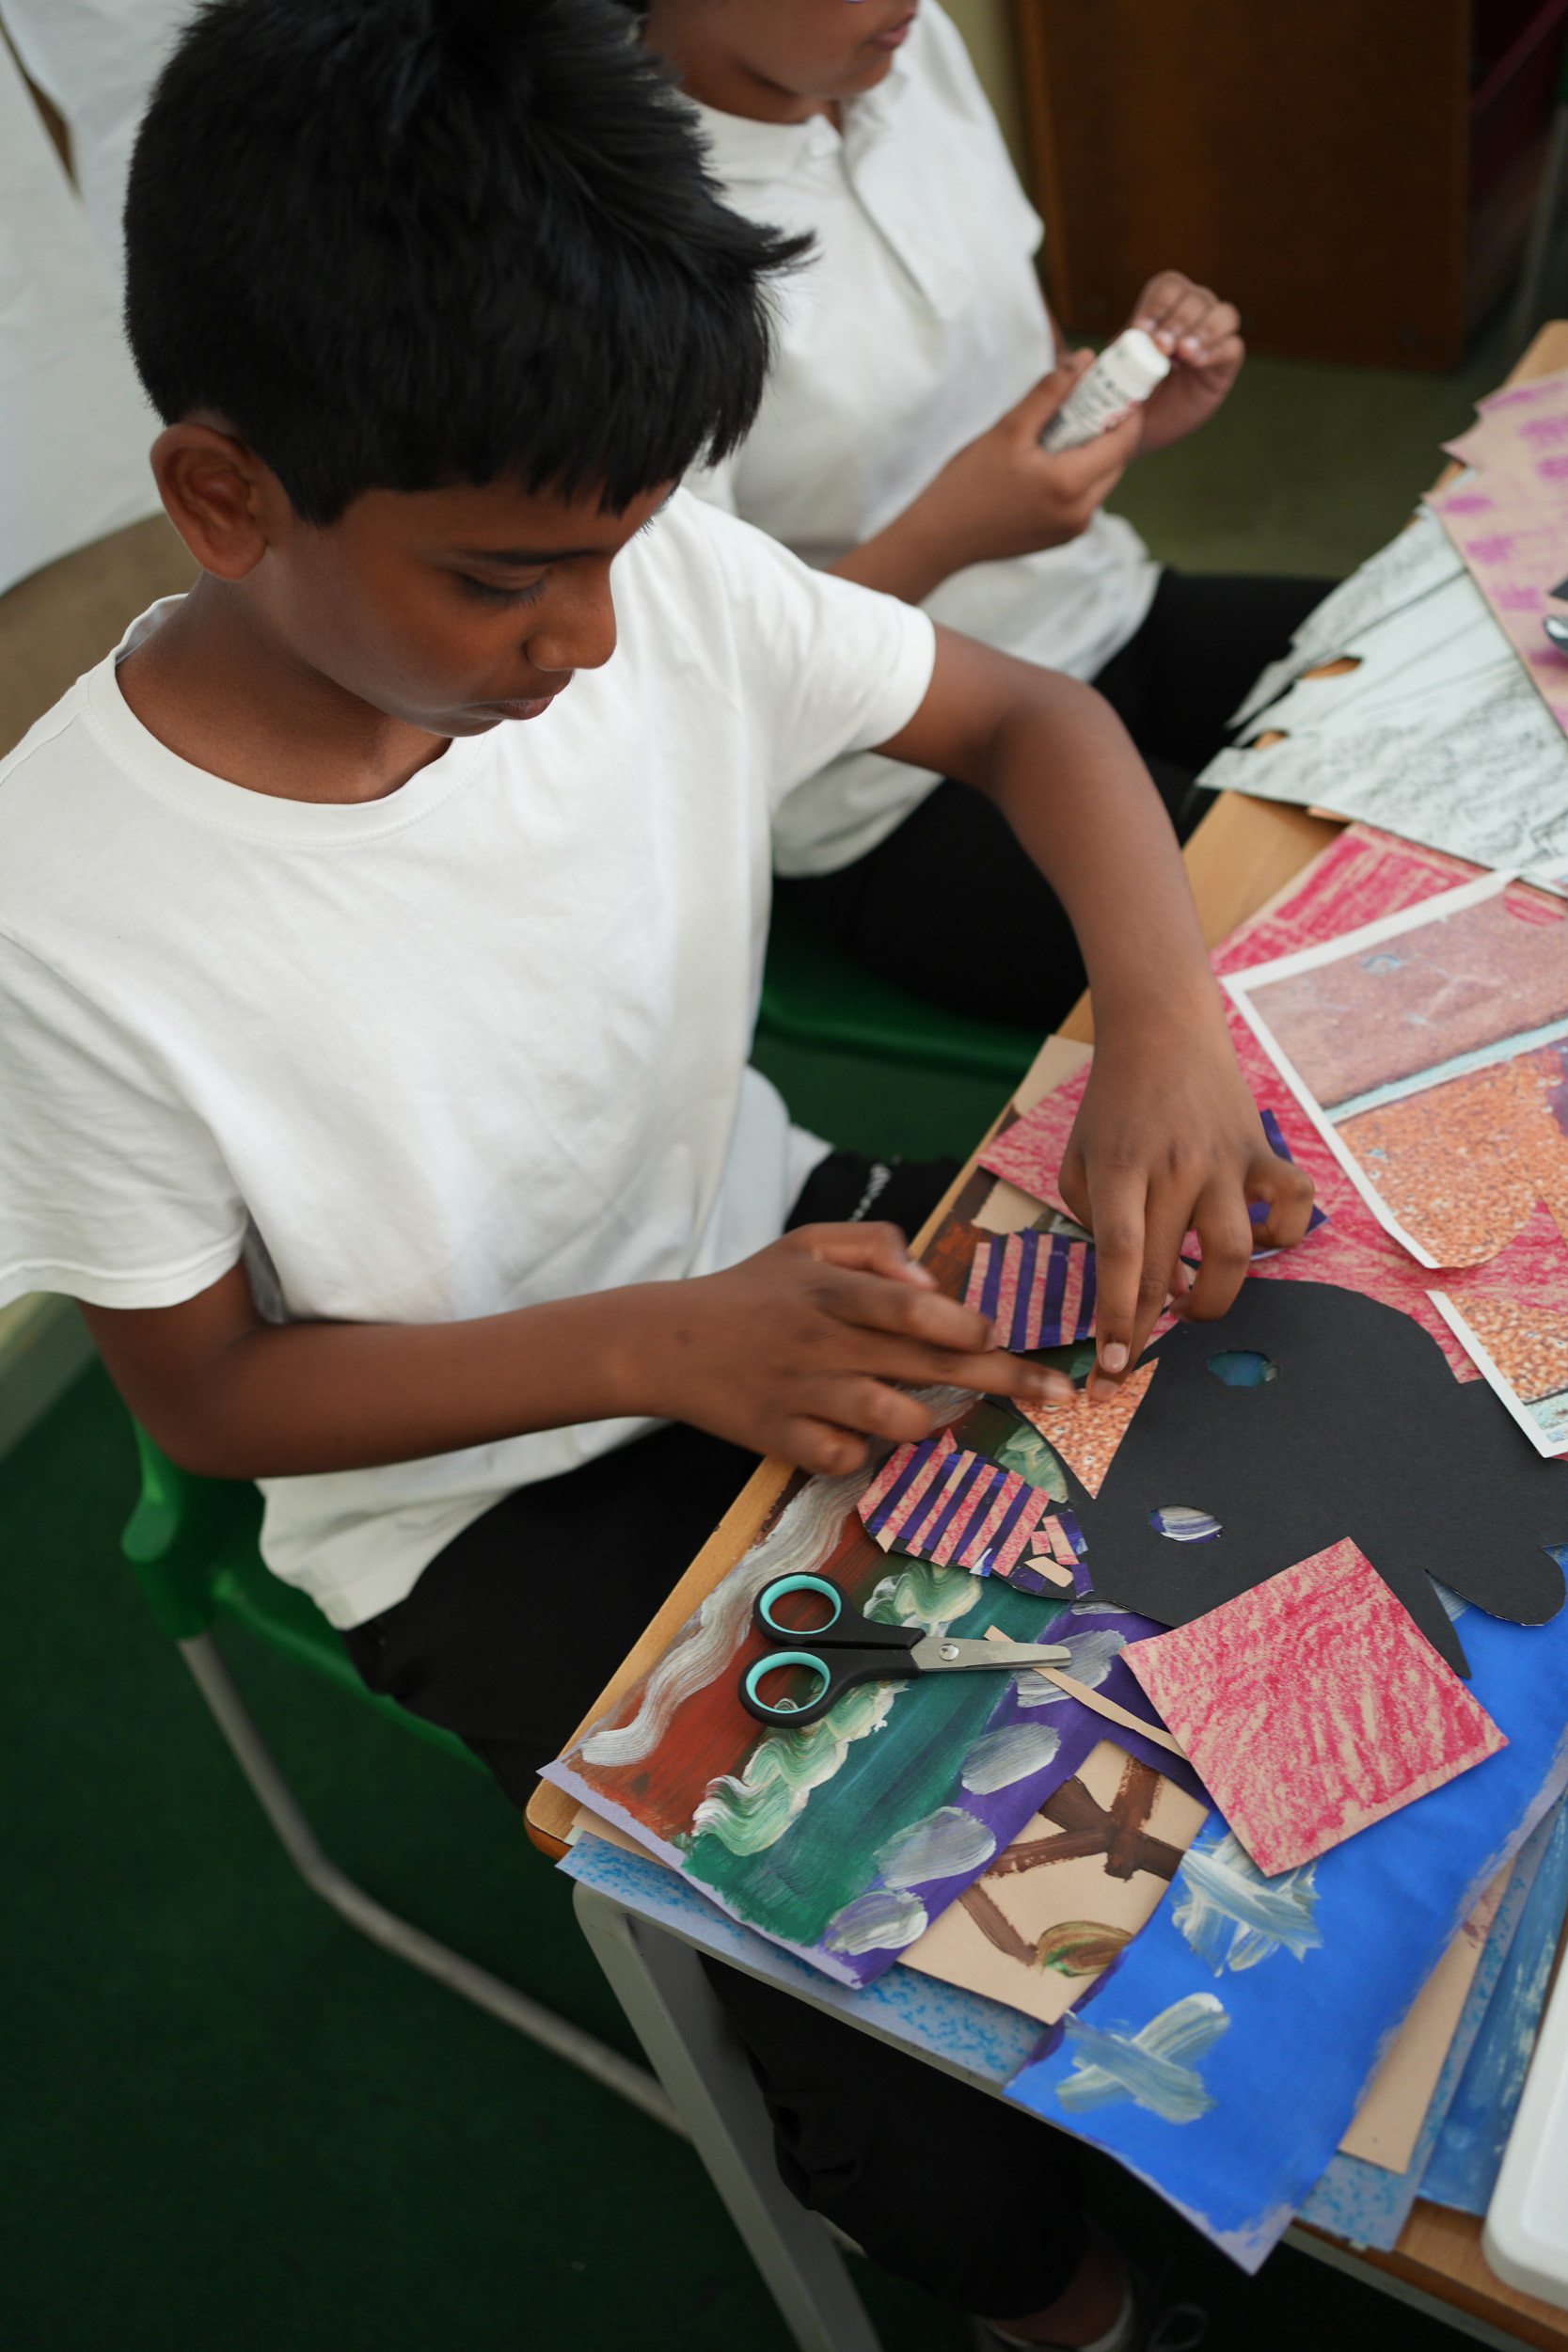
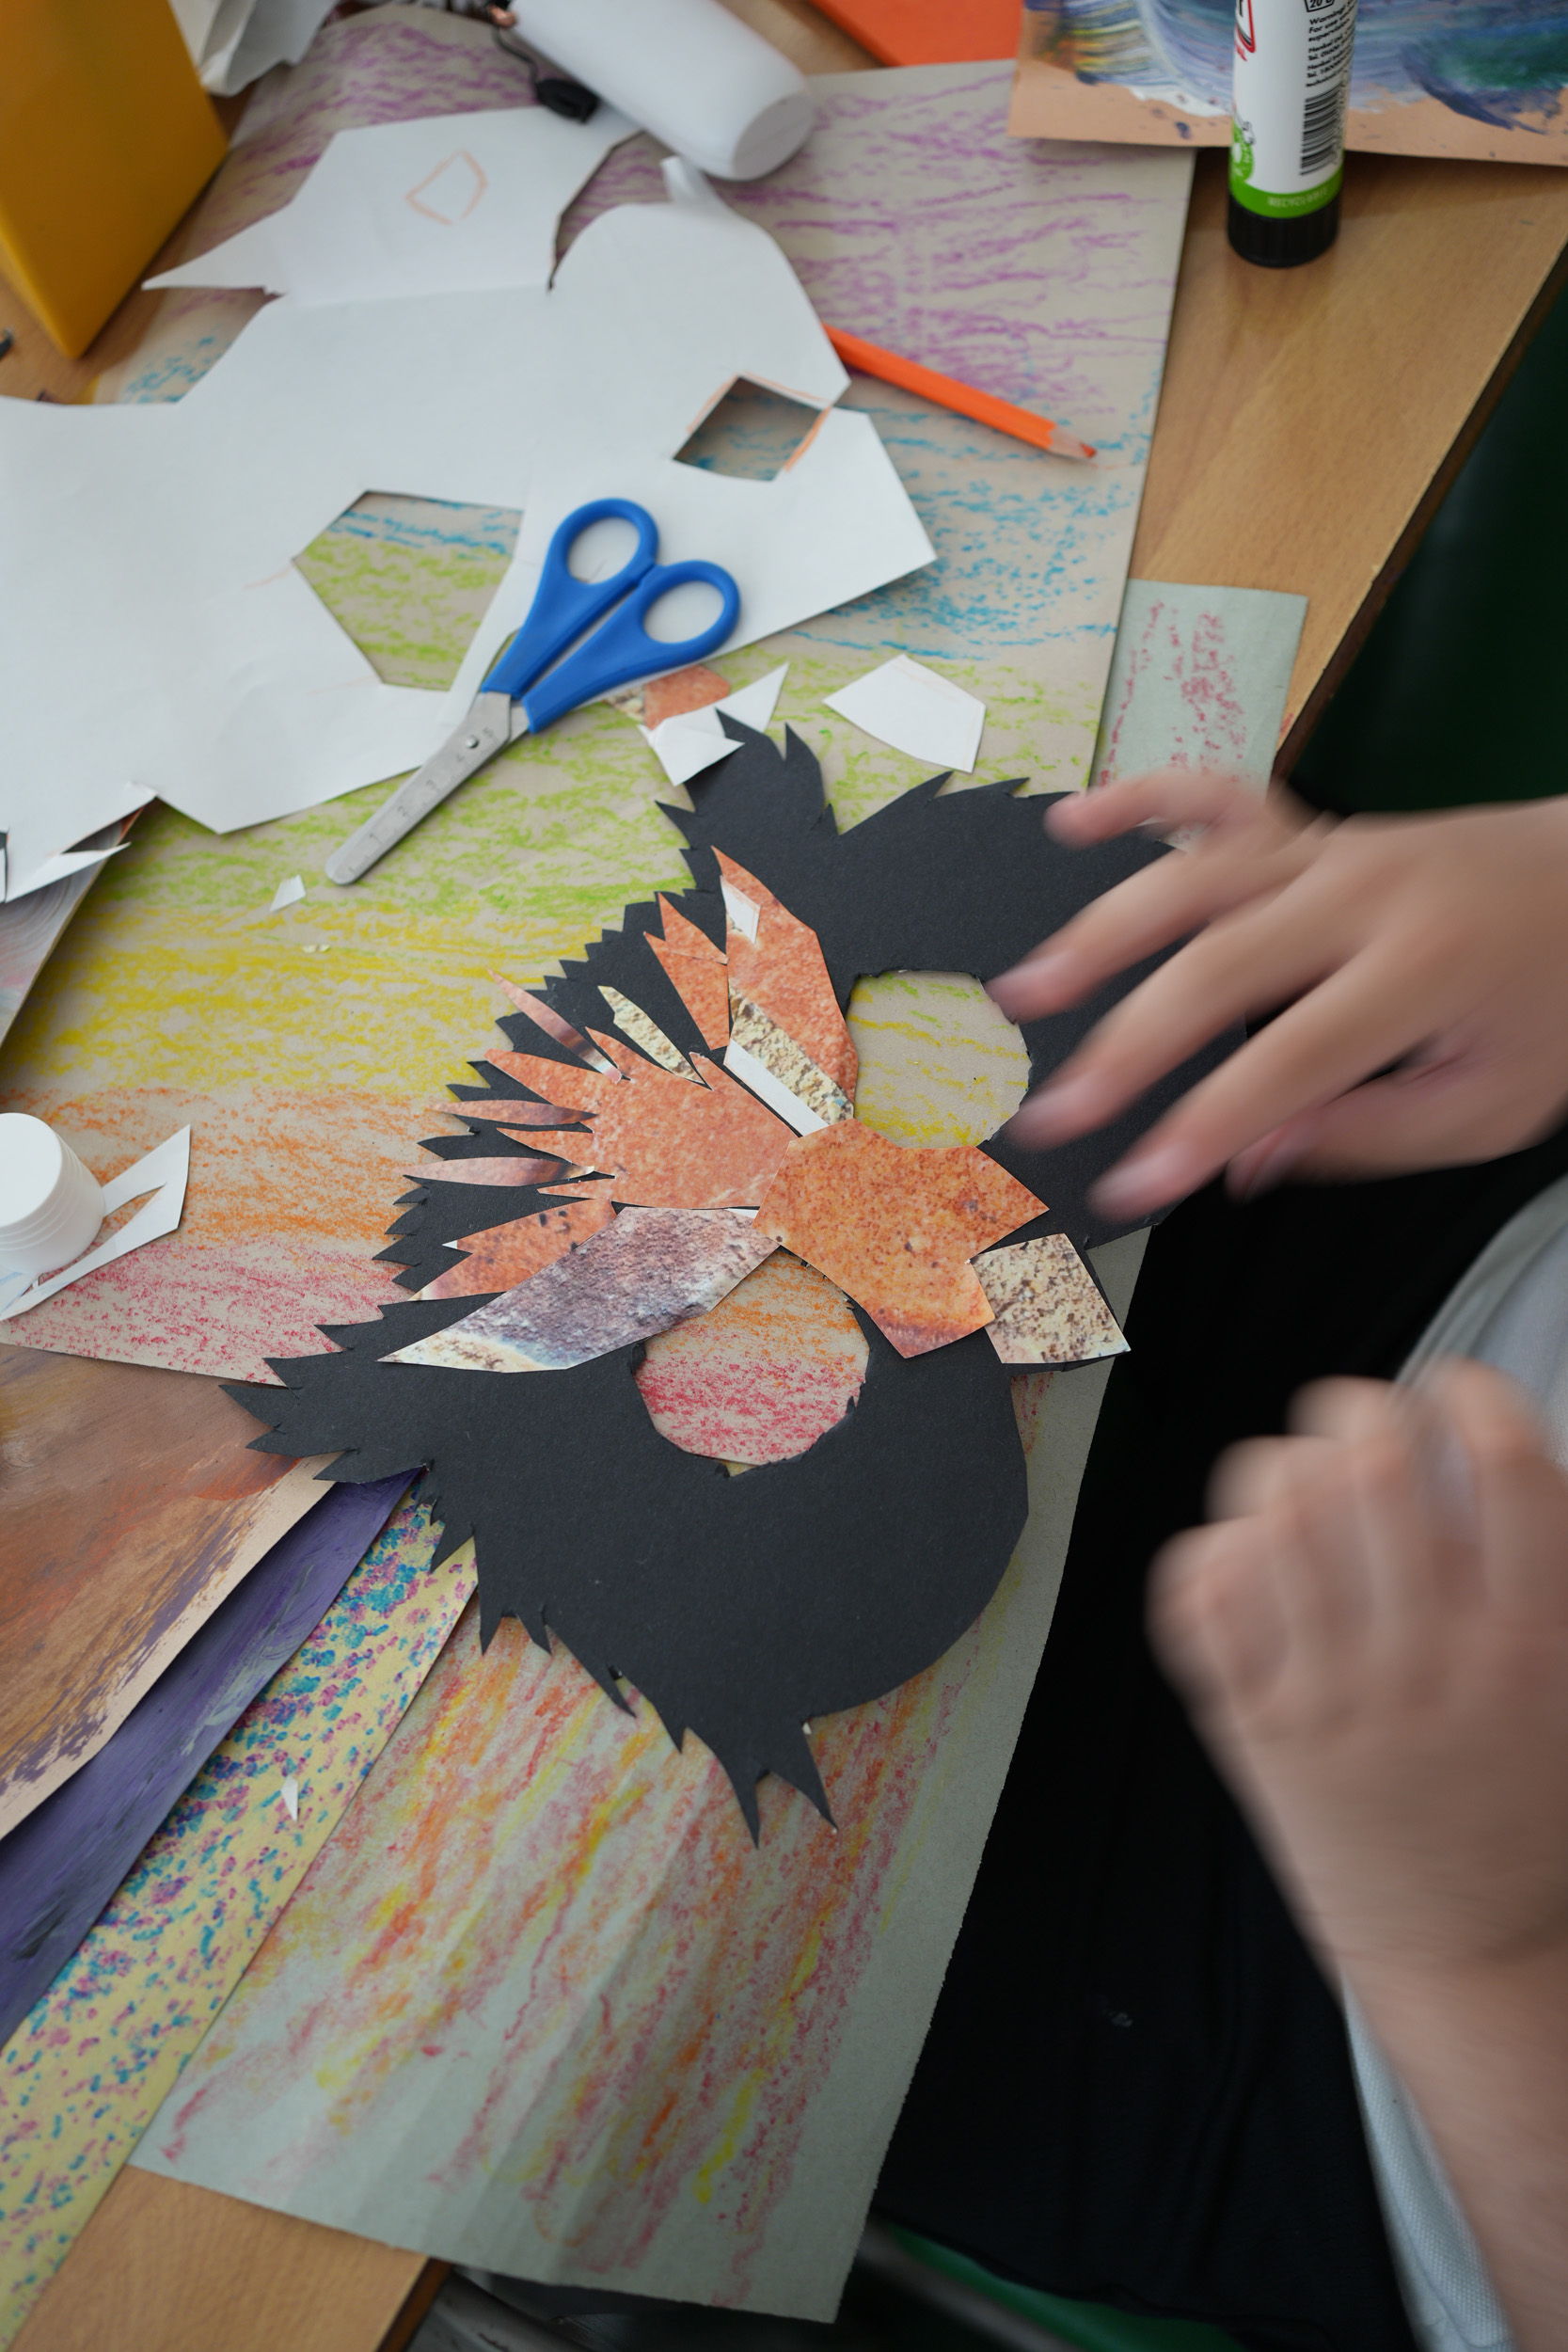
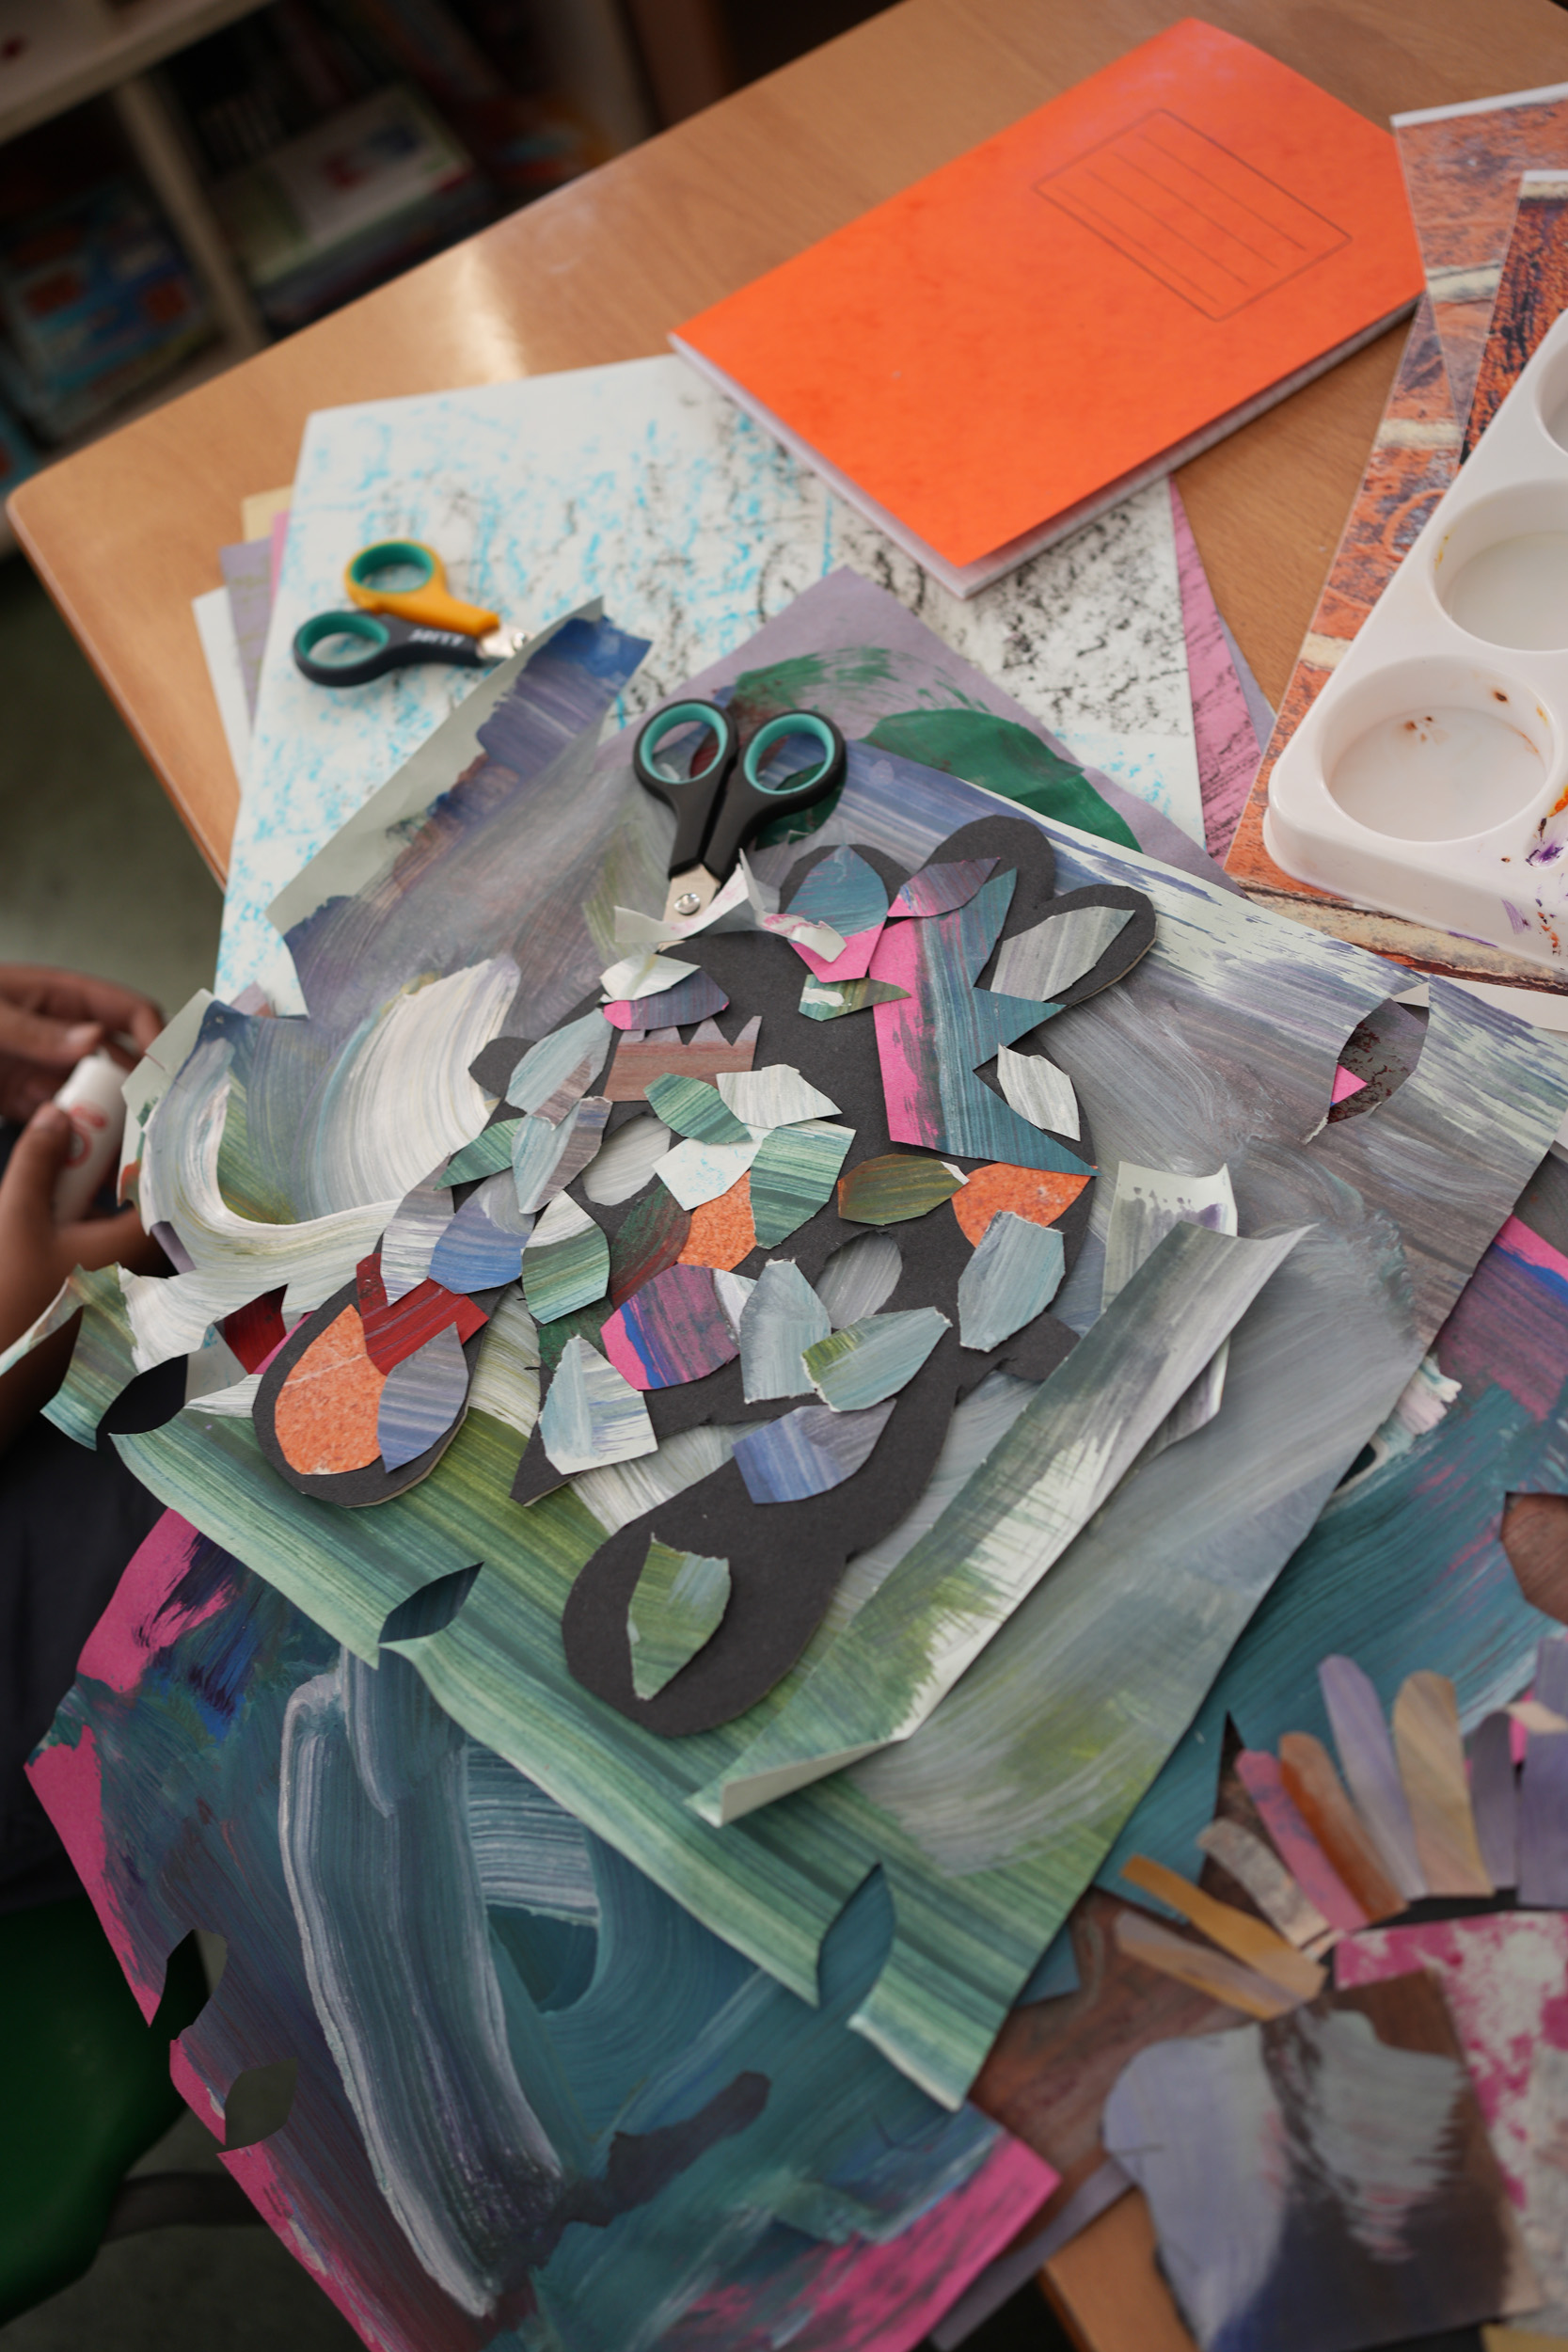
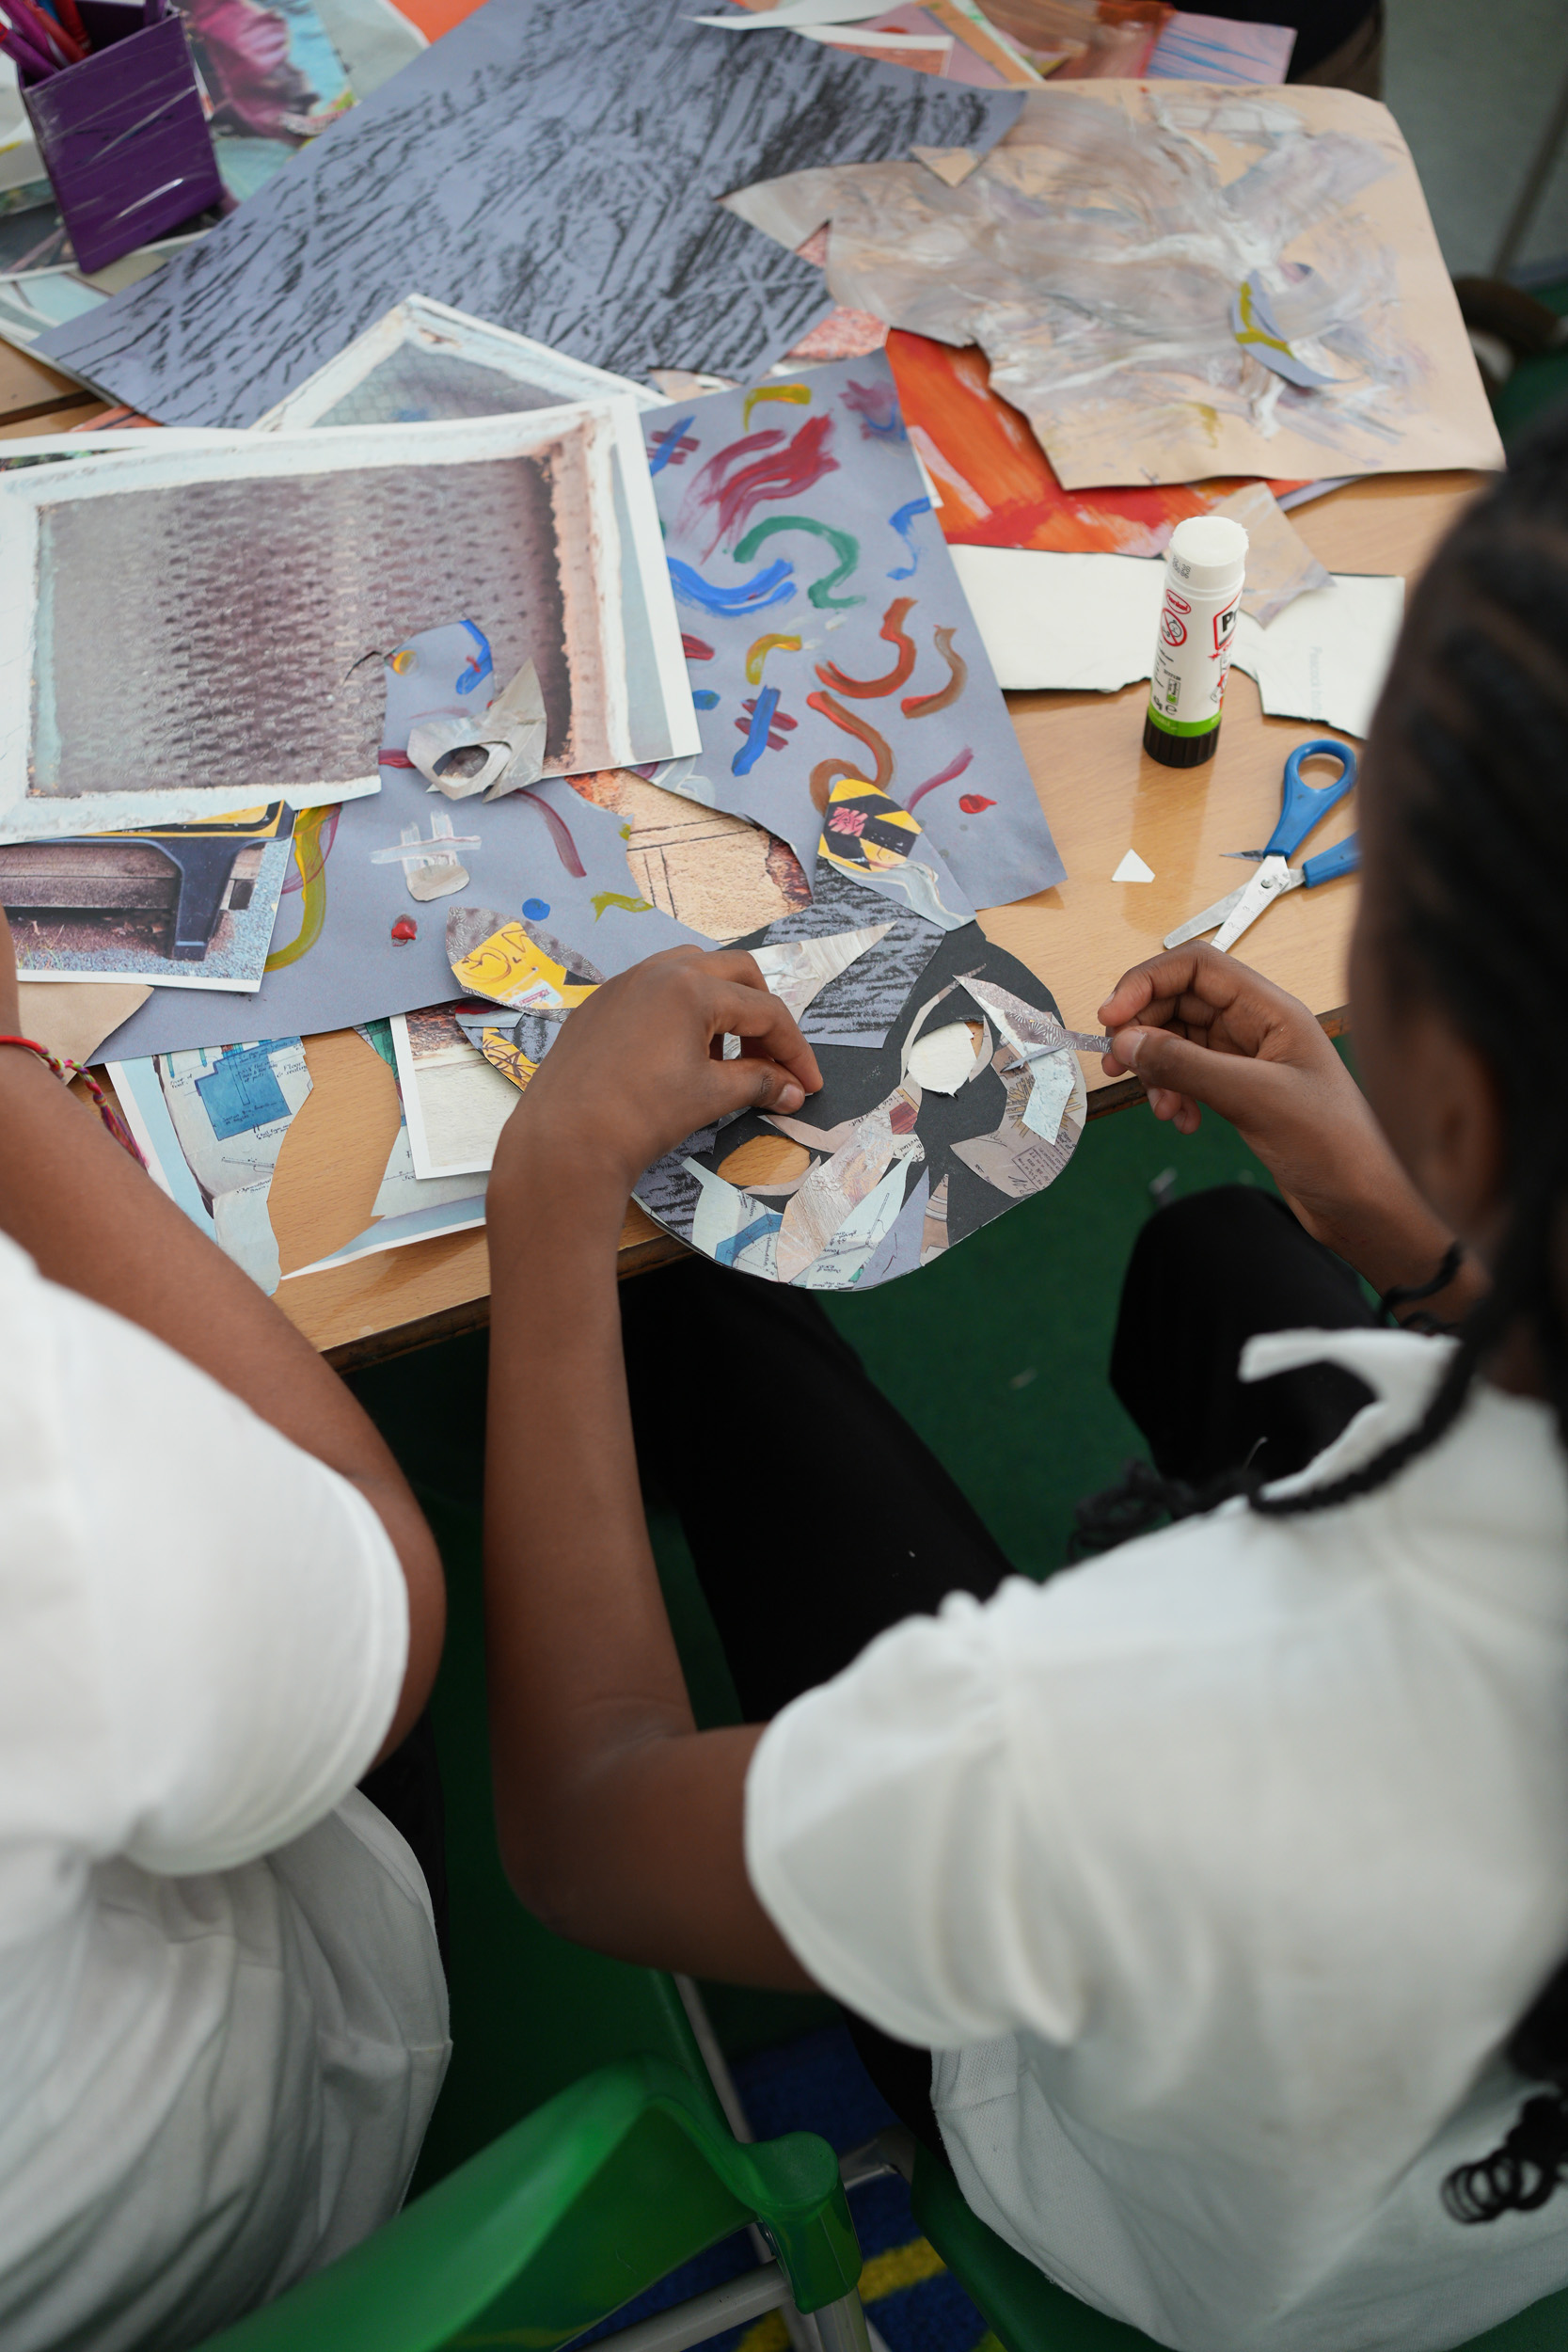
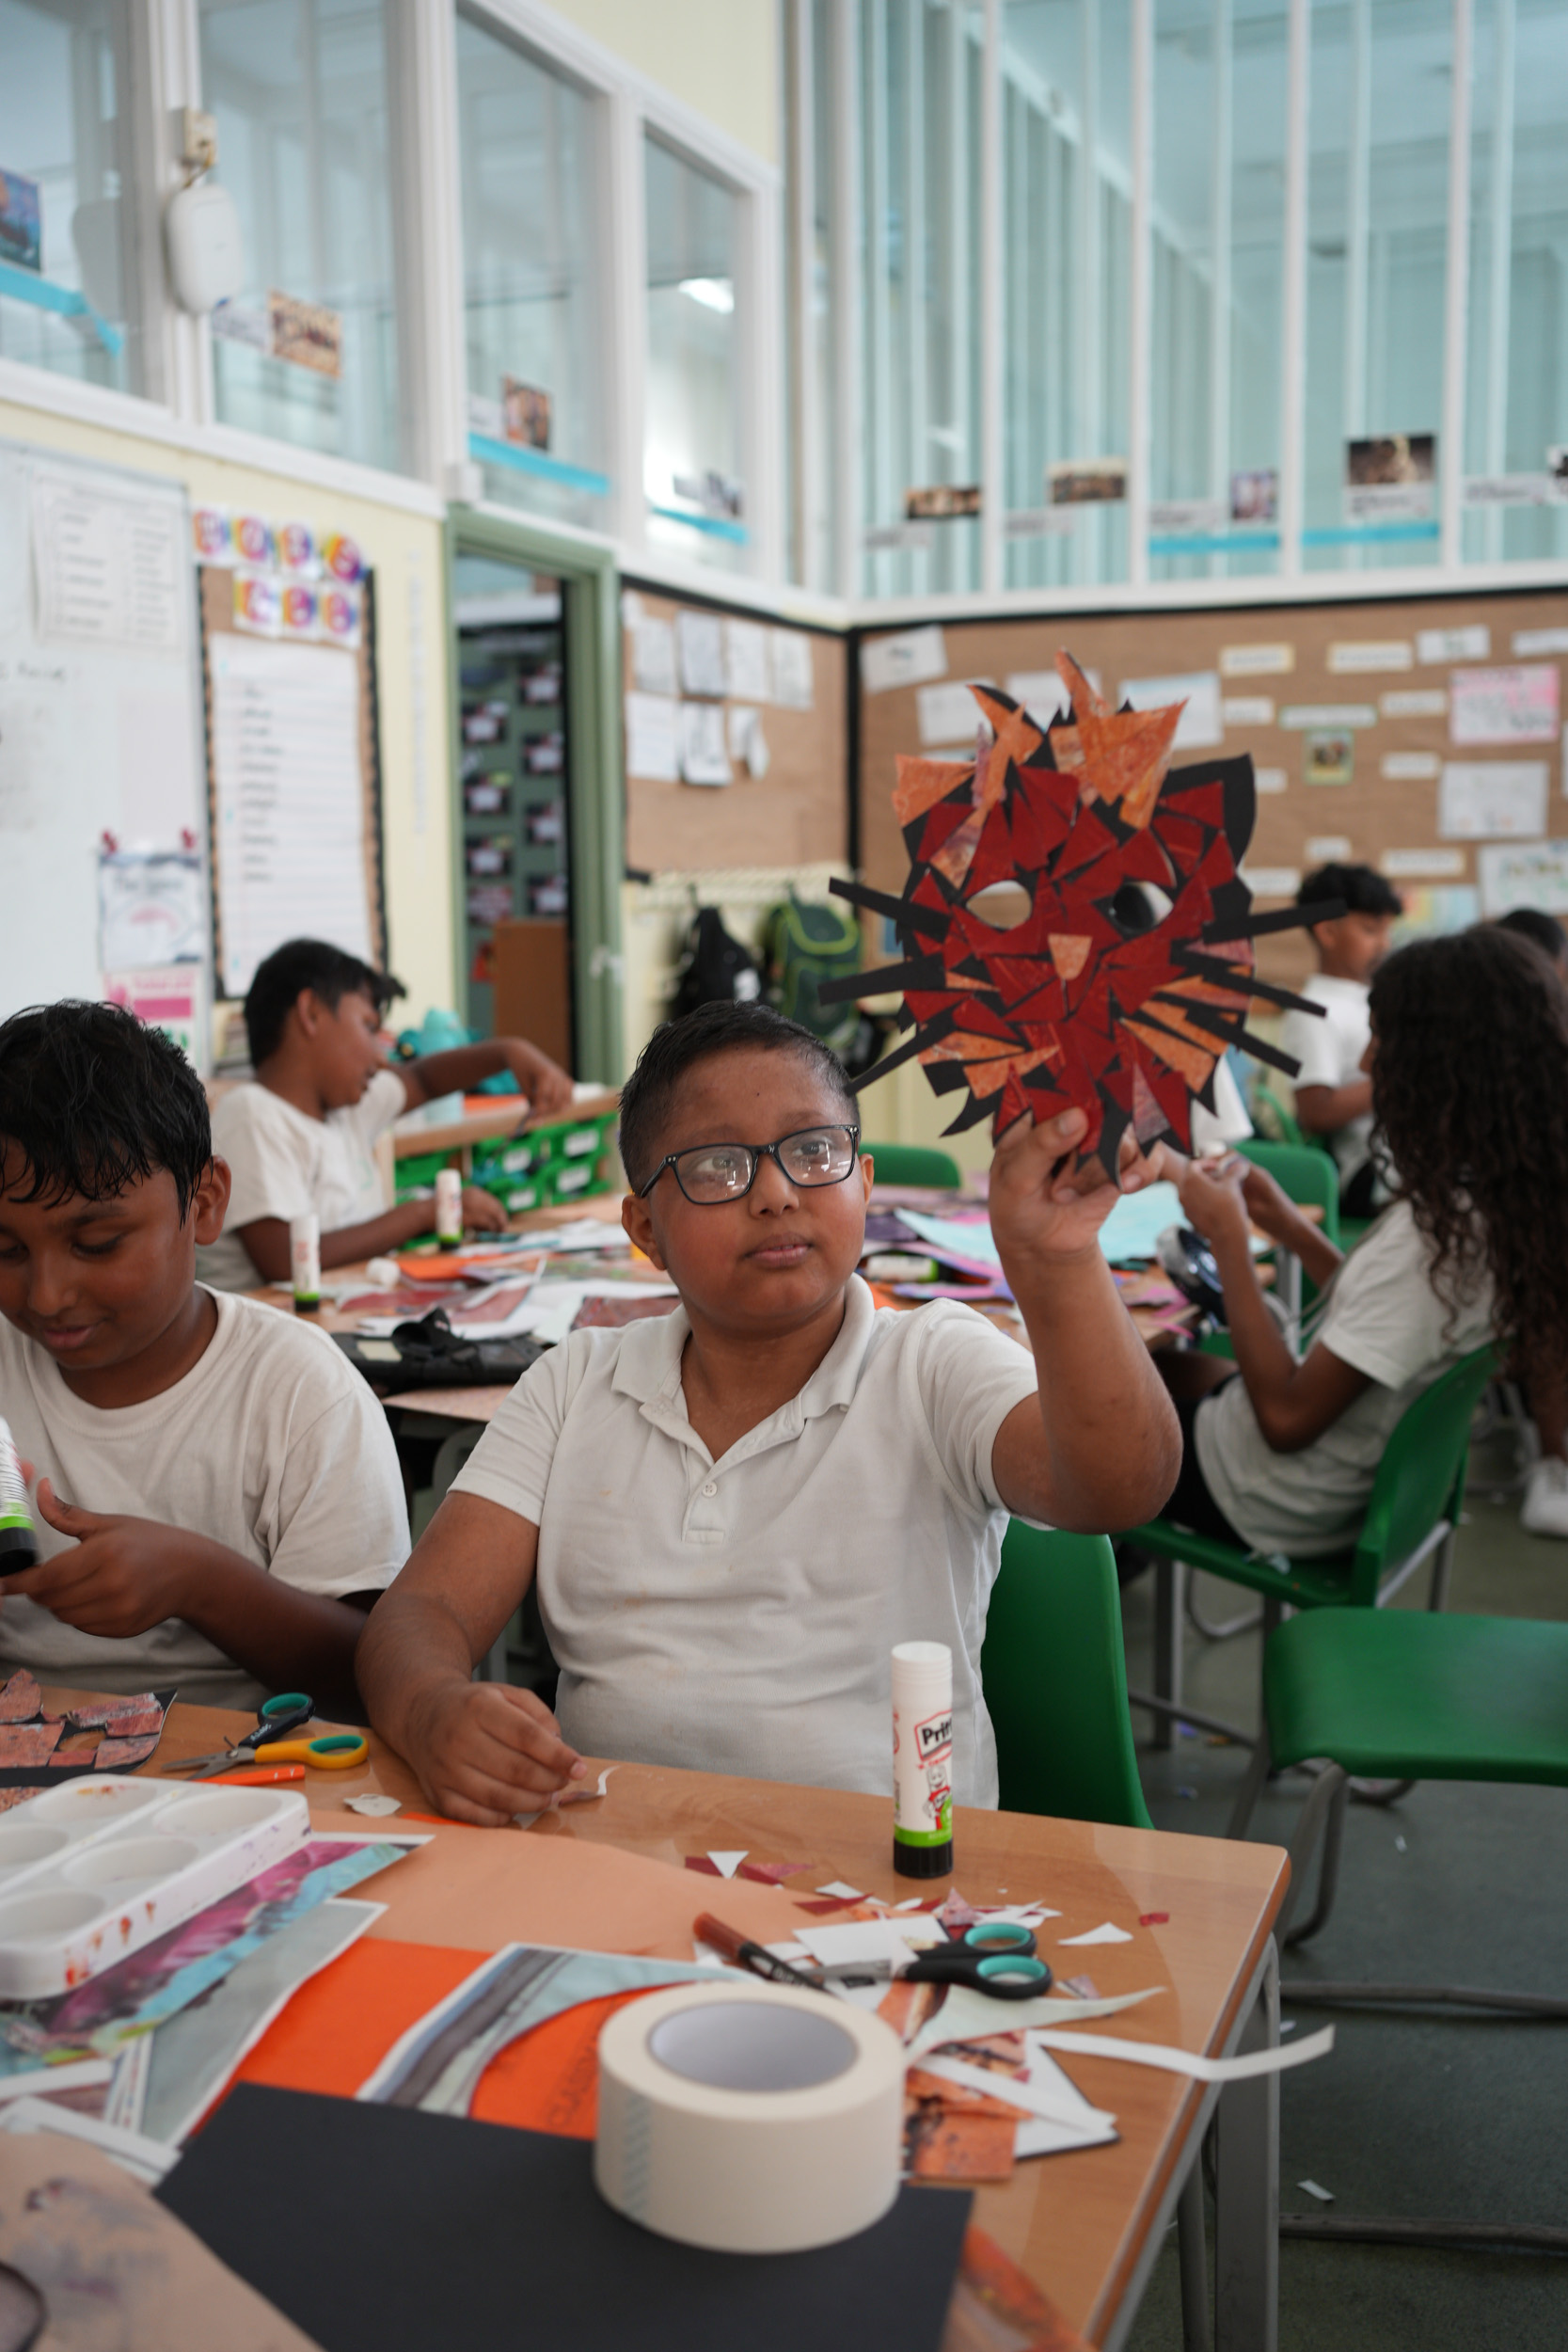
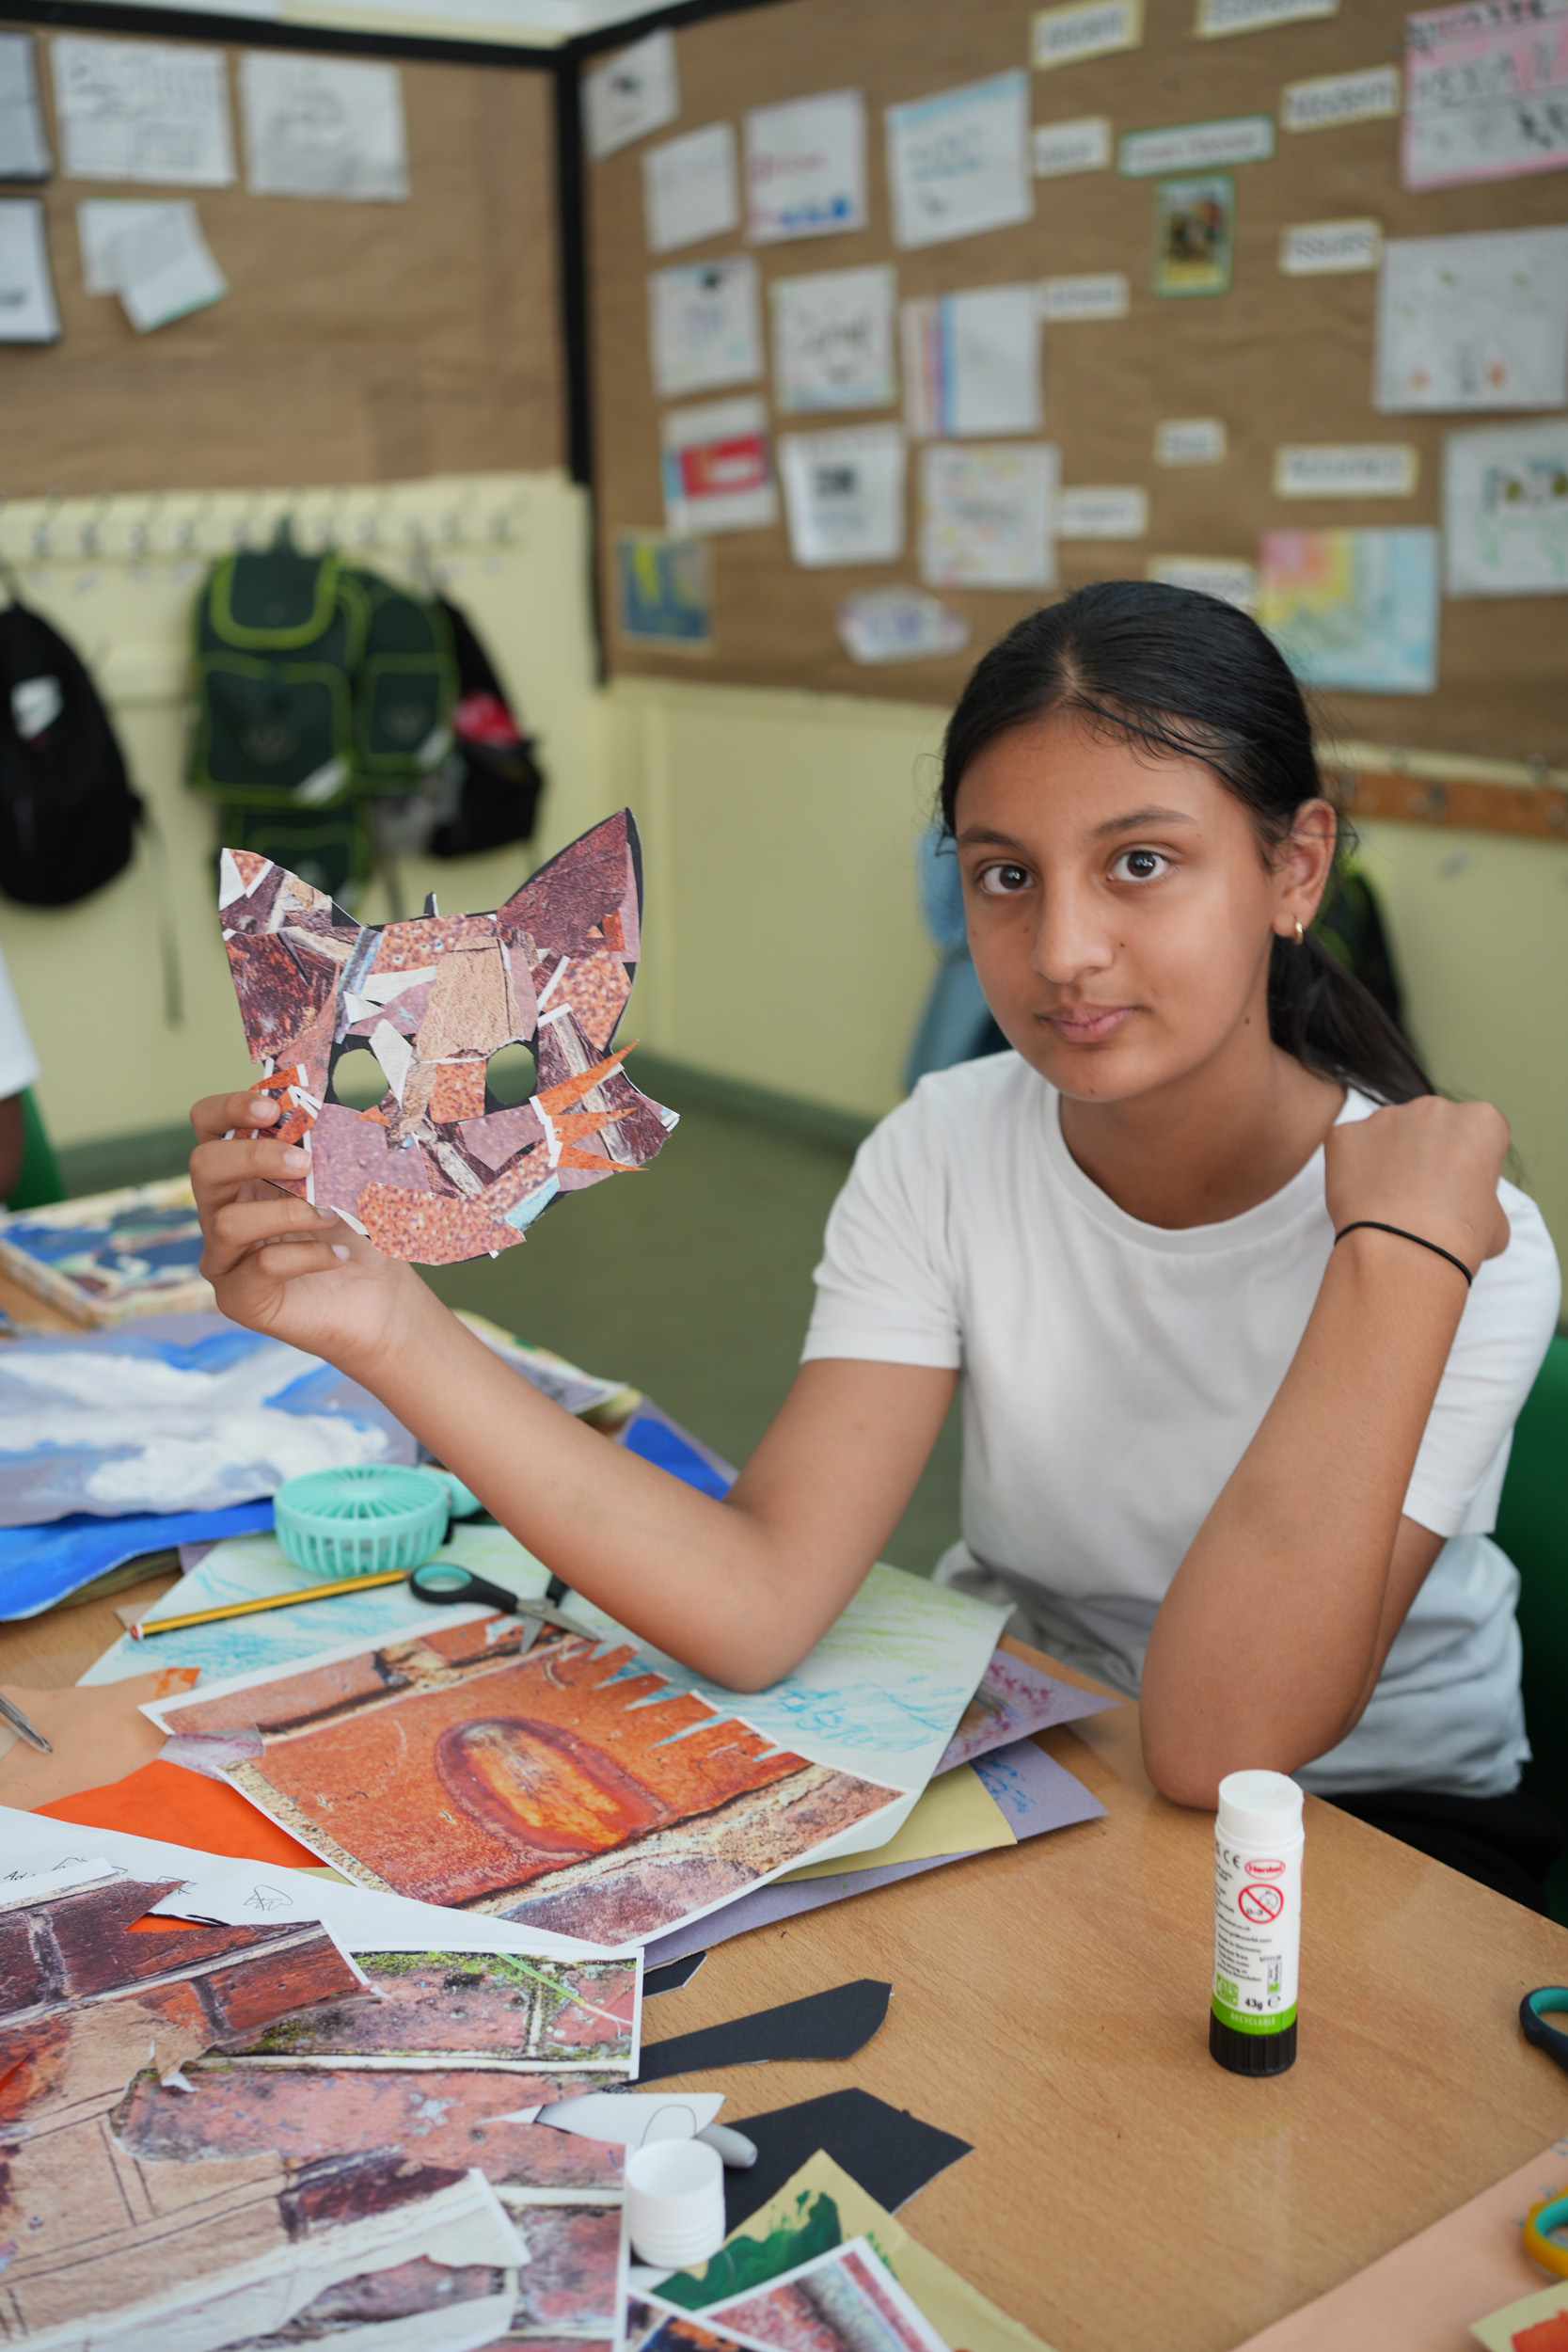
Now, we’re going to be using collage to finish our mask creations. In collage, different materials are cut out and combined to create an image. We’re going to concentrate on papier collé which is a term to describe when cut paper shapes are assembled and glued on a two dimensional surface.
Collages are flat images, so the important element of the picture is how the different edges and shapes of the pieces you cut out relate to and contrast against each other. We’ll take a quick look at some examples before we begin.
- Assessing materials - Start to think about which pieces complement each other and will work best for your animal character. We’ve also brought some extra materials for you - some print outs of paste papers, and archival pictures that you can use as well. If you have a paste paper that you don’t think you need, feel free to offer it to someone else who might - the artist Mark Hearld whose books we’ve been looking at said he often uses paste papers that have been gifted to him by other artists, and he gives his own away as well. Think about textures, shapes and features: fur, feathers, spikes, whiskers, eyebrows, noses, teeth, spots. You can be abstract and imaginative with how you show them. Use your exercise books to make notes or sketch out shapes as you go along - drawing out ideas will help you think out loud and problem solve, and is a good warm up exercise for making shapes. You can cut out practice shapes with spare pieces of sugar paper
- Cutting techniques - now I’ll demonstrate some possible approaches to cutting out shapes. Be adventurous and think about what I said at the start about edges and shapes - think about how you can create texture and interest to really bring your animal character to life: The beauty of collaging using paste papers is the element of surprise. You can draw a shape on the back of a sheet of paste paper, cut it out, and see what textures fill the form you’ve just made; Sometimes, the piece of paper you’ve cut the shape out of - an offcut - is better than the shape itself; Making cuts in folds of paper to create texture.
- Making your collage - Now you’re free to make your own collage mask! Start by cutting out shapes, experimenting with arranging different textures together, and think about layering. As you go along, bear in mind the order that you’ll need to glue everything down in. Number elements if you need to and again keep a record in your sketch books.
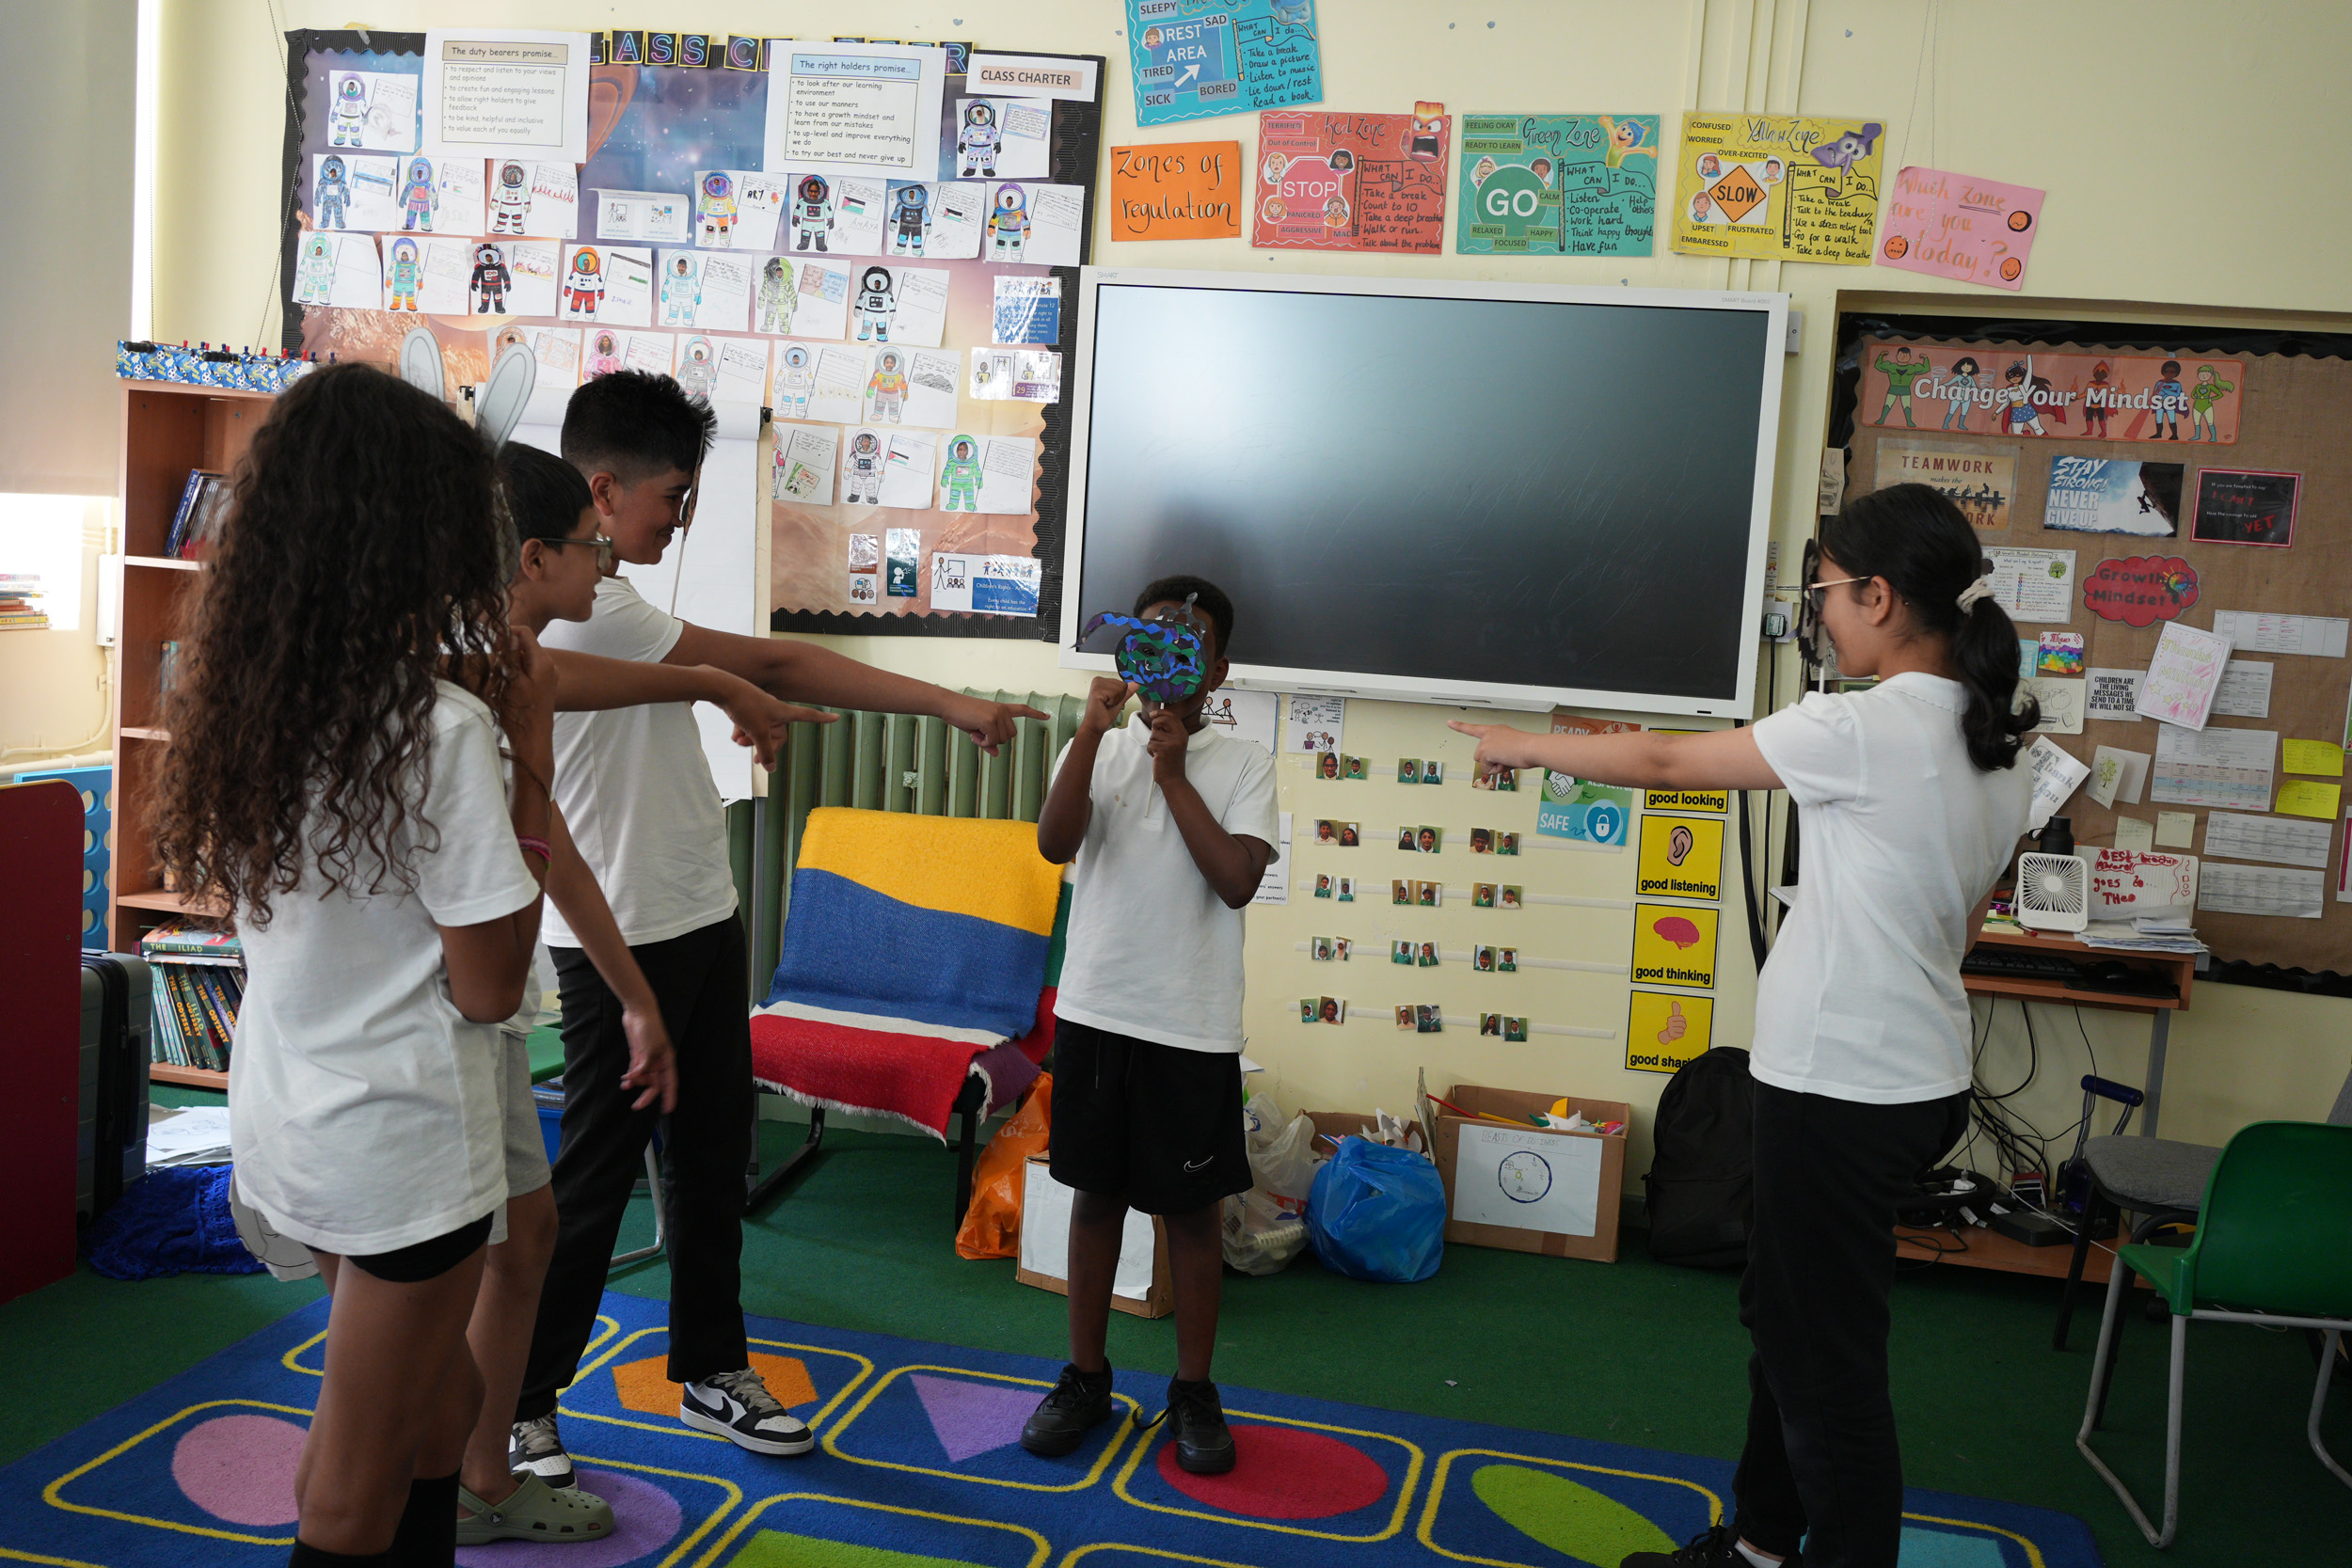
Performance workshop – Rhea Chandratreya
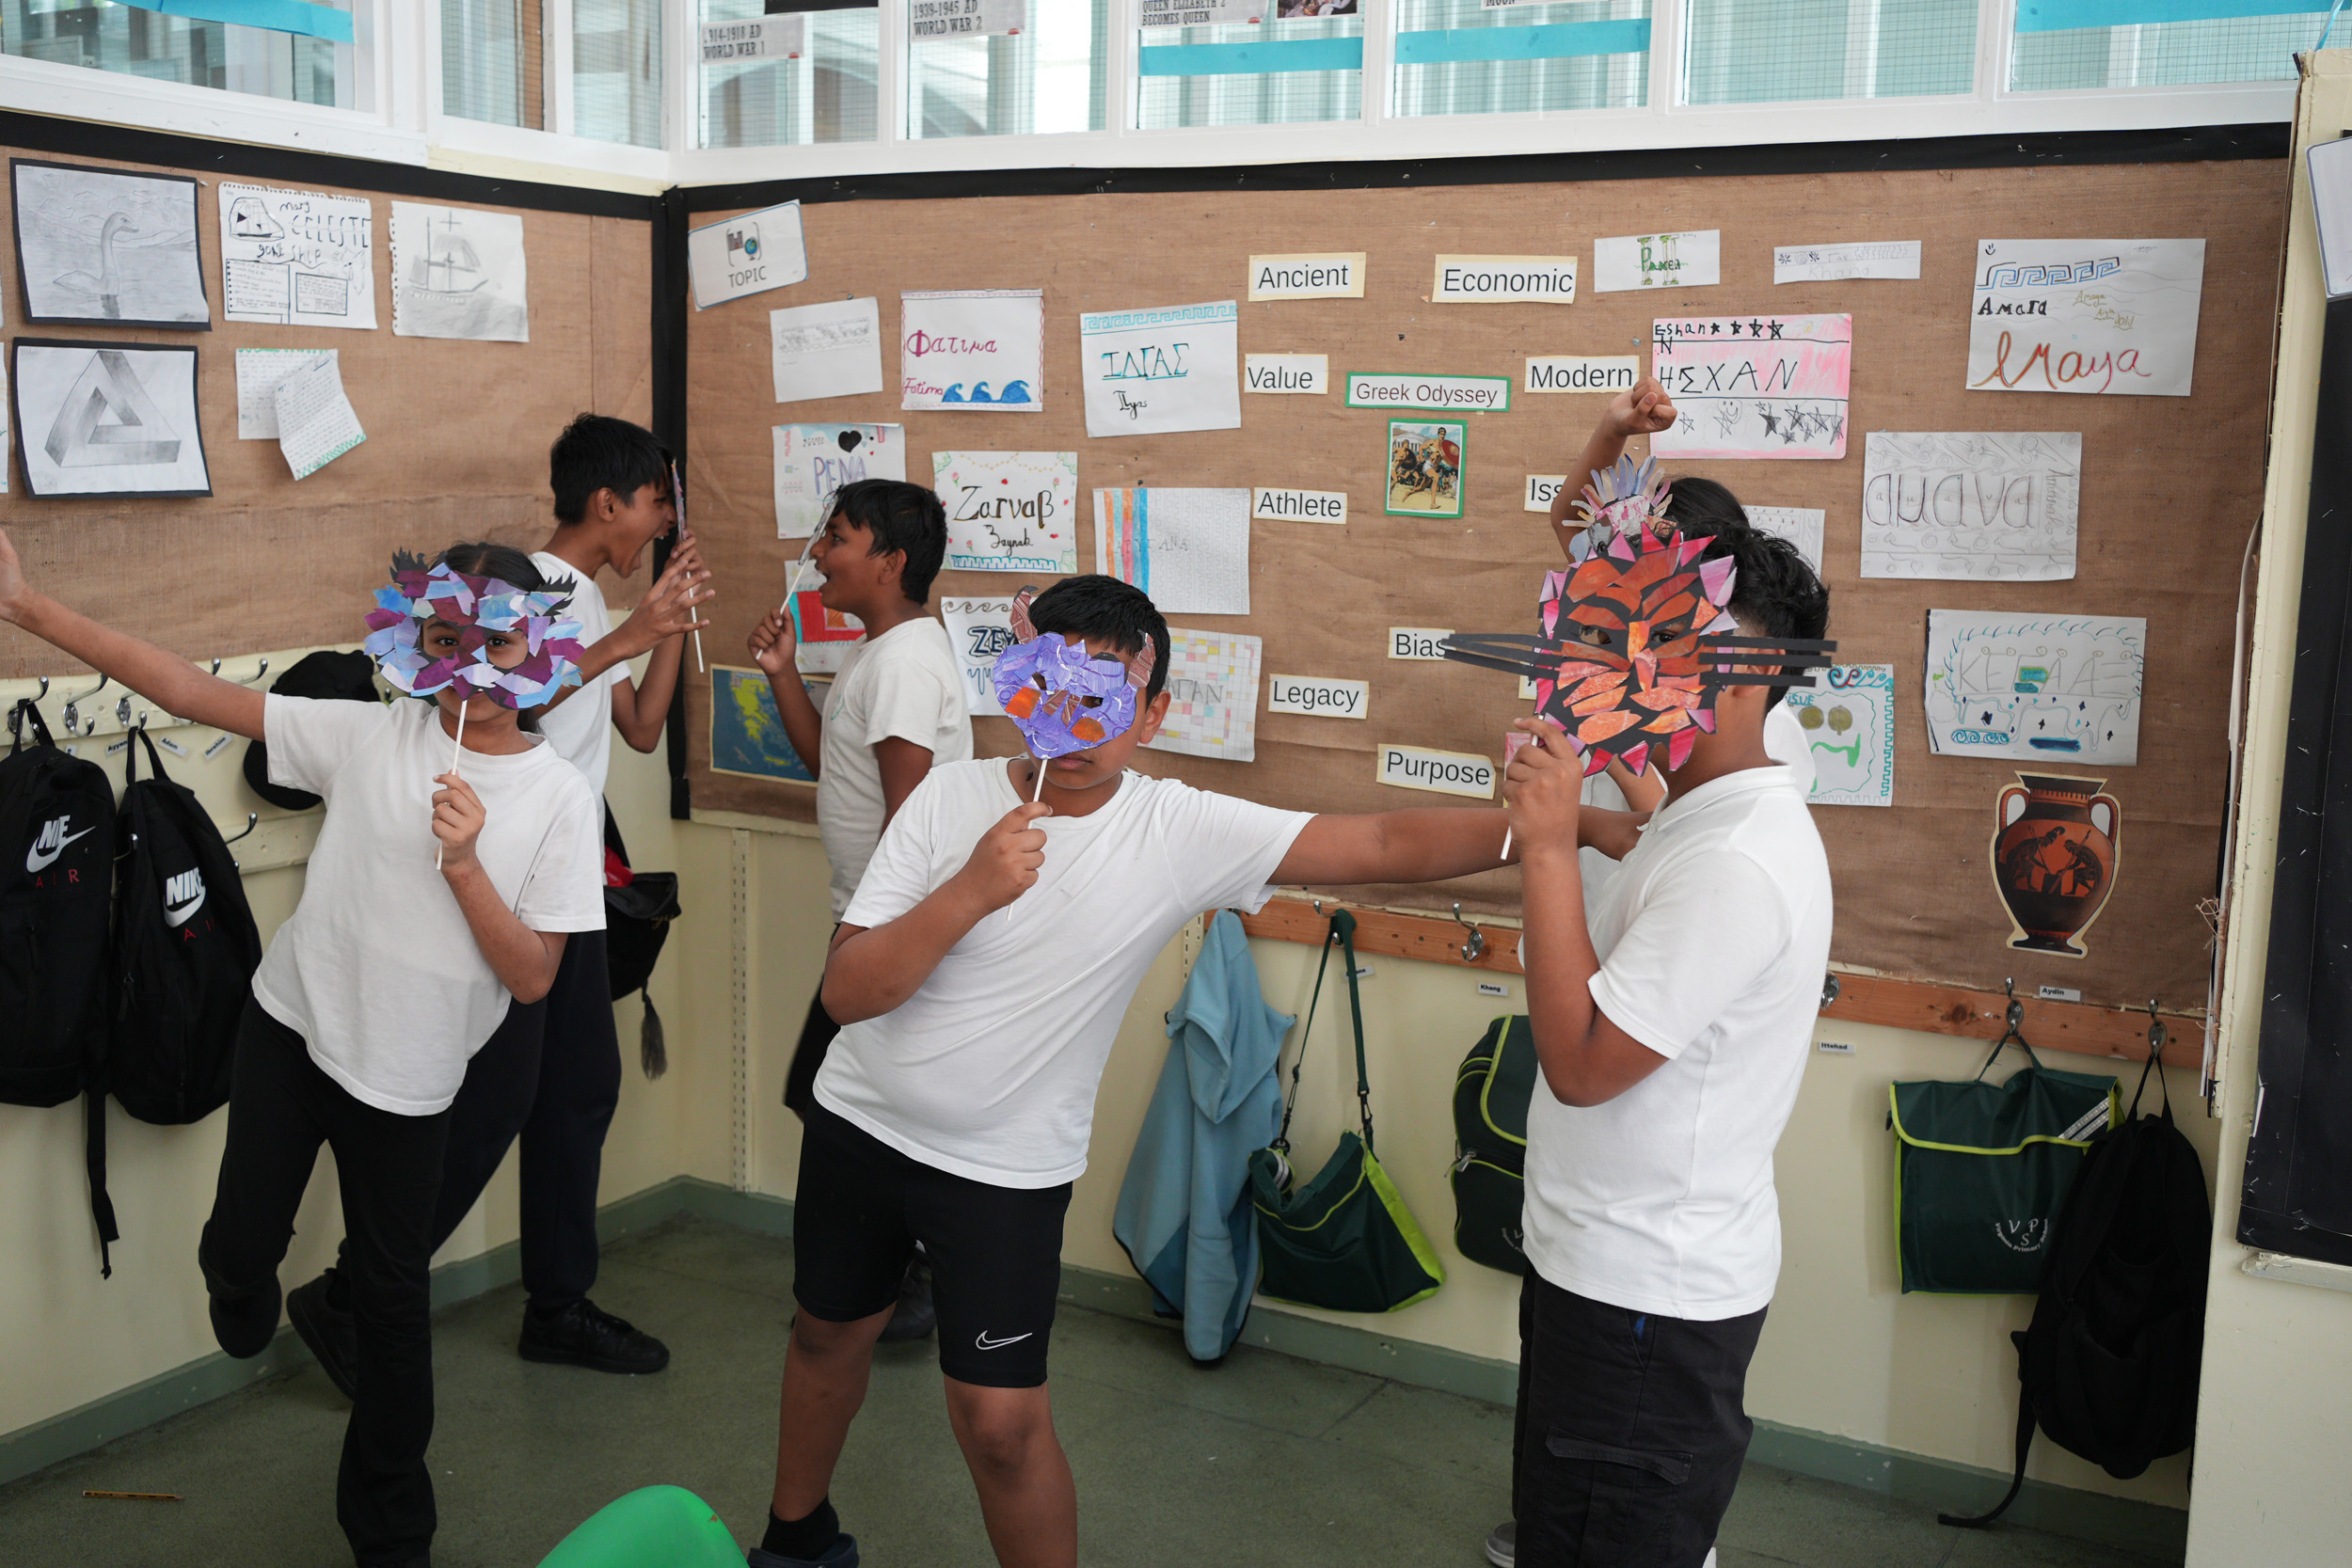
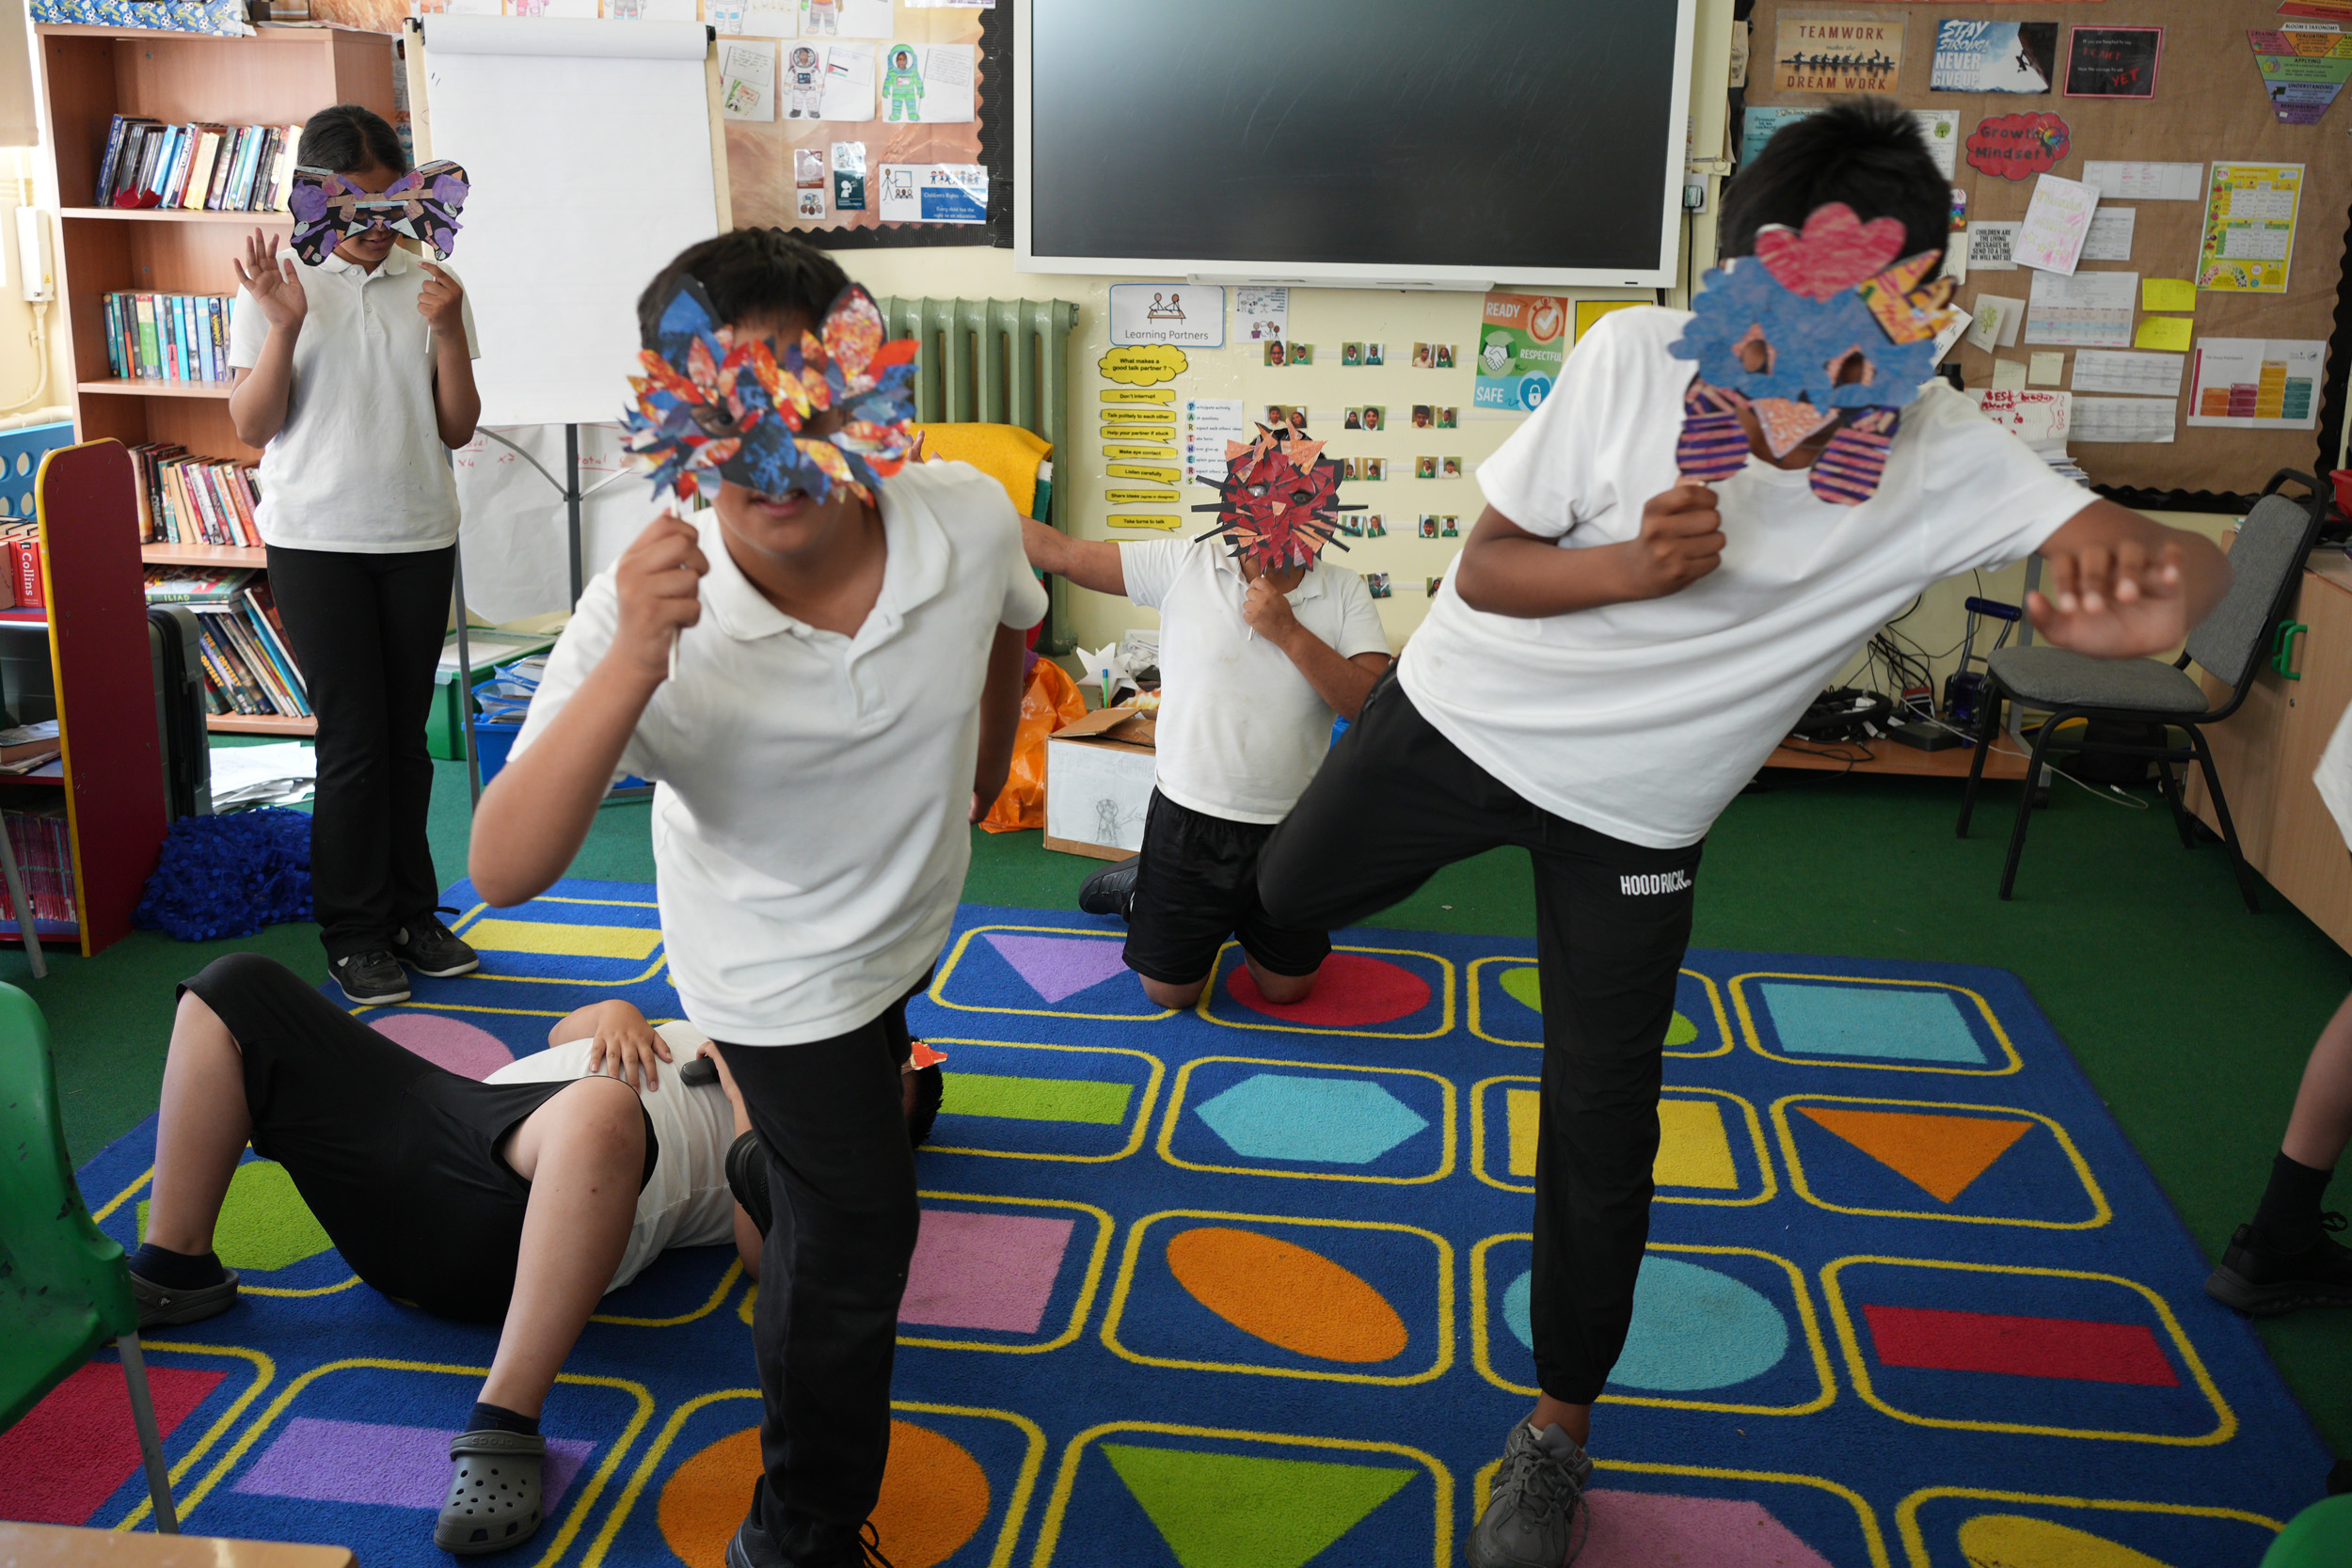
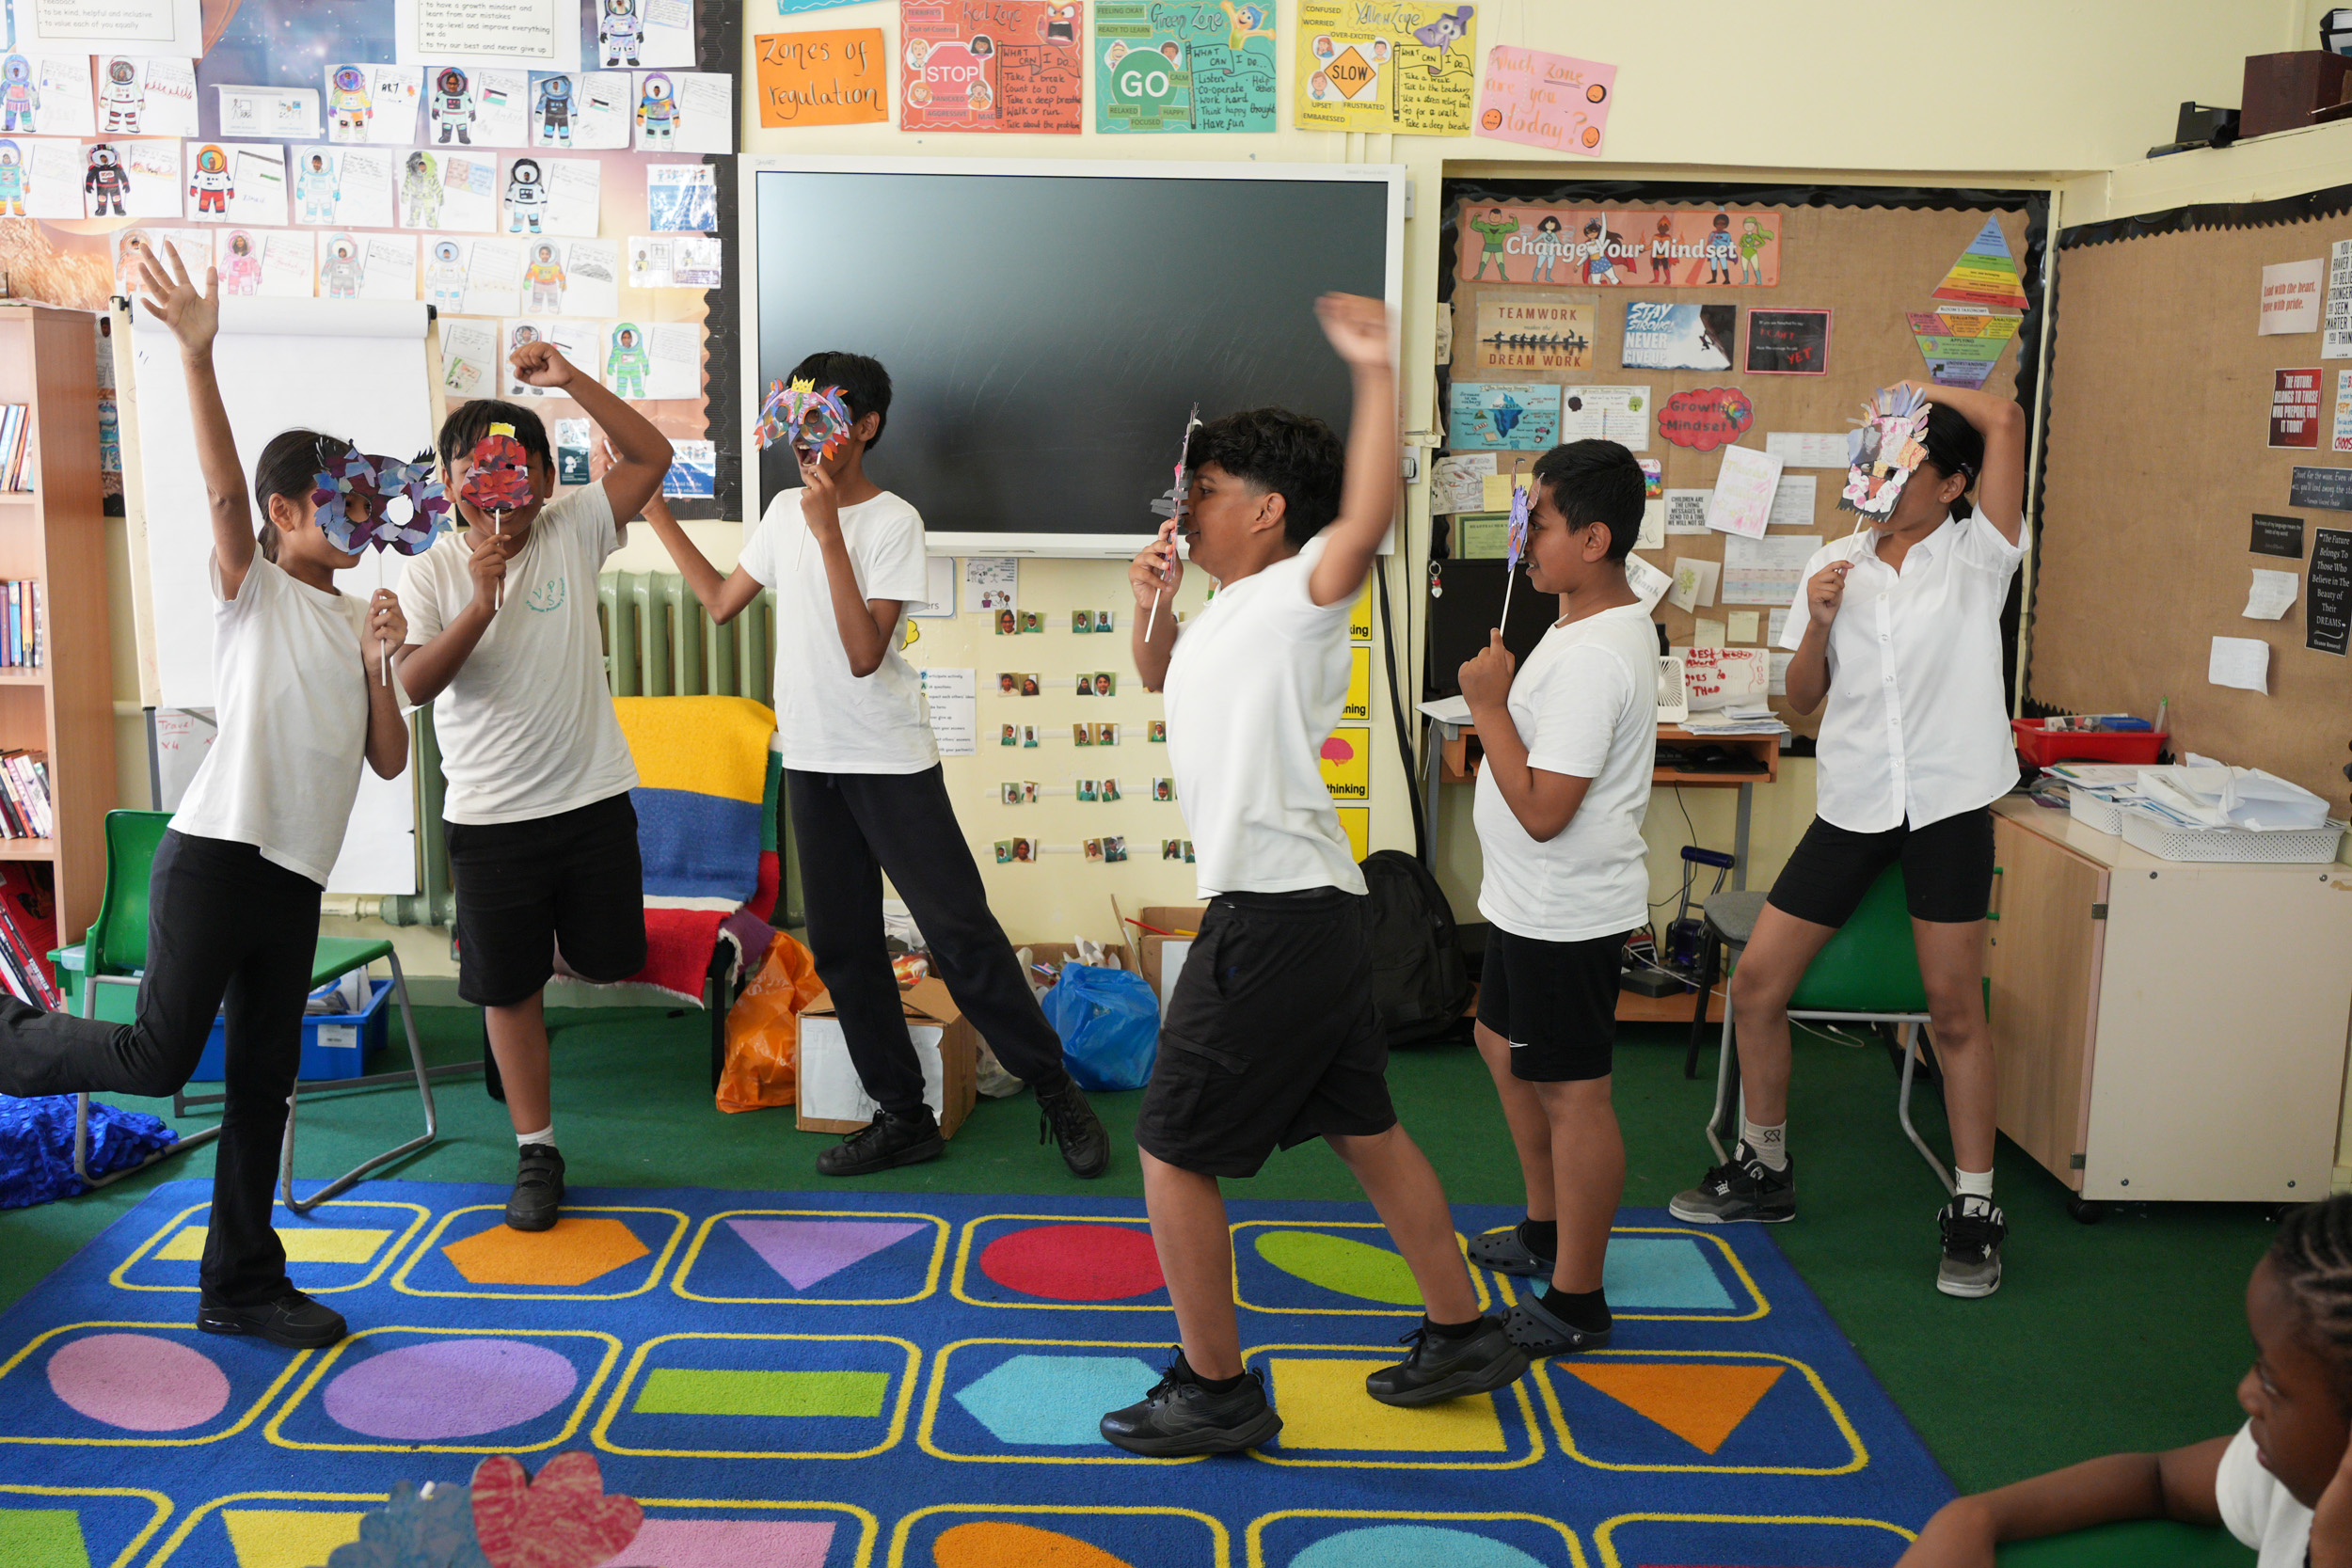
When you think about a performance, what do you usually think are important to remember? We could have actors, a script, a dialogue, dance, music, singing. We’re going to make some short plays in groups of no more than 5 but before we start splitting into our smaller groups to create a story, let’s think about how we might give a backstory to our characters.
What’s your favourite character? They could be from a TV show, a book, movie, a game… Now what are the reasons you like this character? Are they funny or interesting or clever or rude? When we start thinking about making our own plays, we should start with our own character and what their personalities are like.
You’ve now got your mask with you and have decided what animal you’re going to be. We’ve got your exercise books here and I’d like you to think about what traits or personality that animal has. You can base it off of what you know that animal likes doing but you can really think outside the box too. What if I was a really big lion who looked really strong and likes to listen to rap music, but was actually terrified of spiders? Or a fox who eats his meals from big rubbish bins but is actually obsessed with fancy, Michelin star restaurants and looks down on other foxes and mice who eat from bins?
Task 1 individually: write down up to 5 bullet points of things your character likes, dislikes, how they feel around other animals and what their personality is like.
Task 2 altogether in a circle/taking up the full space of the hall:
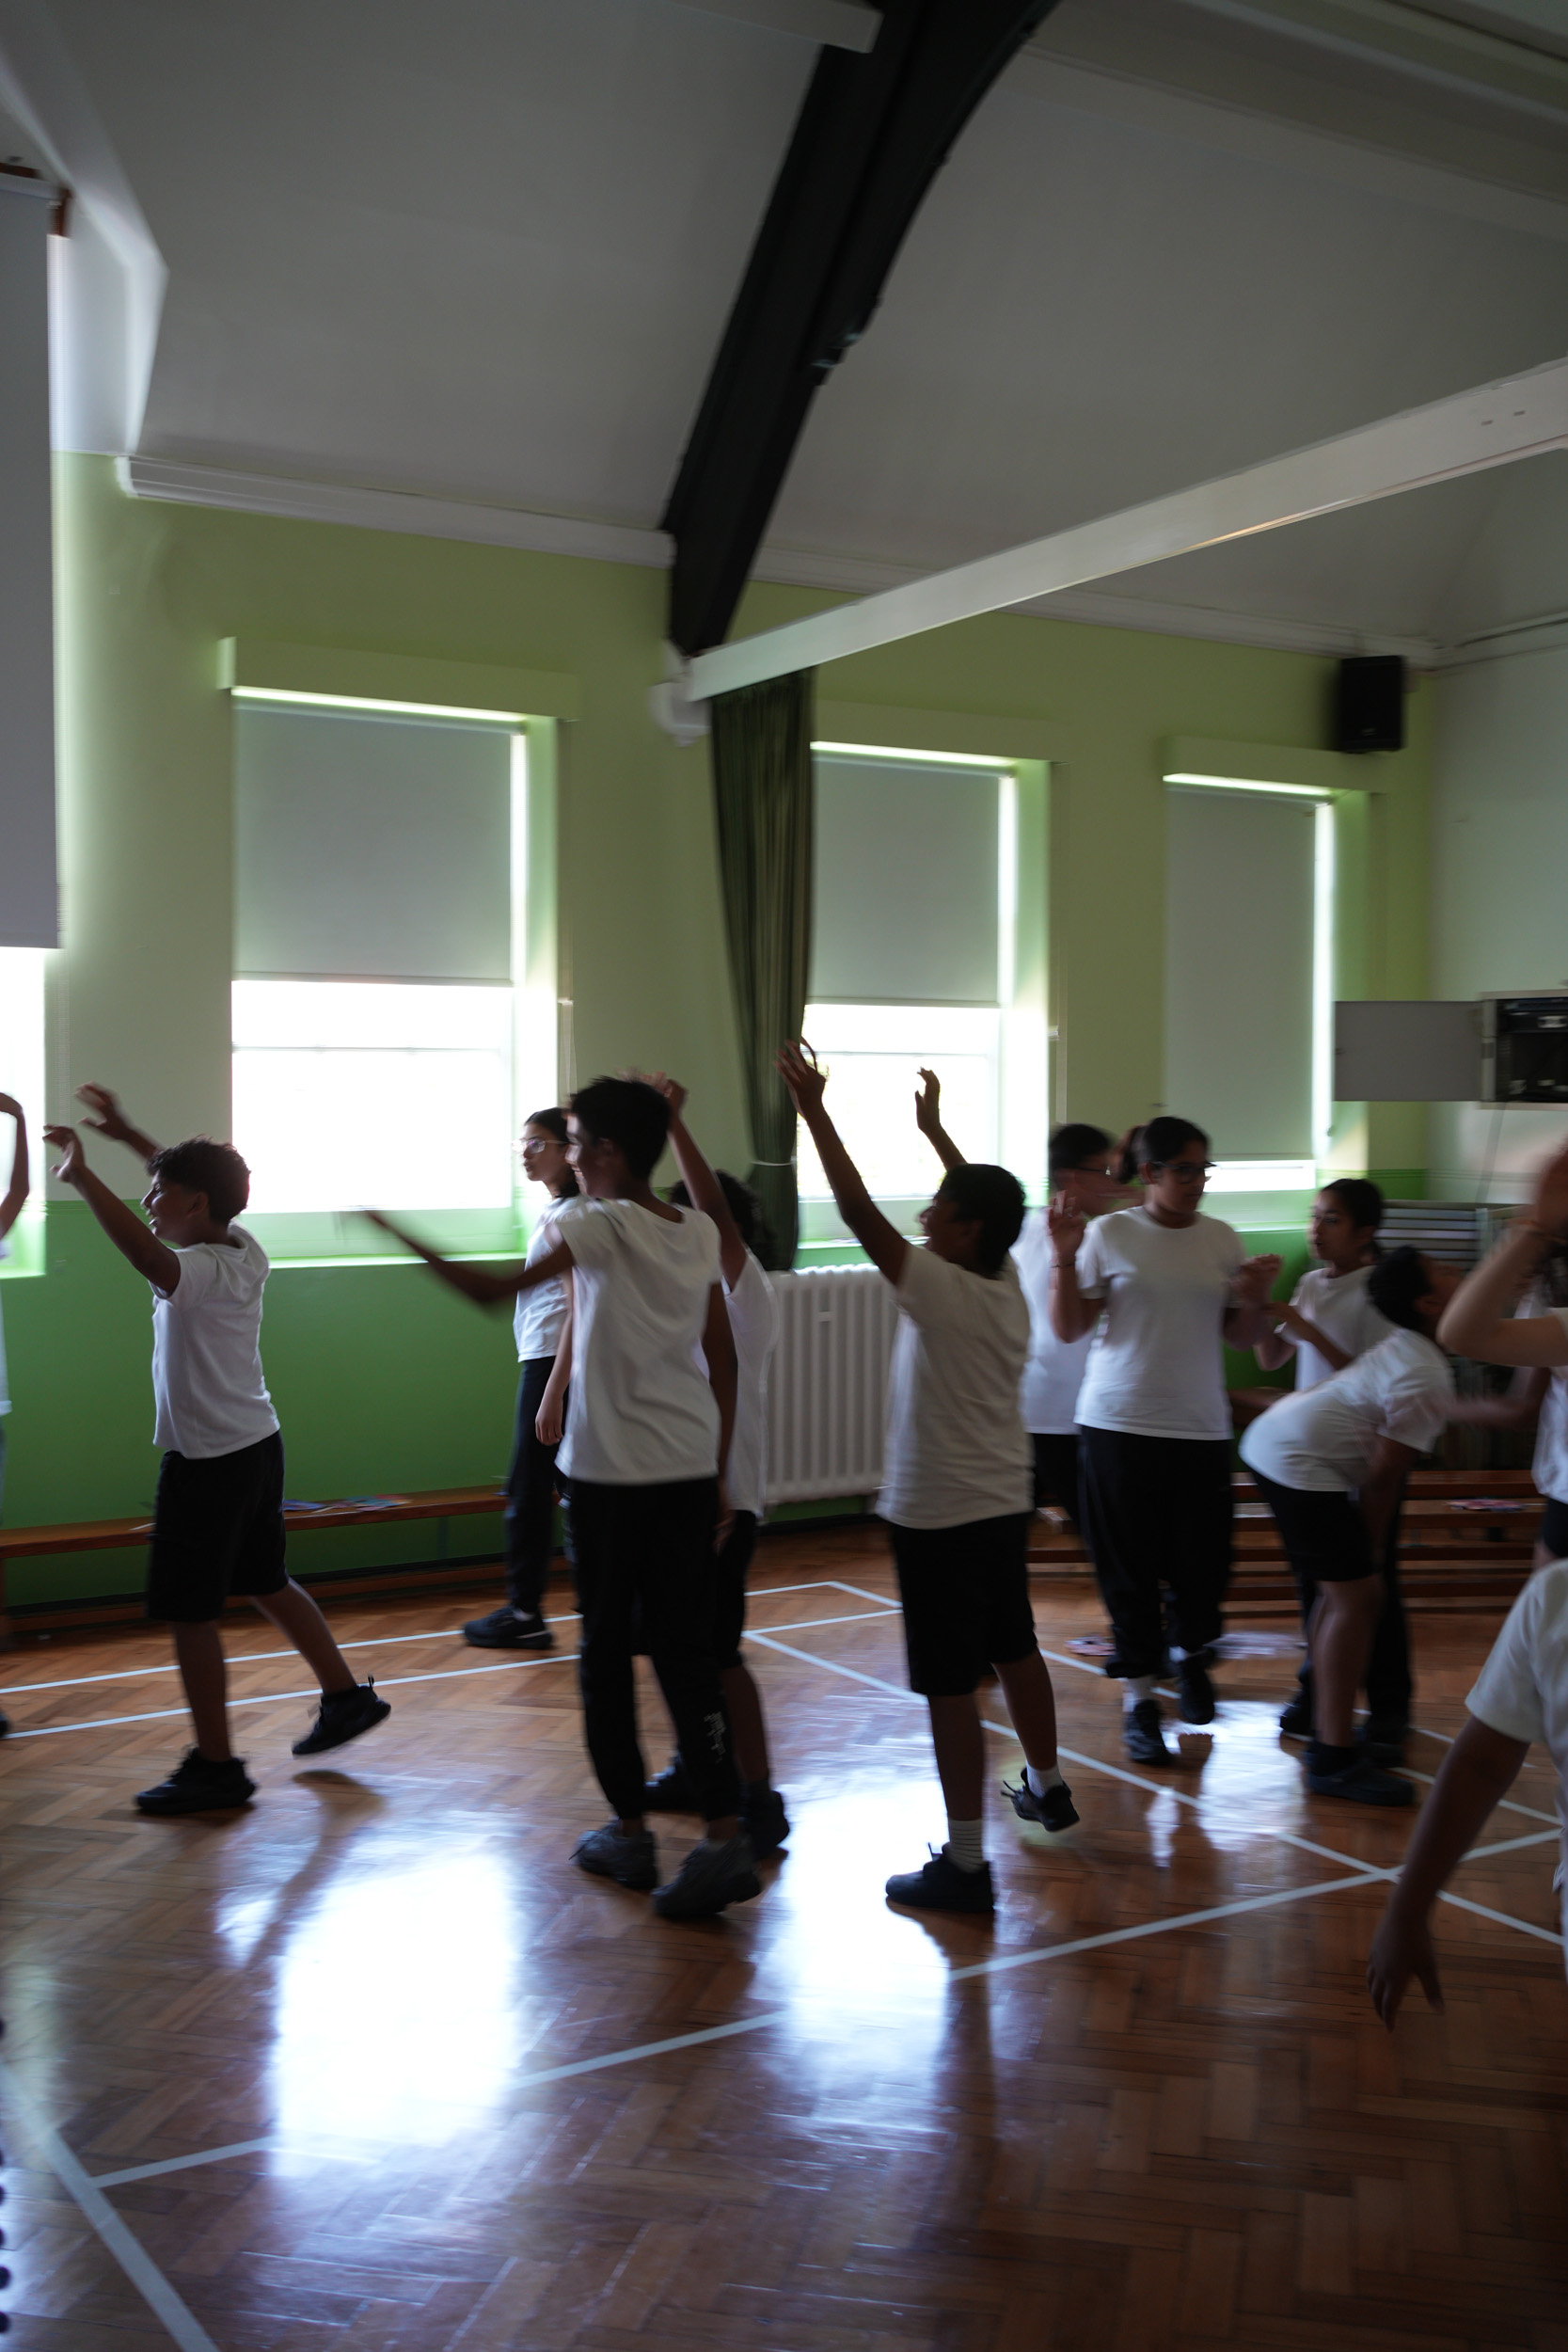
Walking around a space - make yourself as small as you possibly can. Make yourself as big as you can. Change directions. Move like it’s a windy day. Move like you’re lost and looking for directions. Walk in pairs like you’ve just met for the first time. Find a new partner to walk with. Can you make your next walk alone as different from the last one? Can you walk and jump at the same time? Can you move like you’re a tiny creature in a massive forest? Can you move like you’re massive and looking down on tiny people around you? Move like you’re afraid of something. Move like you’re hiding from someone chasing you. Can you move as quietly as possible? Can you move as loudly as possible without using your voice? Can you move as slowly as possible? Can you move as fast as possible without running? Can you turn a walk into a dance? Can you dance and walk at the same time?
Now let’s think back to our pieces of paper which has a list of what your character is like. Can you walk like your animal? Can you move and make your animal’s favourite noises? Can you make yourself as big or small as your animal? If your animal was going to jump up and down, how would that look? If your animal is going to move backwards, how would they move? How would your animal move in slow-motion?
Task 3: Performance devising from scenarios.
Now, you’ve come up with different ways your animal might move. Let’s think back to your character’s individual personality and what they like or don’t like. We’re going to make up our own stories now in our groups which will become the final play based on scenarios which often come up when we’re in or outside our homes.
Something to remember: the final performance can involve dialogue, sounds, singing, dancing, pretend fighting and more, but you need to make sure that all your movements are BIG as when we all move together in a tableau we want it to be really obvious to an audience what is going on even if they can’t hear you.